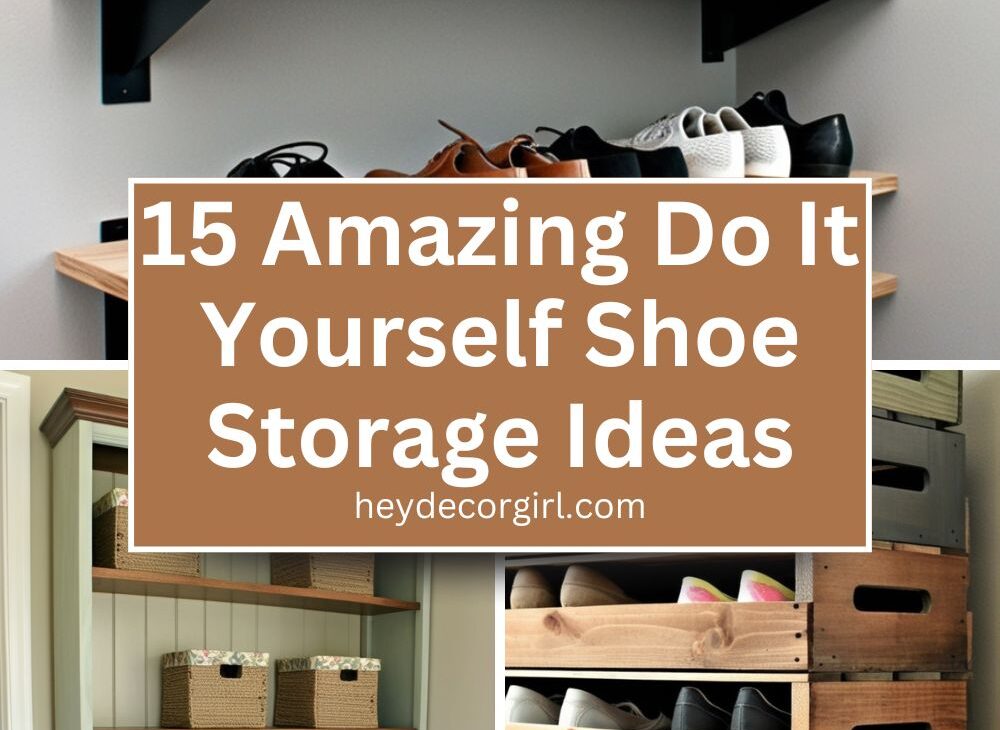
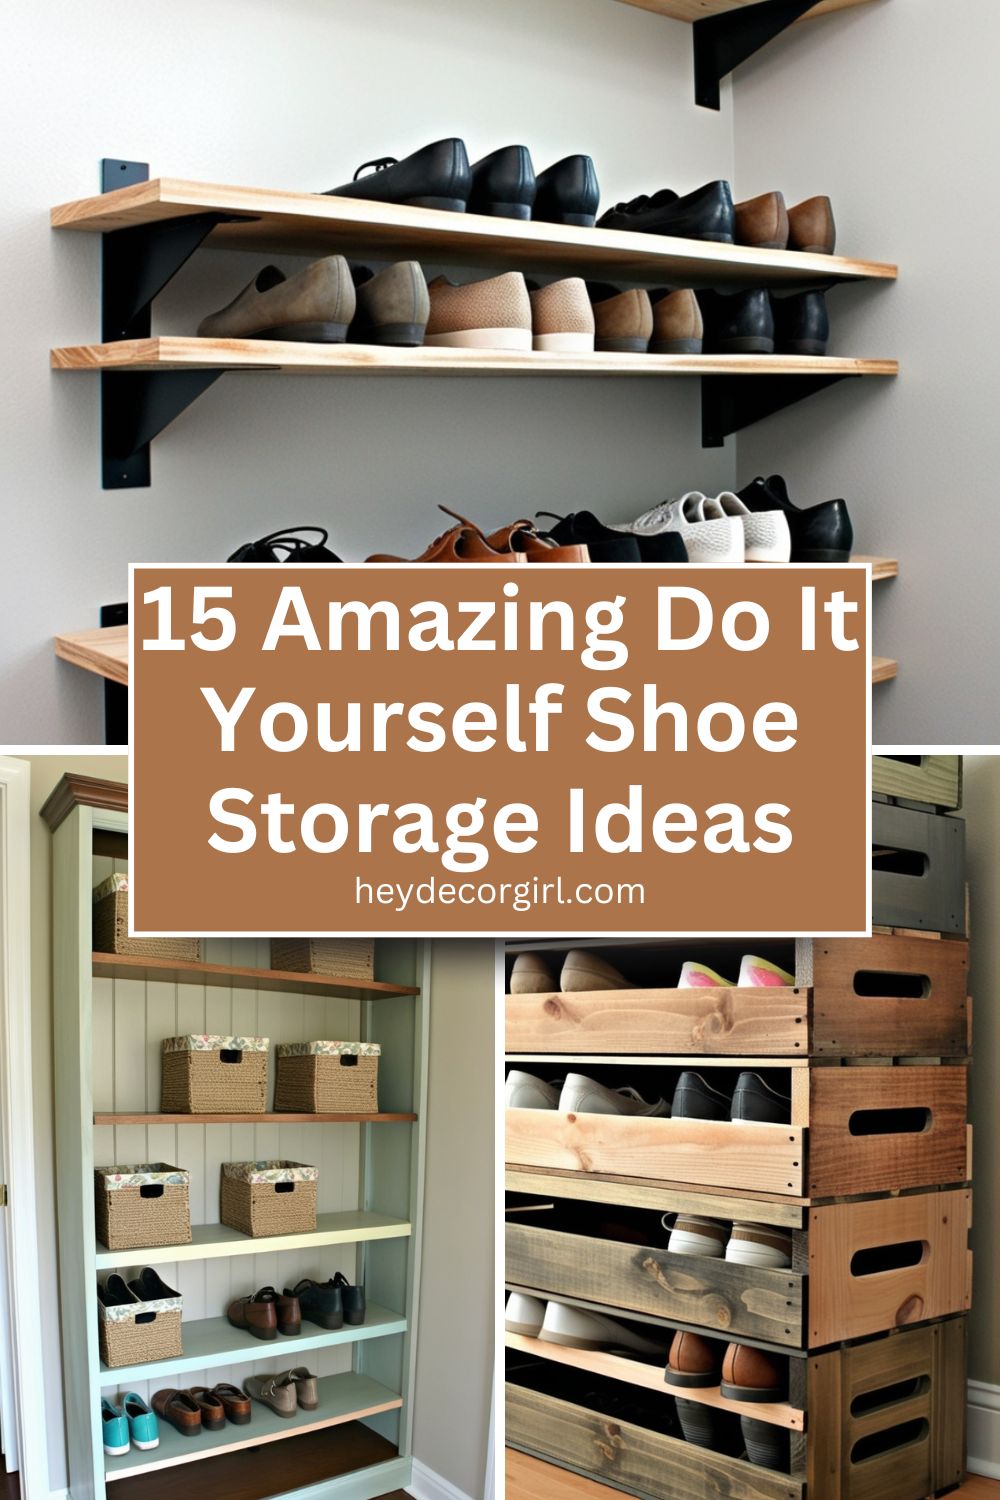
Do It Yourself Shoe Storage Ideas are a practical and creative way to keep your footwear organized while adding a personal touch to your space. An organized shoe collection not only saves time when you’re rushing out the door but also helps maintain the longevity of your favorite pairs by keeping them in good condition.
DIY shoe storage solutions offer unique benefits that store-bought options often can’t match. They are cost-effective, allowing you to repurpose materials you might already have. They also let you customize designs to fit your specific space and style preferences. Additionally, crafting your own storage promotes sustainability by reducing waste and reusing old items.
In this article, we’ll explore 15 amazing DIY shoe storage ideas that combine functionality with creativity. From space-saving hacks to stylish storage solutions, you’re sure to find inspiration for your next project!
Amazing Do It Yourself Shoe Storage Ideas
1. Over-the-Door Shoe Organizer
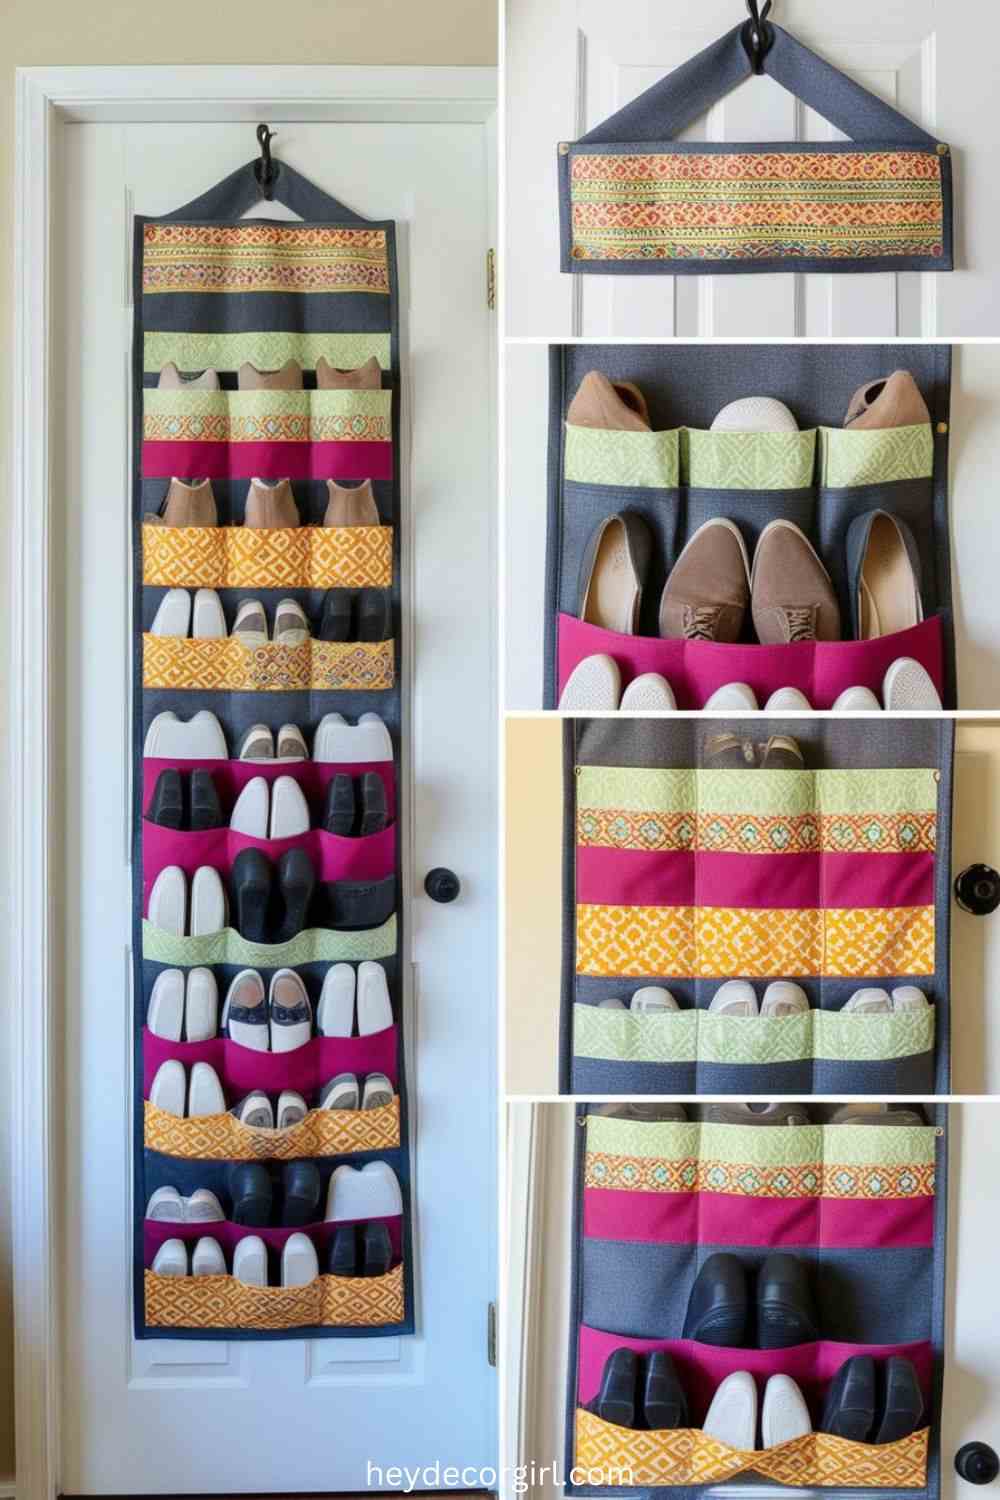
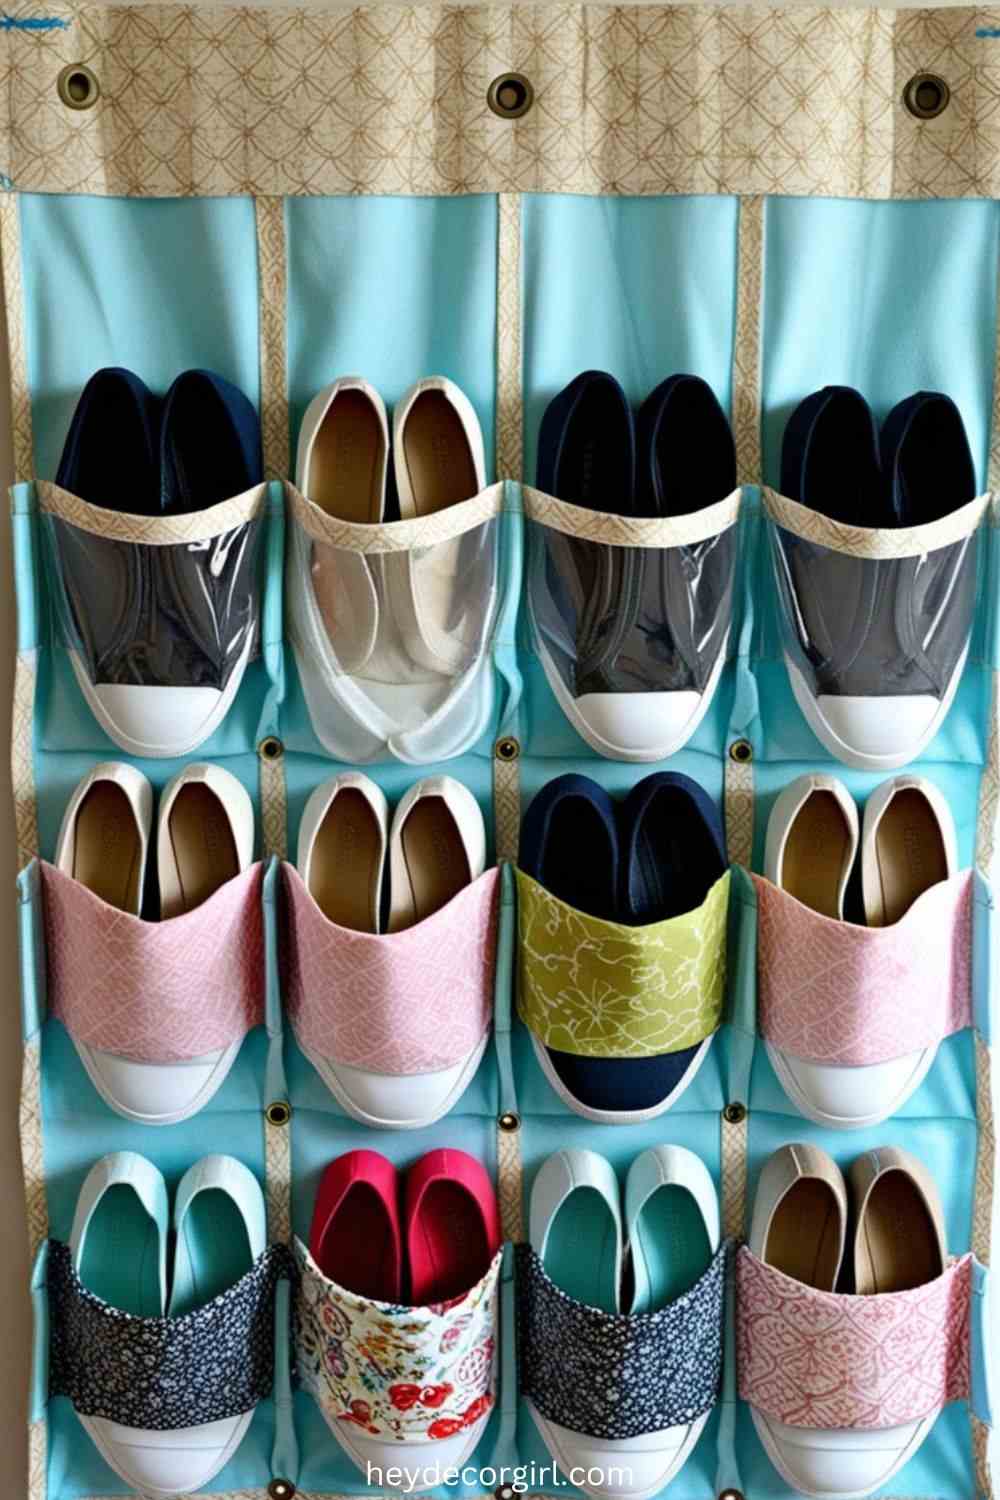
An over-the-door shoe organizer is a simple and effective DIY project that maximizes vertical space. To create one, you’ll need a durable piece of fabric, a sewing machine (or needle and thread), scissors, and hooks or an over-the-door hanger. Start by cutting the fabric into a long rectangular shape, ensuring it fits the dimensions of your door. Next, sew pockets along the fabric in even rows, leaving the tops open for easy access. You can use clear plastic for the pockets to make it easier to identify your shoes or opt for colorful or patterned fabric for a decorative touch.
2. Wooden Crate Stackable Storage
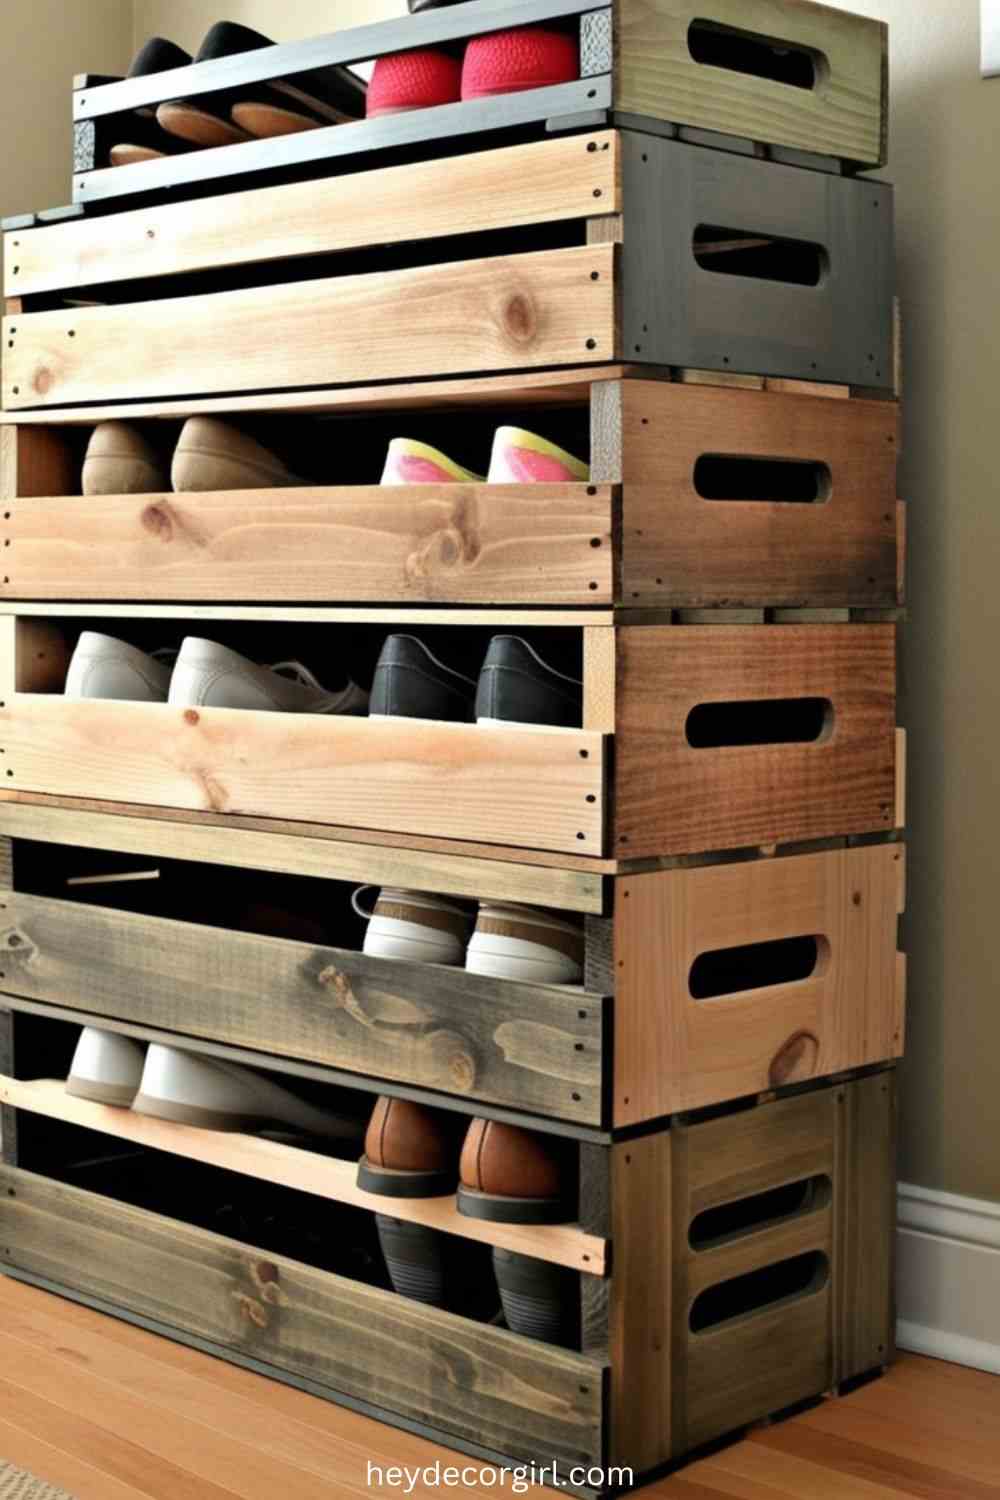
Wooden crates can be easily repurposed into a chic and functional shoe storage solution. Start by sourcing sturdy wooden crates, either new or upcycled, and ensure they are clean and smooth by sanding them down to remove any rough edges. You can paint or stain the crates to match your room’s decor, giving them a rustic, modern, or colorful finish. Once prepared, stack the crates horizontally or vertically, depending on your space and storage needs. Secure the crates together with screws or brackets for stability, creating a modular design that can be expanded or rearranged as your shoe collection grows. This versatile solution works well in entryways, closets, or even living rooms.
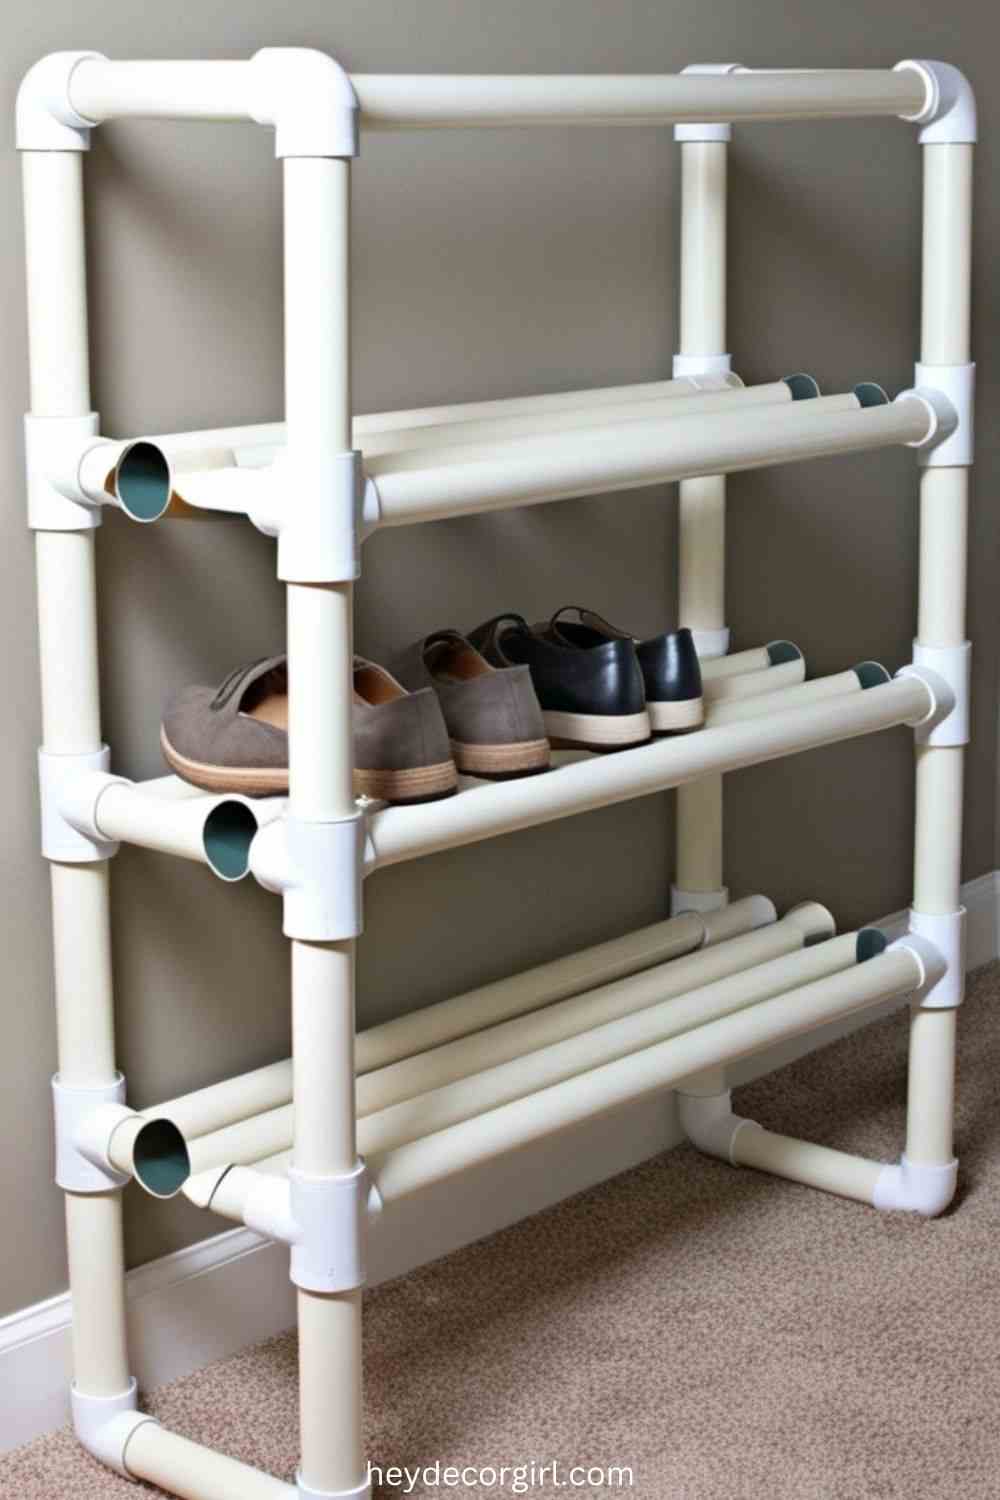
3. PVC Pipe Shoe Racks
PVC pipes are an excellent material for creating a sleek and modern shoe rack that is both affordable and easy to assemble. Start by measuring and cutting the PVC pipes to your desired length using a pipe cutter or saw. For a simple shoe rack, you’ll need several straight pipes to form the base and sides, as well as shorter pieces to create the shelves. Depending on the number of shoes you want to store, cut multiple pipes of the same length for each tier. Once the pieces are cut, use PVC pipe connectors to assemble the frame. The connectors will allow you to create a sturdy, customizable structure, with horizontal shelves for storing shoes. For added stability, glue the joints or use PVC pipe adhesive. You can leave the pipes in their natural white color or paint them for a more personalized look. This DIY shoe rack is perfect for small spaces and can be adjusted to fit the size of your shoe collection.
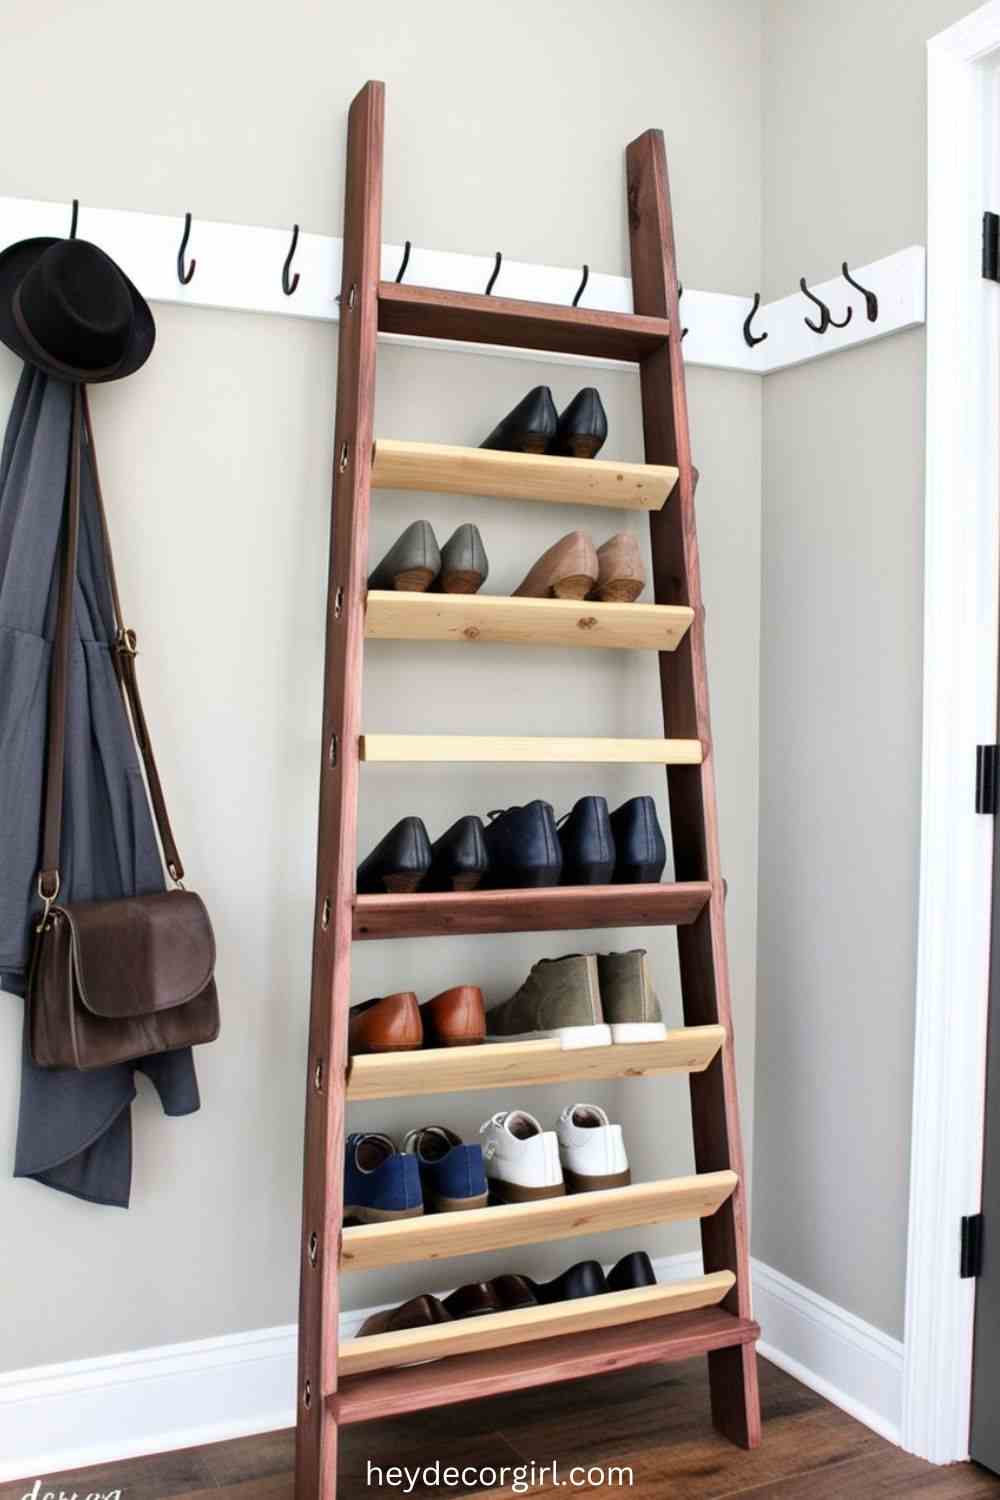
4. Ladder Shoe Rack
Repurposing an old ladder into a stylish shoe rack is a fantastic way to add a rustic charm to your home while keeping your footwear organized. Start by finding a sturdy wooden ladder, either new or second-hand. Sand it down to remove any rough patches, and consider painting or staining it to match your room’s aesthetic. Once prepped, position the ladder horizontally or lean it against a wall at a slight angle. The rungs of the ladder will serve as perfect shelves for stacking shoes, with each step providing space for different types or pairs. For extra organization, you can add hooks to the sides of the ladder to hang accessories like bags or hats. This DIY project is not only functional but also acts as a decorative element in your entryway, hallway, or closet, creating a unique and space-saving shoe display.
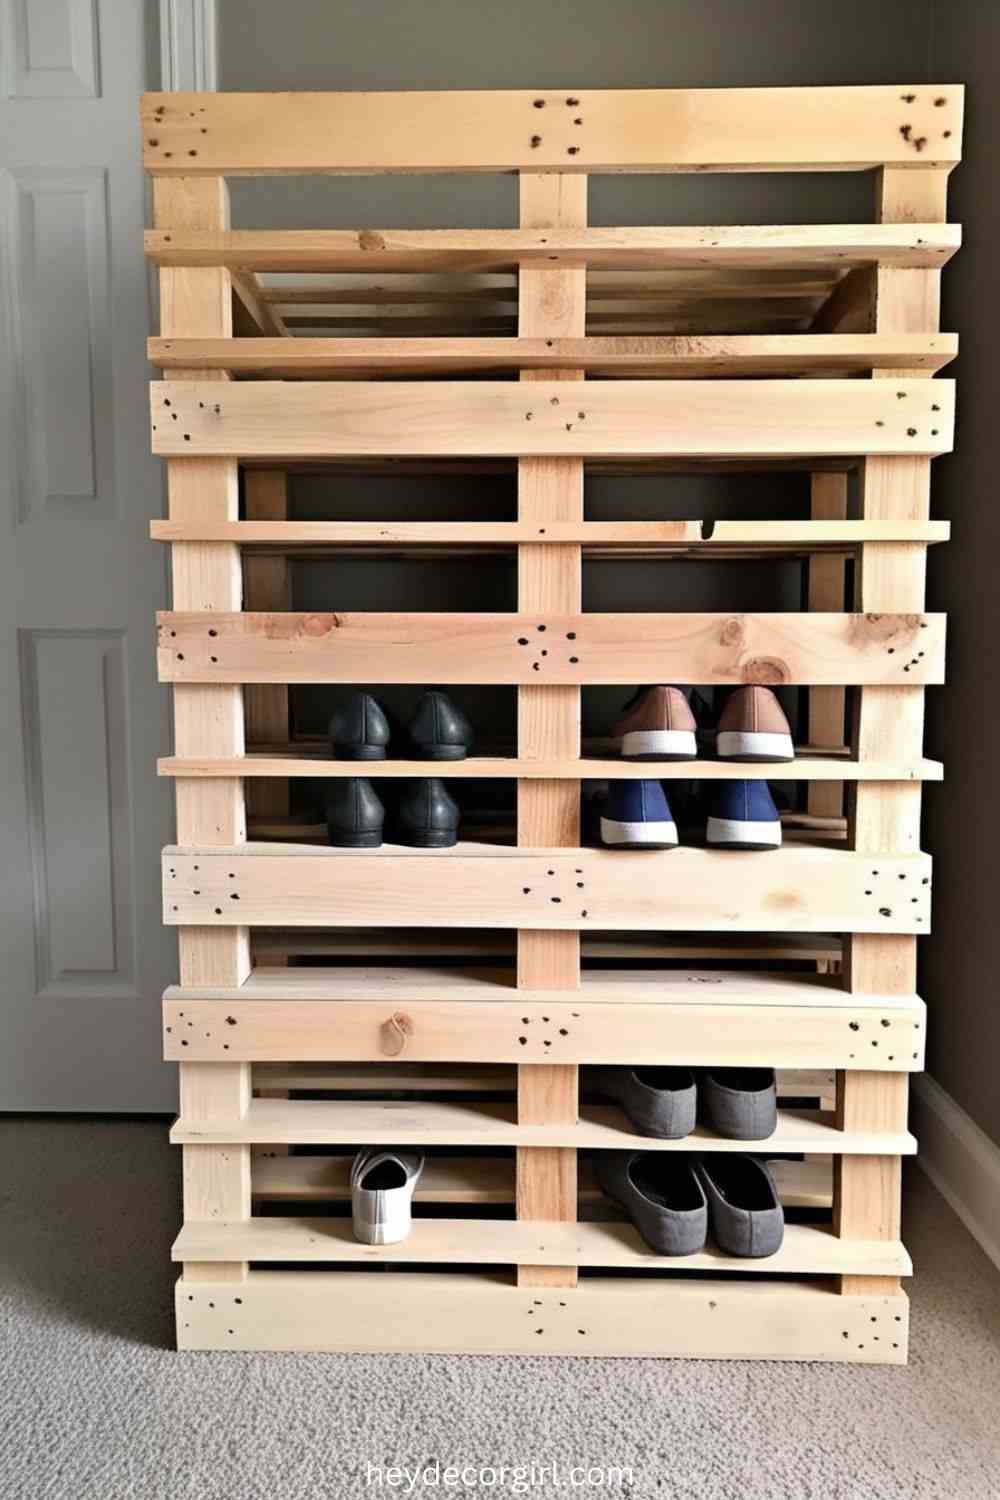
5. Pallet Shoe Shelf
Transforming a wooden pallet into a multi-tiered shoe shelf is a simple yet effective DIY project that adds a rustic, industrial touch to any room. Start by sourcing a sturdy wooden pallet and ensuring it is free of nails or sharp edges by sanding it down. You can leave the pallet in its natural wood finish for a rustic look or paint/stain it to match your home’s decor. Once prepped, you can either leave the pallet as is for a low-profile shoe rack or stack multiple pallets vertically to create a tiered shelf system. Secure the pallets together using screws or brackets for added stability. The open slats of the pallet allow for airflow, keeping your shoes fresh while displaying them in an organized manner. This multi-tiered rack can be customized to fit different shoe sizes and can be placed in a closet, hallway, or entryway for easy access to your footwear.
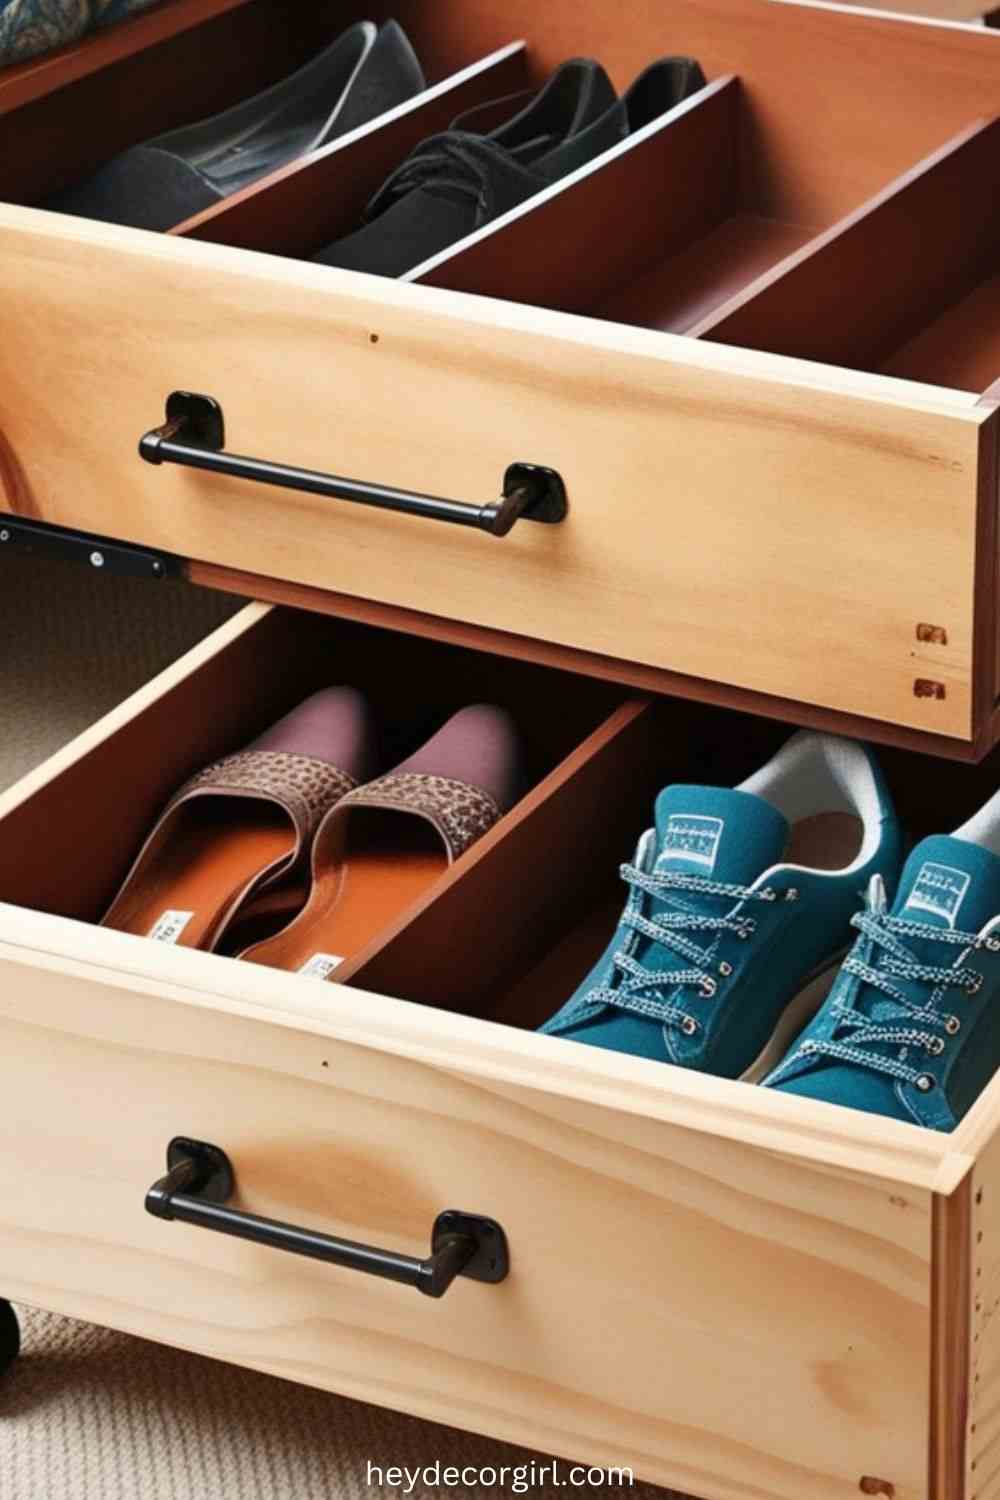
6. Under-Bed Storage Drawers
DIY sliding drawers for shoe storage under the bed are a clever way to maximize space while keeping your shoes neatly organized and out of sight. Begin by measuring the space under your bed to determine the size of the drawers you can fit. Use sturdy wood or plywood to build the frame of each drawer, ensuring the dimensions are just right for sliding in and out easily. Add caster wheels to the bottom of the drawers for smooth movement and to protect the floor from scratches. You can divide the inside of each drawer with simple dividers to organize different types of shoes or store them in pairs. For added convenience, you can install handles on the front for easy access. Finish by painting or staining the drawers to match your bedroom decor. These under-bed drawers keep your shoes stored in a hidden, accessible way, perfect for small rooms or when you want to keep your footwear neatly tucked away.
7. Hanging Shoe Organizer with Fabric Pockets
Creating a hanging shoe organizer with fabric pockets is a practical and customizable DIY project perfect for small spaces or closets. Start by selecting a durable fabric like cotton or linen. Cut the fabric into a long rectangular shape, ensuring it is long enough to fit your desired hanging area (typically a closet rod or a door). Next, sew several rows of pockets along the fabric, leaving the tops open to hold shoes. For a more personalized touch, you can use clear vinyl for the pockets, which will help you see the shoes inside, or opt for a decorative fabric to match your style. To secure the organizer, sew a strip of fabric at the top for a hanging loop, or use metal grommets for added strength. You can also add reinforcing stitches along the edges to prevent stretching. This organizer can hold multiple pairs of shoes and is great for organizing sandals, flats, or casual shoes in a compact space, keeping them visible and easily accessible.
8. Floating Shoe Shelves
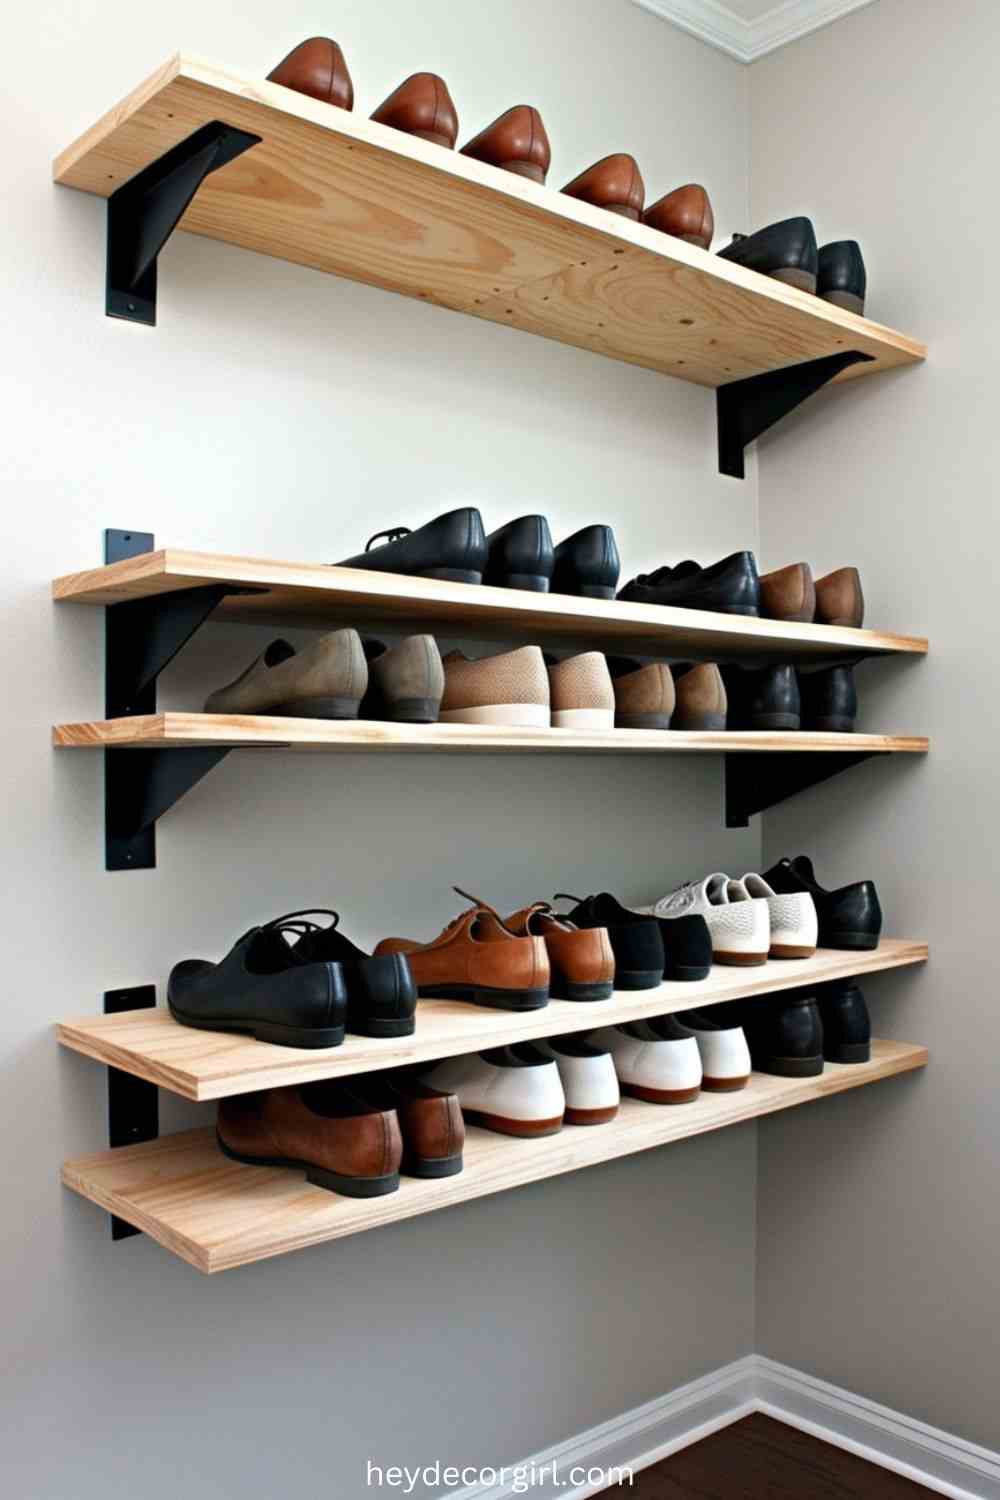
Floating shoe shelves offer a minimalist and stylish way to store your shoes while saving floor space. To create your own, start by selecting a piece of wood or plywood for the shelf base. Measure the width and length based on your available space and the number of shoes you plan to store. Cut the wood to size using a saw.
Next, install floating shelf brackets or invisible shelf supports on the wall where you want the shelves to hang. Use a level to ensure the brackets are evenly aligned. Drill holes in the wall at the marked spots, ensuring you hit the studs for secure mounting. Use screws to attach the brackets to the wall.
Once the brackets are in place, slide the shelf onto the brackets or affix it to the supports, depending on your design. For a sleek look, you can choose to leave the wood natural or paint or stain it to match your room’s decor. These floating shelves will provide an elegant display for your shoes, making them easy to access while keeping your space clutter-free.
9. Repurposed Bookshelf Shoe Storage
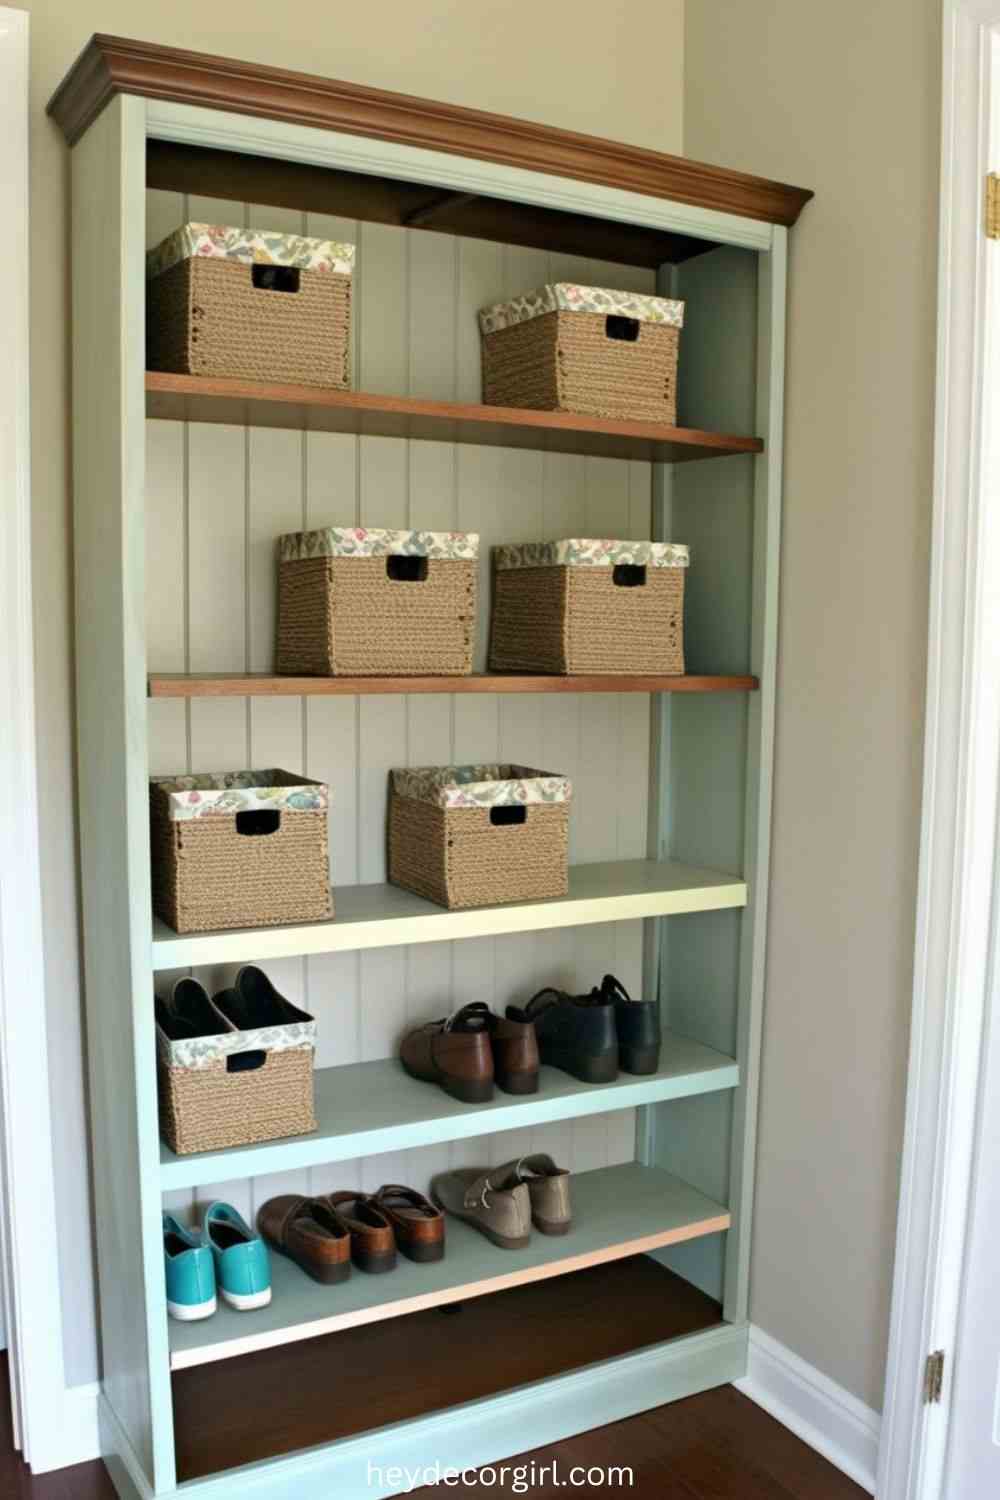
Transforming an old bookshelf into a functional shoe rack is a simple yet creative DIY project that adds both practicality and style to your space. Start by sourcing a sturdy bookshelf, either from a thrift store or one you already own. Remove any unnecessary shelves if needed to create wider openings for storing shoes. You can add extra shelves or adjust the spacing between the existing ones, depending on your shoe collection. Sand down the wood and apply a fresh coat of paint or stain to give the bookshelf a new look that complements your decor. If you prefer a more customized look, consider adding fabric or decorative baskets on the shelves to store smaller items like sandals, flip-flops, or shoe accessories. The bookshelf can be positioned in a hallway, closet, or bedroom, turning it into a stylish and functional storage solution for your footwear. This DIY project is perfect for anyone looking to repurpose furniture while keeping shoes organized and accessible.
10. Cube Storage Units
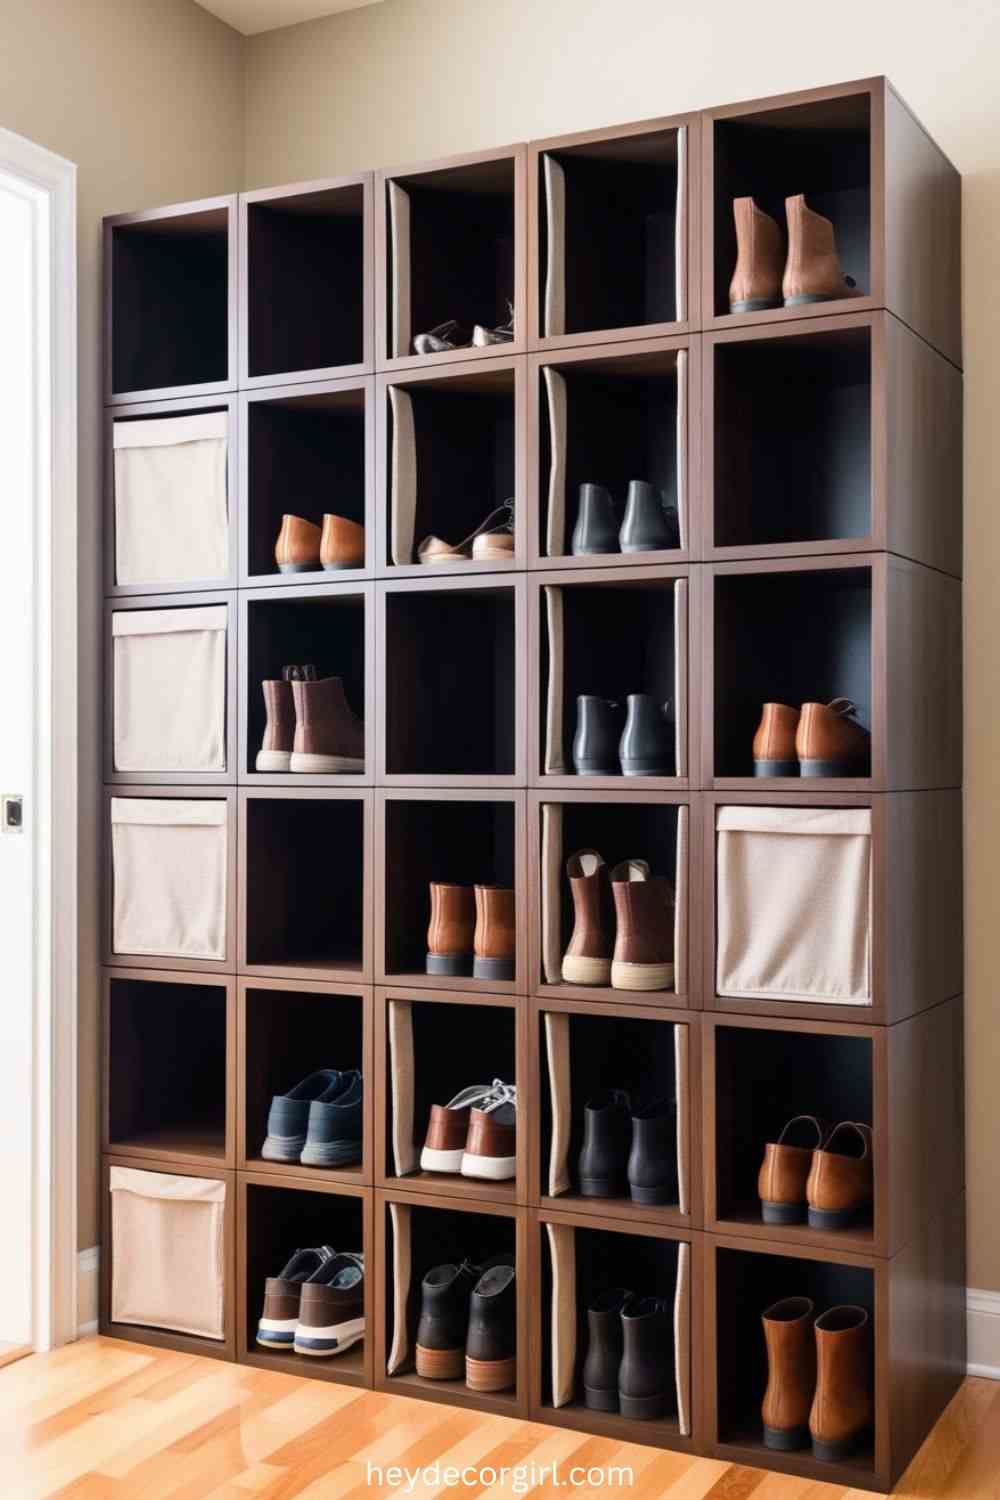
Cube storage units are a versatile and space-saving solution for organizing shoes. To create or modify a cube unit for shoe storage, start by purchasing a pre-made cube storage unit or repurposing existing shelving. If starting from scratch, you can use plywood or MDF boards to create custom cube spaces. Begin by measuring and cutting the wood to create the individual cube frames. For a standard design, each cube should be large enough to store a pair of shoes, with some additional space if you want to store boots or taller footwear.
Assemble the frame by screwing or nailing the pieces together to form the cubed sections. If you want a more open design, you can leave the front sides of the cubes open, or you can add doors or fabric bins for a more concealed storage option. For additional customization, you can paint or stain the wood to match your room’s decor or even add dividers inside the cubes for better organization. Once the unit is assembled, place it in an entryway, closet, or bedroom for easy access to your shoes. Cube storage units are highly customizable, so you can modify them to suit your specific shoe collection and style preferences.
FAQ
What materials do I need for these DIY shoe storage ideas?
The materials will vary depending on the specific project, but common materials include wood (for shelves and pallets), fabric (for hanging organizers), PVC pipes, old furniture (like ladders or bookshelves), caster wheels, nails, screws, paint or stain, and fabric for dividers or baskets.
Can I make these shoe storage solutions in a small apartment?
Absolutely! Many of the ideas, such as hanging organizers, under-bed storage, and floating shelves, are perfect for small spaces because they help maximize vertical space and keep the floor clear.
How do I customize my shoe storage to fit different types of shoes?
You can customize the height and depth of the storage spaces to accommodate different shoe sizes. For example, adjust the width of the cubes, or add extra dividers in shelves to separate boots, sneakers, or flats. You can also repurpose old furniture and modify it to your needs.
Do I need advanced skills to make these DIY shoe storage solutions?
Not necessarily! Many of the ideas are beginner-friendly, like creating a hanging shoe organizer or using a bookshelf. Some projects may require basic carpentry skills (like the pallet shoe shelf or PVC pipe rack), but these can be done with minimal tools.
How can I ensure my DIY shoe storage is durable?
To ensure durability, use sturdy materials like solid wood or heavy-duty fabric. For wooden structures, make sure the screws and joints are secure. When making storage with weight-bearing elements, such as under-bed drawers or pallet shelves, make sure to reinforce the structure.
Can I personalize my DIY shoe storage?
Yes! Many of these ideas allow you to personalize your shoe storage. You can paint, stain, or decorate wooden elements, add labels to bins, or use fabric that matches your room’s decor to create a cohesive look.
How can I keep my shoes organized in these storage solutions?
Use dividers, baskets, or bins within shelves or cubes to separate different types of shoes. Keep frequently worn pairs in more accessible spaces and use the higher or less accessible areas for seasonal footwear. For hanging organizers, store shoes in pairs and ensure the pockets are evenly spaced to avoid clutter.
Are these DIY shoe storage ideas cost-effective?
Yes! Most of the ideas use inexpensive or repurposed materials, making them budget-friendly. You can often use items you already have at home, such as old bookshelves or pallets, to create your storage system without spending much.
How much time does it take to create these DIY shoe storage solutions?
The time needed depends on the complexity of the project. Simple tasks like hanging a fabric organizer or stacking crates may take only an hour, while building and customizing shelves or furniture may take a few hours or more, depending on your experience and the tools available.
Are these shoe storage solutions easy to maintain?
Yes! Once your DIY shoe storage is built, it’s relatively easy to maintain. Regularly dusting the shelves, organizing the shoes by type or frequency of use, and ensuring there’s no overloading will keep the storage neat and functional.

Hi, I’m Richa, the creative mind and passionate soul behind Hey Decor Girl. With a bachelor’s degree in Inter-space Design and a deep love for transforming spaces, I’ve dedicated my career to bringing style, comfort, and personality into homes. As an interior designer and architect, I’ve had the pleasure of crafting unique living environments that reflect the individuality of those who live in them.
At Hey Decor Girl, I share my expertise in all things home decor—from cozy living room makeovers to rustic farmhouse designs and everything in between. My mission is to inspire you to create spaces that not only look stunning but also feel like home. Whether you’re looking for the latest trends or timeless classics, I’m here to guide you every step of the way. Let’s make your dream home a reality, one stylish detail at a time.
Amazing Do It Yourself Shoe Storage Ideas Do It Yourself Shoe Storage Ideas
Last modified: November 28, 2024
![Hey Decor Girl [Latest Trending Decor Design Ideas]](https://heydecorgirl.com/wordpress/wp-content/uploads/2024/08/Heygirldecor-Logo.png)
