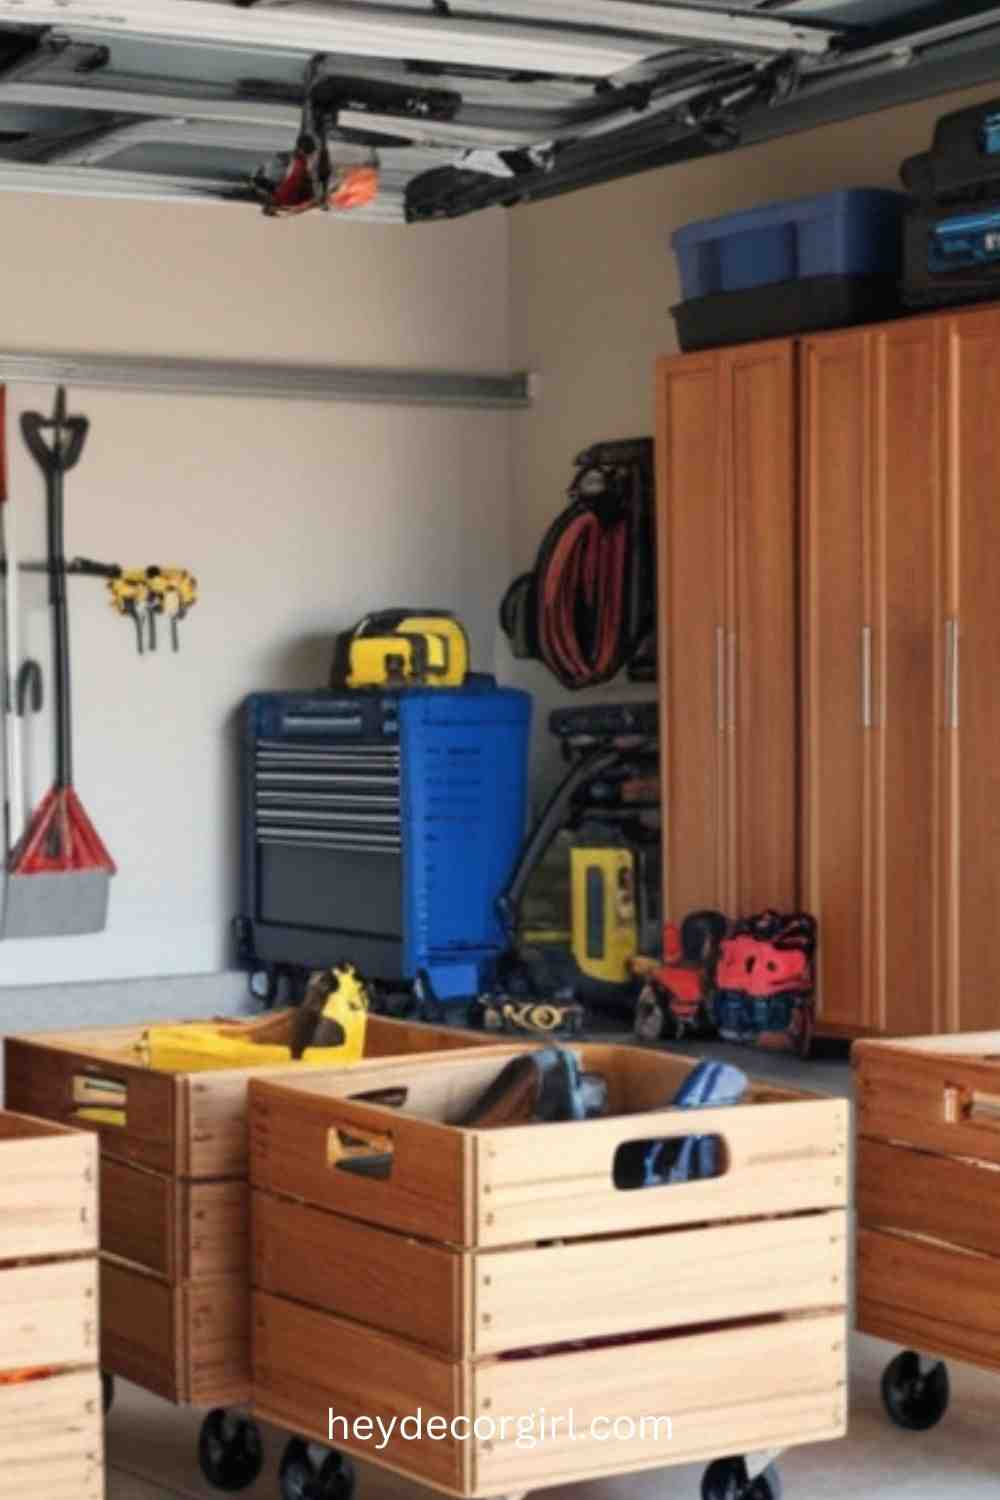
DIY Garage Storage Ideas are essential for anyone looking to maximize space and keep their garage neat and functional. Garages often become catch-all spaces for everything from tools and equipment to seasonal decorations and old furniture. Without an effective storage system, clutter can quickly accumulate, leading to disorganization and frustration. Efficient garage storage solutions not only help clear up valuable space but also ensure that everything has its place, making it easier to find what you need when you need it.
One of the major benefits of DIY garage storage is cost-effectiveness. By utilizing affordable materials and building your own storage systems, you can save a significant amount of money compared to purchasing pre-made storage solutions. Additionally, customization is a key advantage of DIY projects. You can tailor the storage to your specific needs, ensuring that it fits your garage’s layout and accommodates your unique collection of tools, equipment, and other items. Lastly, DIY solutions bring a sense of organization that can transform a chaotic space into a highly functional area, making your garage a more pleasant and efficient place to work and store your belongings.
Amazing DIY Garage Storage Ideas
1. Wall-Mounted Shelves
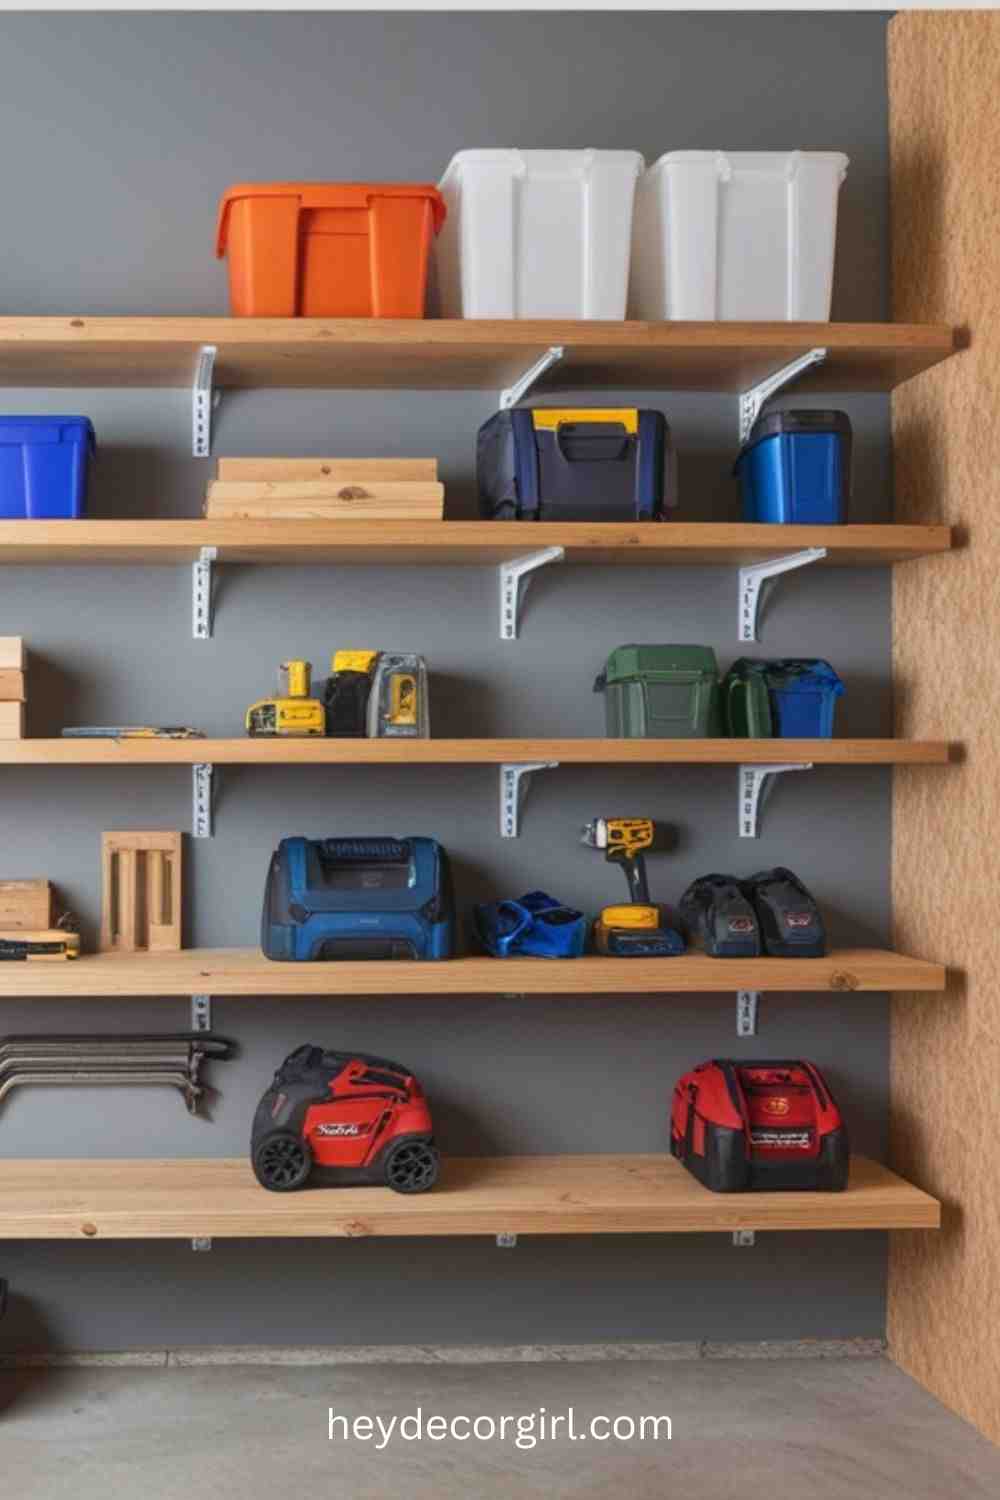
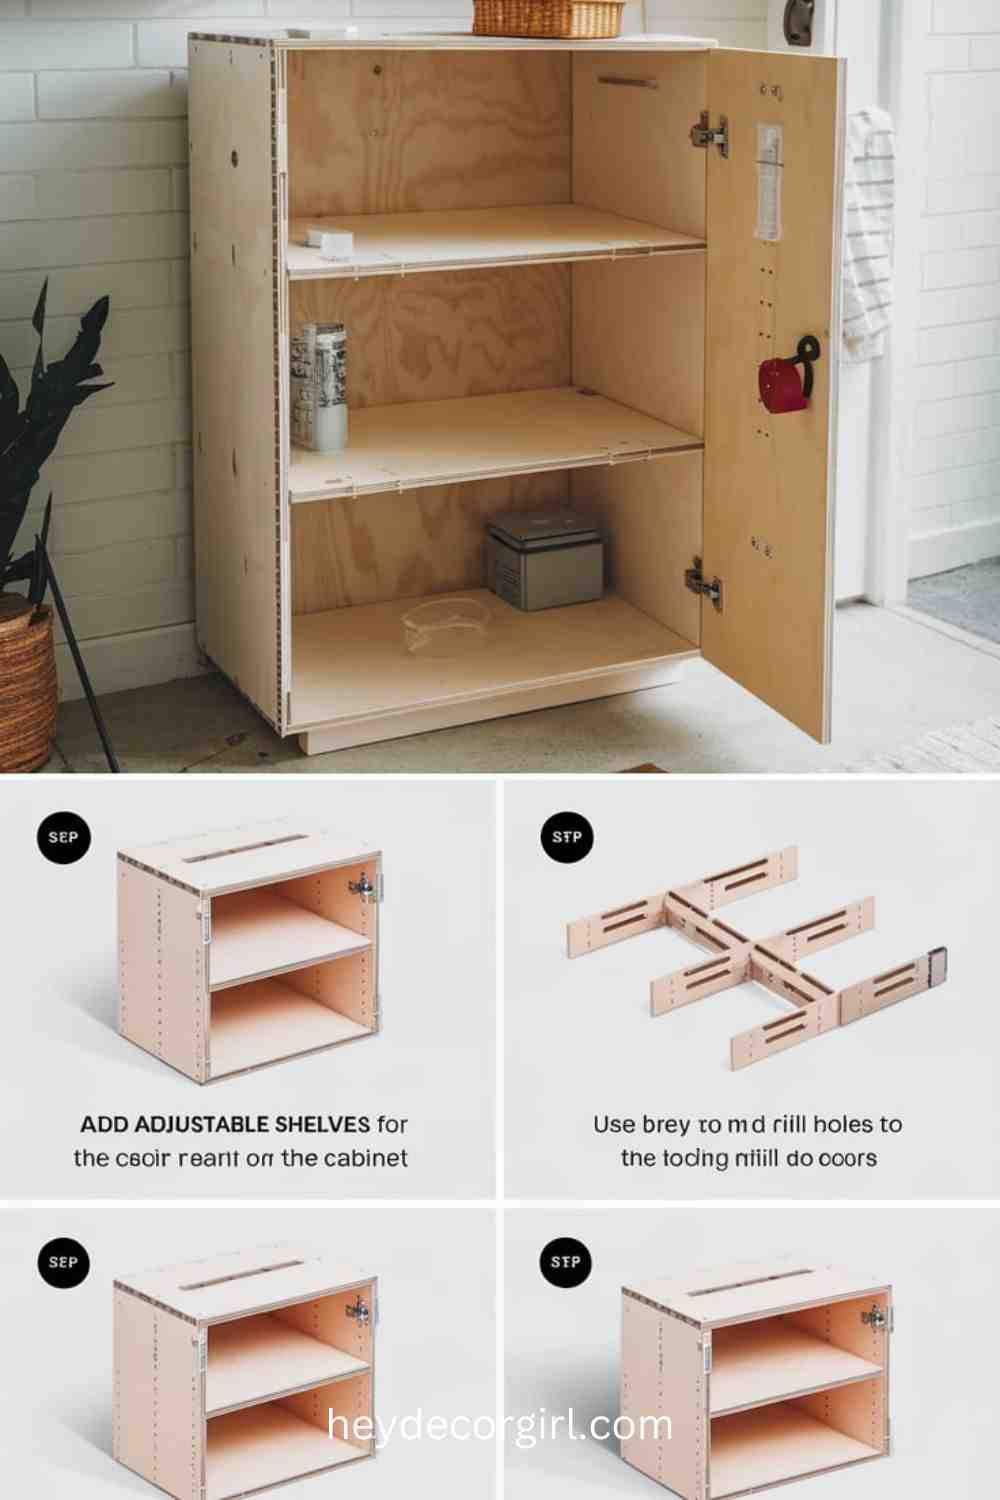
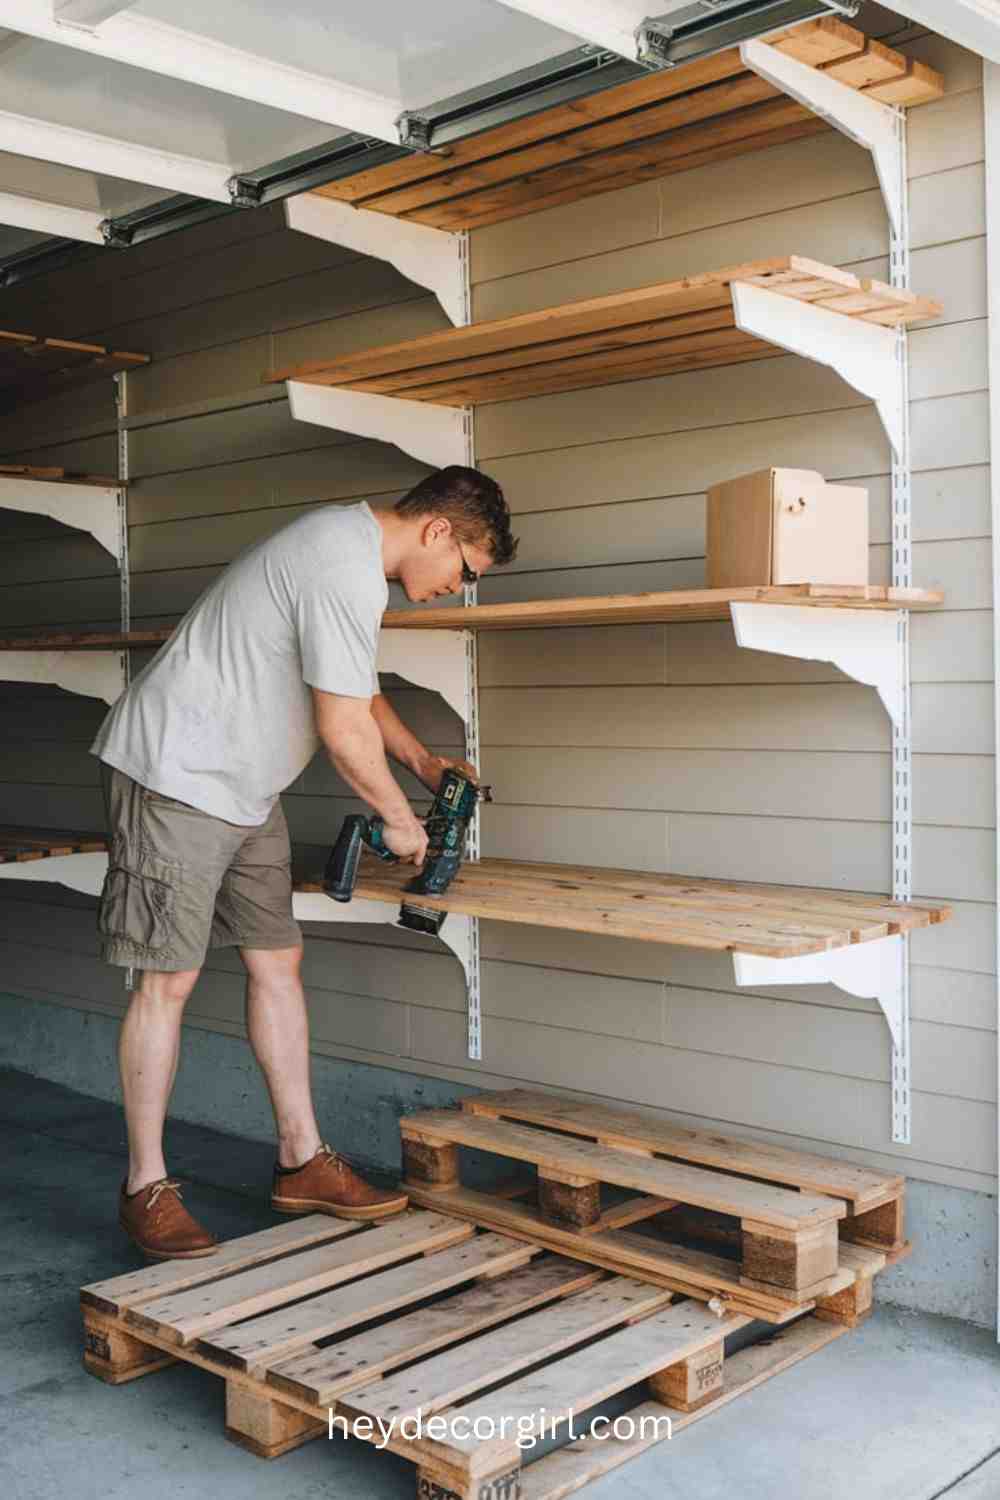
Wall-mounted shelves are a fantastic way to maximize vertical space in your garage. These shelves allow you to store tools, bins, boxes, and other items off the floor, freeing up valuable real estate for larger equipment or workspace. With wall-mounted shelving, you can keep your garage organized and accessible, while keeping everything in view and easy to reach.
These shelves can be customized in size and depth, depending on the items you need to store, and they are perfect for storing everything from small hand tools to larger storage bins. The beauty of this storage solution lies in its simplicity and versatility, making it ideal for any garage space.
Step-by-Step Guide to Creating Your Own Wall-Mounted Shelves:
Materials Needed:
- Wooden planks or plywood (for the shelves)
- Metal or wooden brackets (to support the shelves)
- Screws and anchors (appropriate for your wall type)
- Drill and screwdriver
- Measuring tape
- Level
- Saw (if cutting wood to size)
- Sandpaper (for finishing edges)
Instructions:
- Plan the Design
Measure the available wall space to determine how many shelves you need and the size of each shelf. Consider the weight and dimensions of the items you’ll store to ensure your shelves are deep and sturdy enough to support them. - Choose Your Materials
For the shelves, choose sturdy wood, such as pine or plywood, depending on your preference and budget. Metal brackets are generally the strongest option for supporting the shelves, but you can also use wooden brackets for a more aesthetic, rustic look. - Cut the Wood (if necessary)
If your wood planks are too large, use a saw to cut them down to the appropriate length. Sand the edges to smooth out any rough spots. - Mark the Wall
Use a measuring tape to mark the spots where the brackets will be placed. Start by marking the height of your shelves and then mark the bracket placement, ensuring that they are level. Use a level to double-check your measurements. - Install the Brackets
Drill holes for your brackets where you’ve marked the wall, ensuring that you’re drilling into studs or using wall anchors for support (especially for drywall). Screw the brackets into place. - Attach the Shelves
Once the brackets are securely attached, place the wooden planks or plywood on top of them. If necessary, secure the shelves to the brackets using screws to prevent them from sliding or shifting. - Finish and Organize
After the shelves are in place, finish any rough edges or wood surfaces with sandpaper and a wood finish, if desired. Now, you can organize your tools, bins, or boxes on the shelves. Consider adding labels or small containers to keep smaller items organized.
By following this simple process, you can create sturdy, custom wall-mounted shelves that will help keep your garage organized and your tools easily accessible. Plus, the added benefit of using vertical space will give you more room to park your car or use your garage as a workspace!
2. Overhead Storage Racks
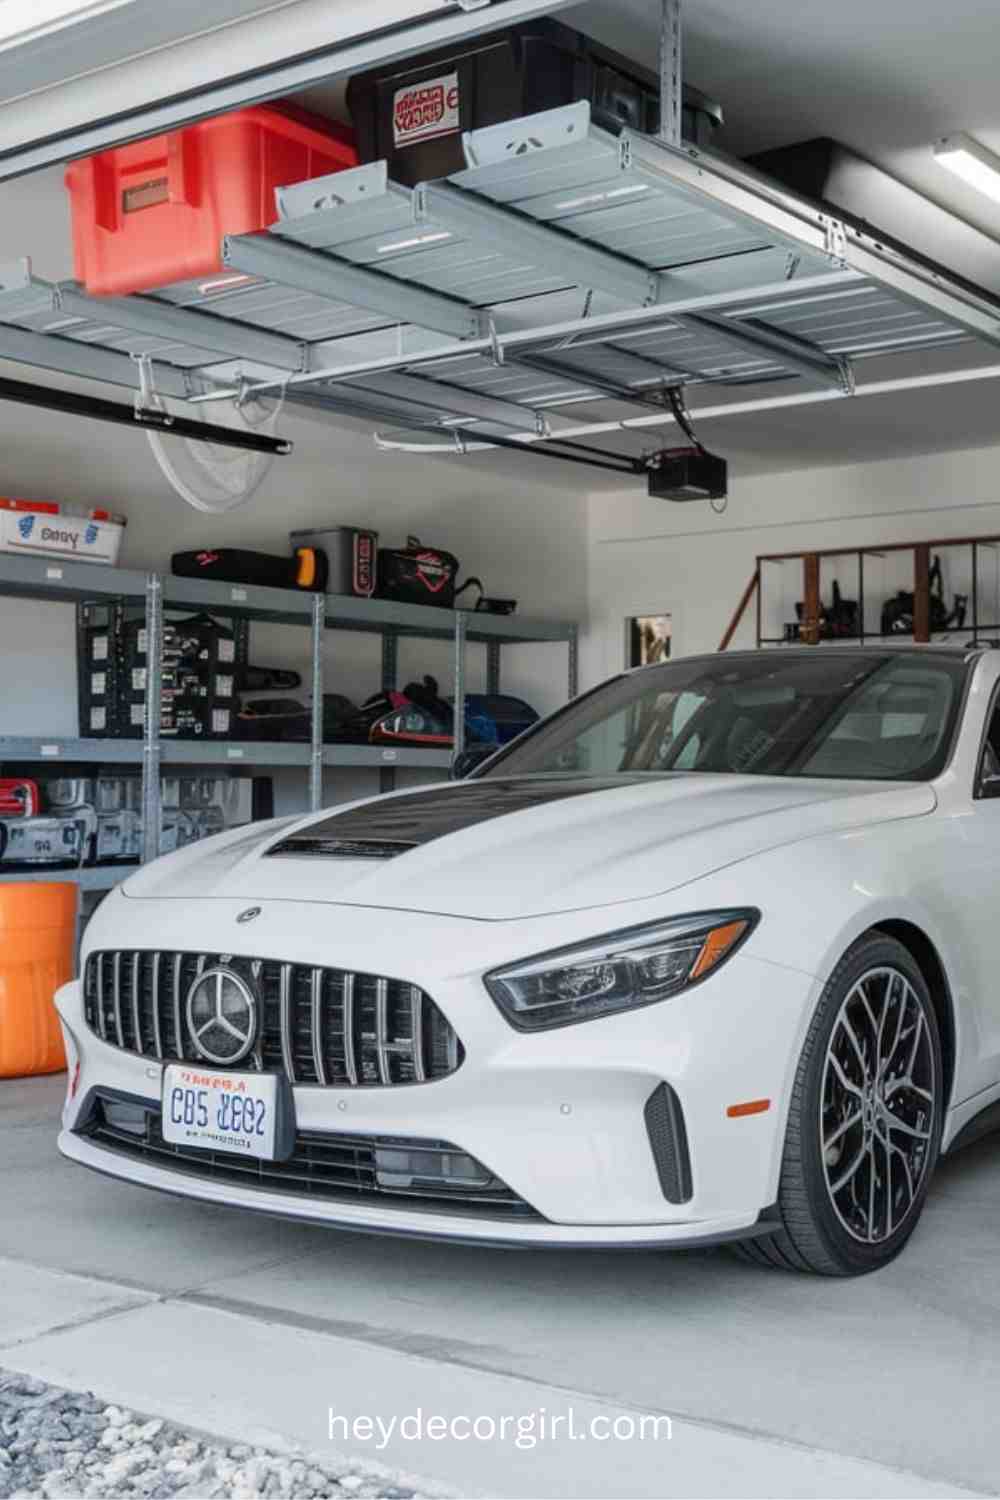
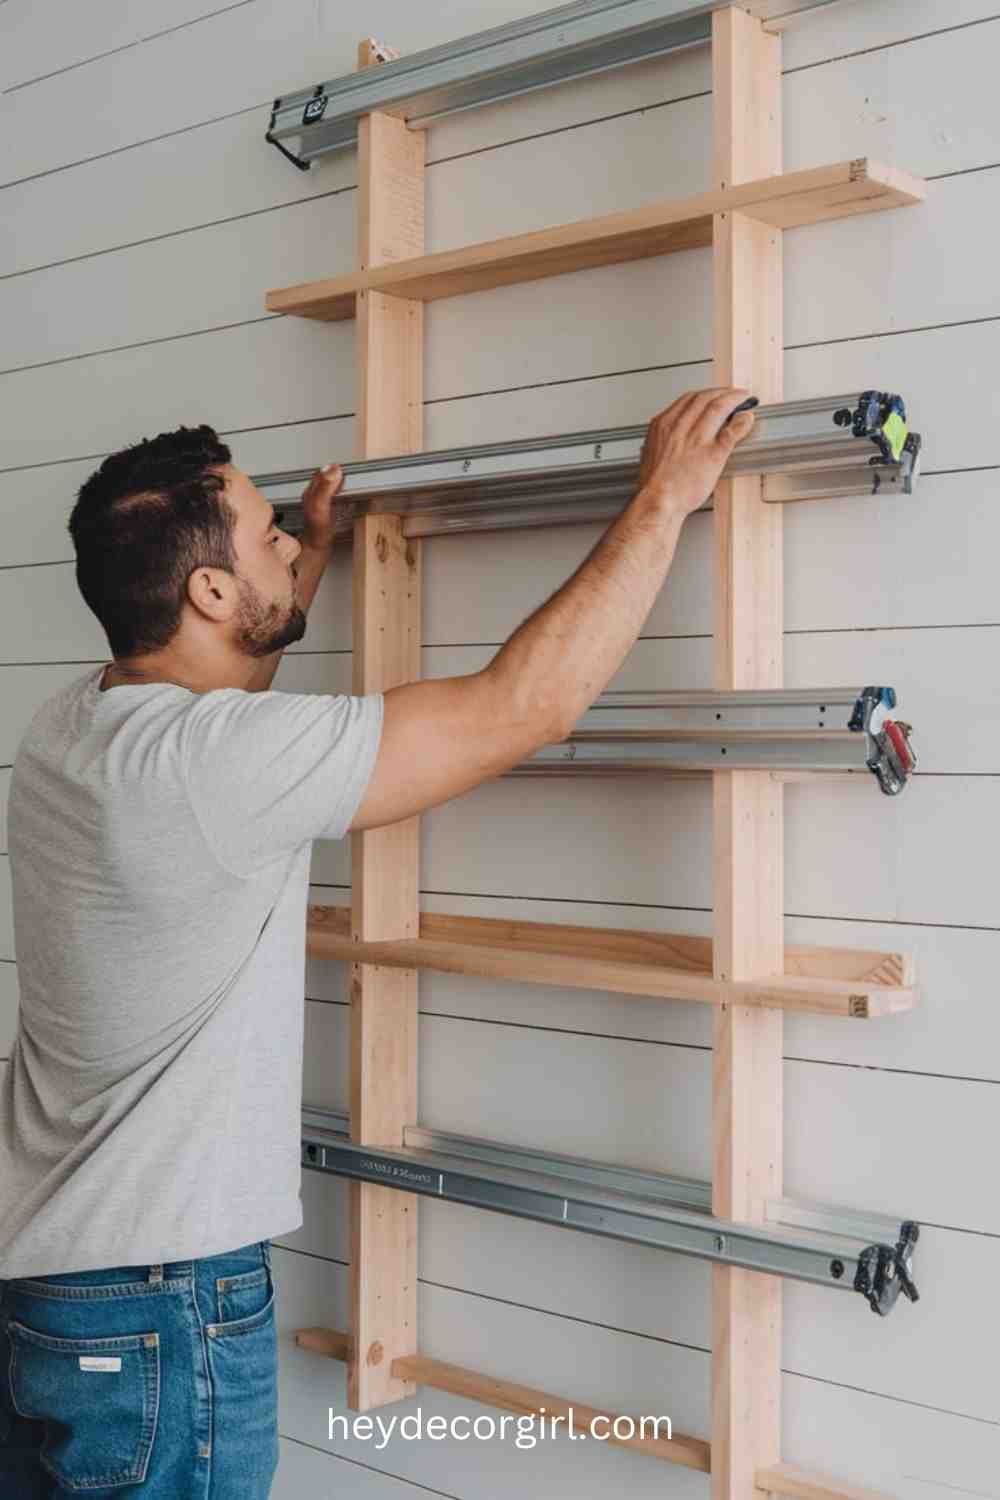
Overhead storage racks are a brilliant solution for freeing up valuable floor space in your garage, allowing you to store seasonal items, boxes, and larger equipment high above, out of the way. These racks are typically mounted on the ceiling or high on the walls, maximizing vertical space that is often underutilized. By moving items off the floor, overhead storage helps to declutter your garage, creating a more organized and efficient space. This is particularly beneficial for garages with limited square footage or for those who need to store large, bulky items like bins, sports equipment, or even ladders.
While overhead racks provide great storage solutions, it’s important to follow safety guidelines when installing them to avoid accidents and ensure stability.
Instructions for Building or Installing Overhead Storage Racks:
Materials Needed:
- Steel or heavy-duty wood for the frame
- Ceiling brackets or wall-mounted supports
- Screws and anchors (designed for ceiling or wall installation)
- Drill and screwdriver
- Measuring tape
- Level
- Saw (if cutting wood)
- Safety goggles and gloves
Instructions:
- Plan and Measure the Space
First, assess the available ceiling space and determine the best location for your overhead storage rack. Measure the ceiling height and consider leaving enough clearance for easy access to the items on the rack. You’ll also want to check for obstacles like lighting fixtures or garage doors that may affect placement. - Choose Your Materials
Overhead storage racks can be built from either steel or strong wooden materials. Steel racks are often prefabricated and easier to install, while wooden racks can be custom-built to fit your garage’s dimensions. Ensure that the material you choose can support the weight of the items you intend to store. - Mark and Drill Holes
Using a measuring tape, mark where the brackets or support beams will be placed on the ceiling or walls. It’s essential to drill into the studs or use heavy-duty anchors, as the weight of the stored items will require a secure attachment. Use a level to ensure that the supports are straight and aligned properly. - Install the Supports
Attach the ceiling brackets or wall-mounted supports, making sure they are securely fastened. If you’re using wooden beams for the frame, ensure they are positioned and fastened tightly with screws for additional stability. - Build the Frame (if using wood)
For custom-built wooden racks, assemble the frame by attaching wooden beams to the supports you’ve installed on the ceiling or walls. Use screws to ensure that the frame is sturdy and level. - Install the Rack
If using a prefabricated steel rack, follow the manufacturer’s instructions for attaching it to the ceiling or wall supports. If you’ve built a wooden frame, place the shelf surface on top of the beams and secure it with screws or bolts. - Safety Checks
Before storing items on the rack, carefully check the structure for stability. Ensure that all screws are tight and that the rack is securely fastened to the ceiling or walls. This is critical for preventing accidents or damage to stored items. - Store Items Safely
Once the overhead rack is securely in place, you can begin storing items. Make sure to distribute the weight evenly across the rack, and avoid overloading it to prevent strain on the supports. Store lighter items near the center and heavier items closer to the supports for added safety.
By following these instructions and safety precautions, you can create a reliable and space-saving overhead storage rack in your garage. This will not only help clear up floor space but also keep your garage more organized, making it easier to access your stored items when needed.
3. Pegboard Tool Organizer
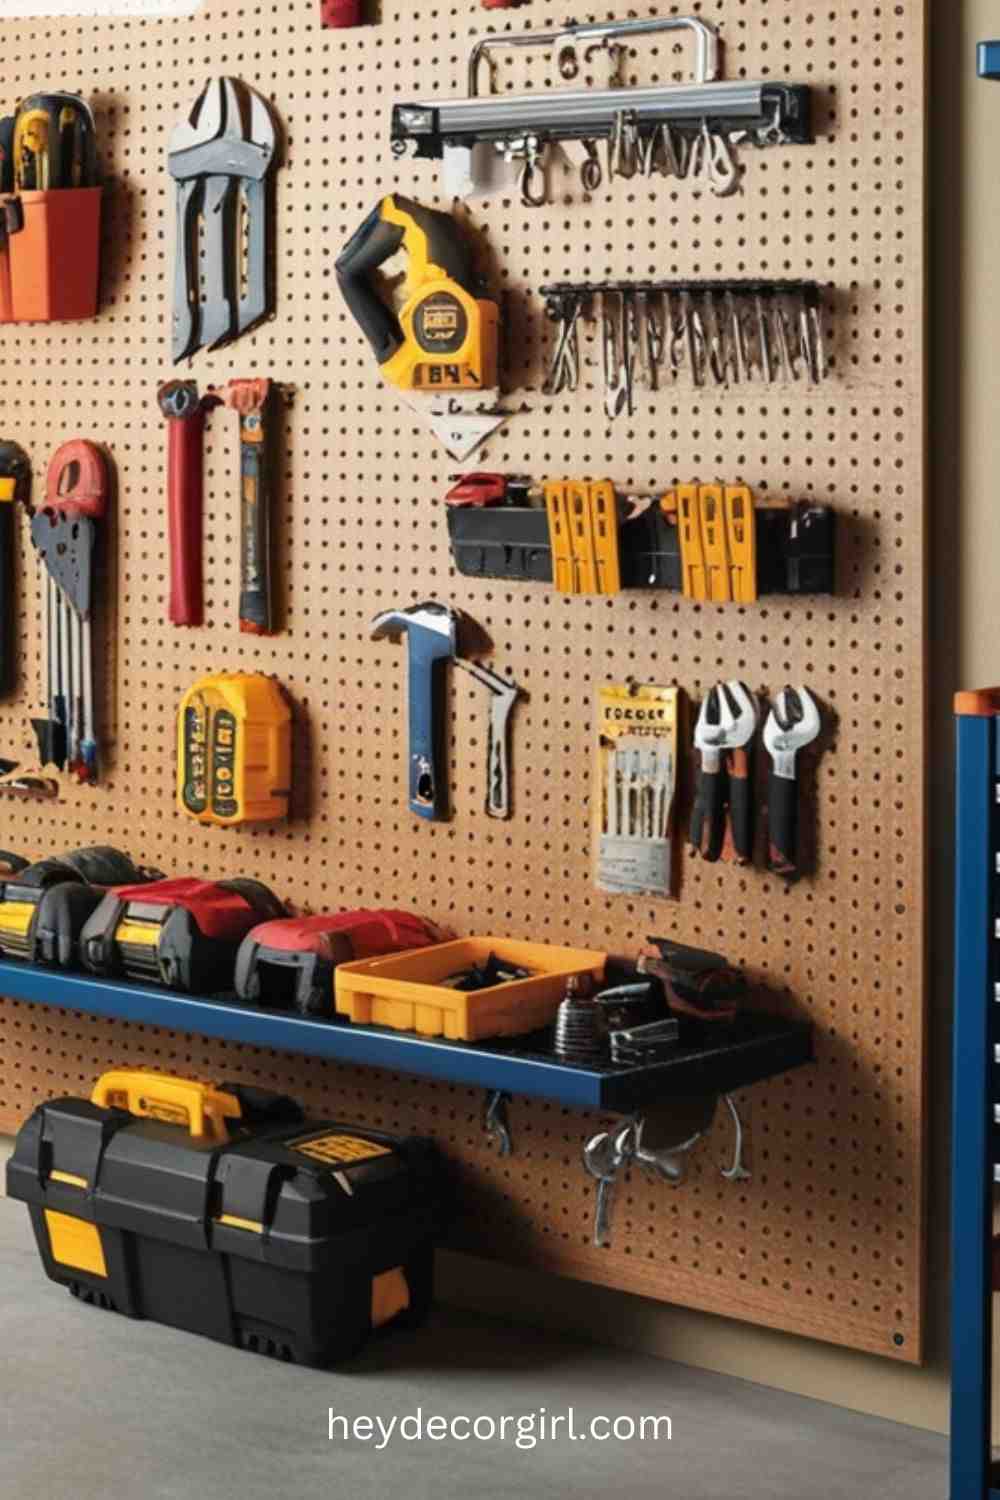
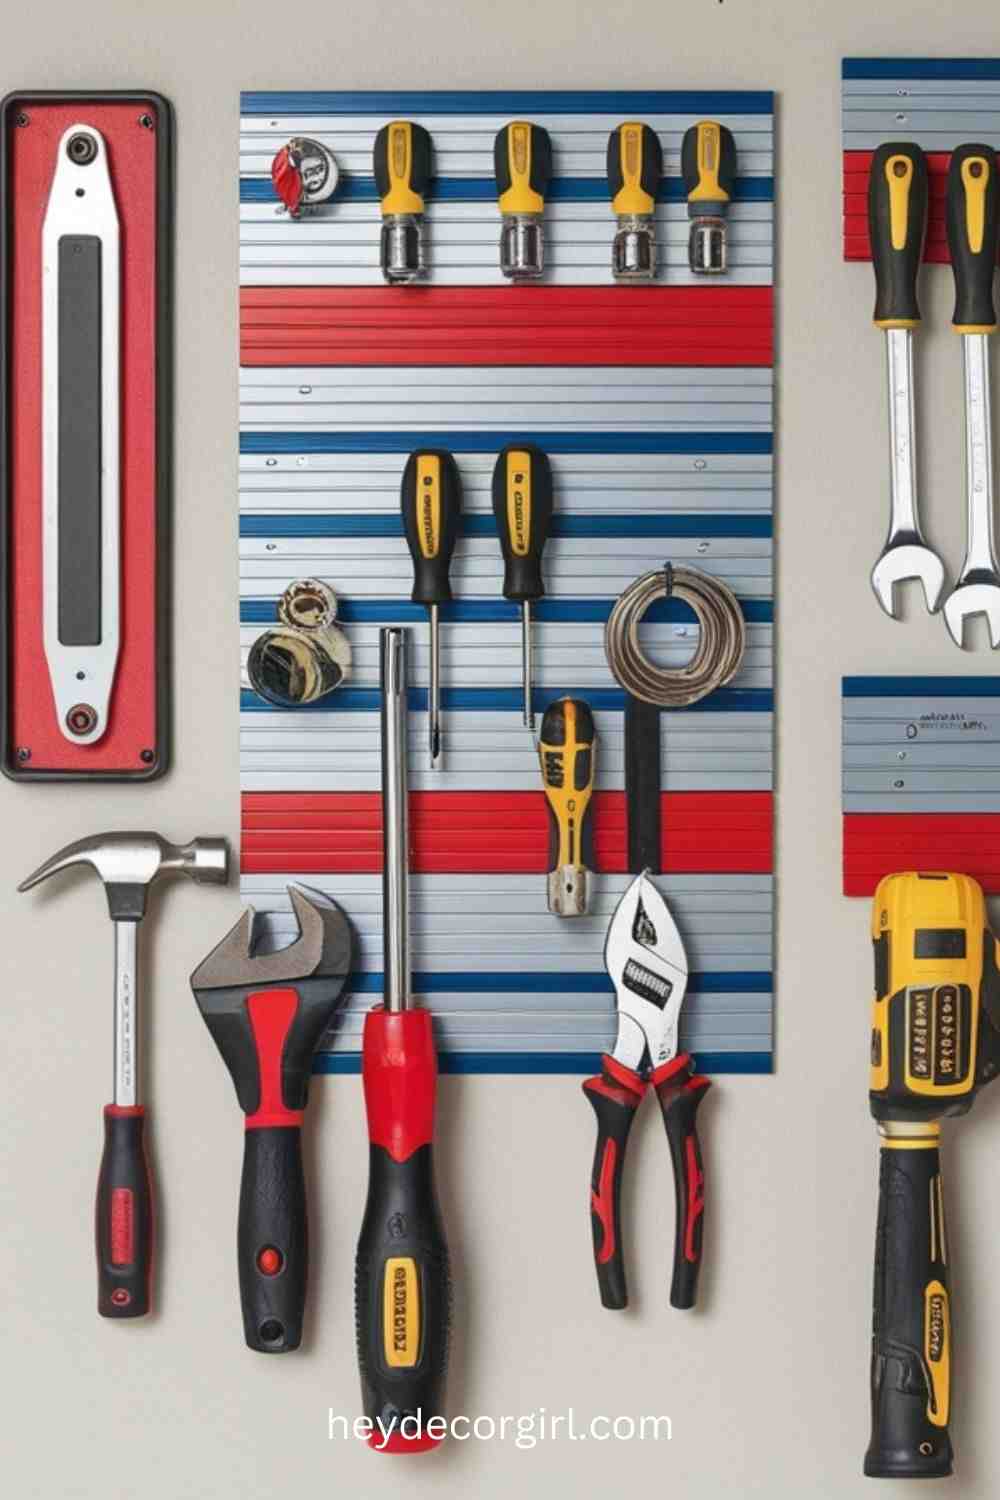
A pegboard tool organizer is an excellent way to keep your garage tools and accessories neat, easily accessible, and visible. Pegboards are versatile, simple to install, and highly customizable, allowing you to hang tools of all shapes and sizes. Whether you need to store hammers, wrenches, screwdrivers, or even smaller accessories like nails and screws, a pegboard system helps you organize everything efficiently. With a pegboard, tools are within easy reach, and you can quickly find what you need, making your workspace more productive and clutter-free.
One of the key benefits of a pegboard system is easy access and visibility. Unlike drawers or toolboxes where you may need to dig through piles of items to find what you’re looking for, pegboards keep everything visible and neatly arranged. You can organize tools by category or size and rearrange them easily as your needs change. It’s a great solution for improving both efficiency and organization in your garage.
How to Create a Pegboard Wall for Hanging Tools and Accessories:
Materials Needed:
- Pegboard (standard size is 4×8 feet, but it can be customized)
- Pegboard hooks, baskets, and shelves
- Drill with bit set
- Screws and wall anchors (for drywall or studs)
- Measuring tape
- Level
- Saw (if cutting pegboard to size)
- Sandpaper (optional)
Instructions:
- Choose the Location
Decide where you want to install the pegboard in your garage. Ideally, it should be in a place that is easily accessible, such as above a workbench or near the tools you use most often. Measure the available space to ensure that the pegboard fits appropriately. - Cut the Pegboard to Size (if needed)
If the pegboard is too large for the space, use a saw to cut it down to the appropriate size. Sand the edges to smooth any rough spots. - Mark the Wall
Use a measuring tape and level to mark the placement of the pegboard on the wall. Make sure the pegboard is level and properly aligned, and mark where the screws will go. - Install Pegboard Spacers (if needed)
In most cases, you’ll need to install spacers (or furring strips) on the wall to create a gap between the pegboard and the wall for the hooks to fit properly. Attach these spacers to the wall, making sure they are securely anchored to the studs. - Attach the Pegboard to the Wall
Drill pilot holes into the wall at the marked spots. Then, attach the pegboard to the spacers using screws. Make sure the pegboard is securely fastened and level. - Add Hooks, Baskets, and Shelves
Once the pegboard is installed, you can start adding hooks, baskets, and small shelves to hang and store your tools and accessories. Pegboard hooks come in various shapes and sizes, so choose the ones that best fit your tools. Use baskets for storing smaller items like screws, nails, and nuts. - Organize Your Tools
Begin hanging your tools on the pegboard. Group similar tools together (e.g., screwdrivers, hammers, pliers), and consider labeling sections or sections of the board for easy identification. The more you organize, the easier it will be to quickly locate the tools you need. - Adjust as Needed
One of the advantages of a pegboard system is its flexibility. As your collection of tools grows or changes, you can easily rearrange the hooks and baskets to accommodate new items. This adaptability ensures that your pegboard remains useful as your tool collection evolves.
With a pegboard tool organizer, you can transform your garage into a highly organized workspace. The easy visibility and access make it perfect for keeping tools in order, and its customizable design means it can adapt to your needs. Whether you’re a weekend DIYer or a professional, a pegboard is an efficient and functional storage solution.
4. PVC Pipe Tool Holders
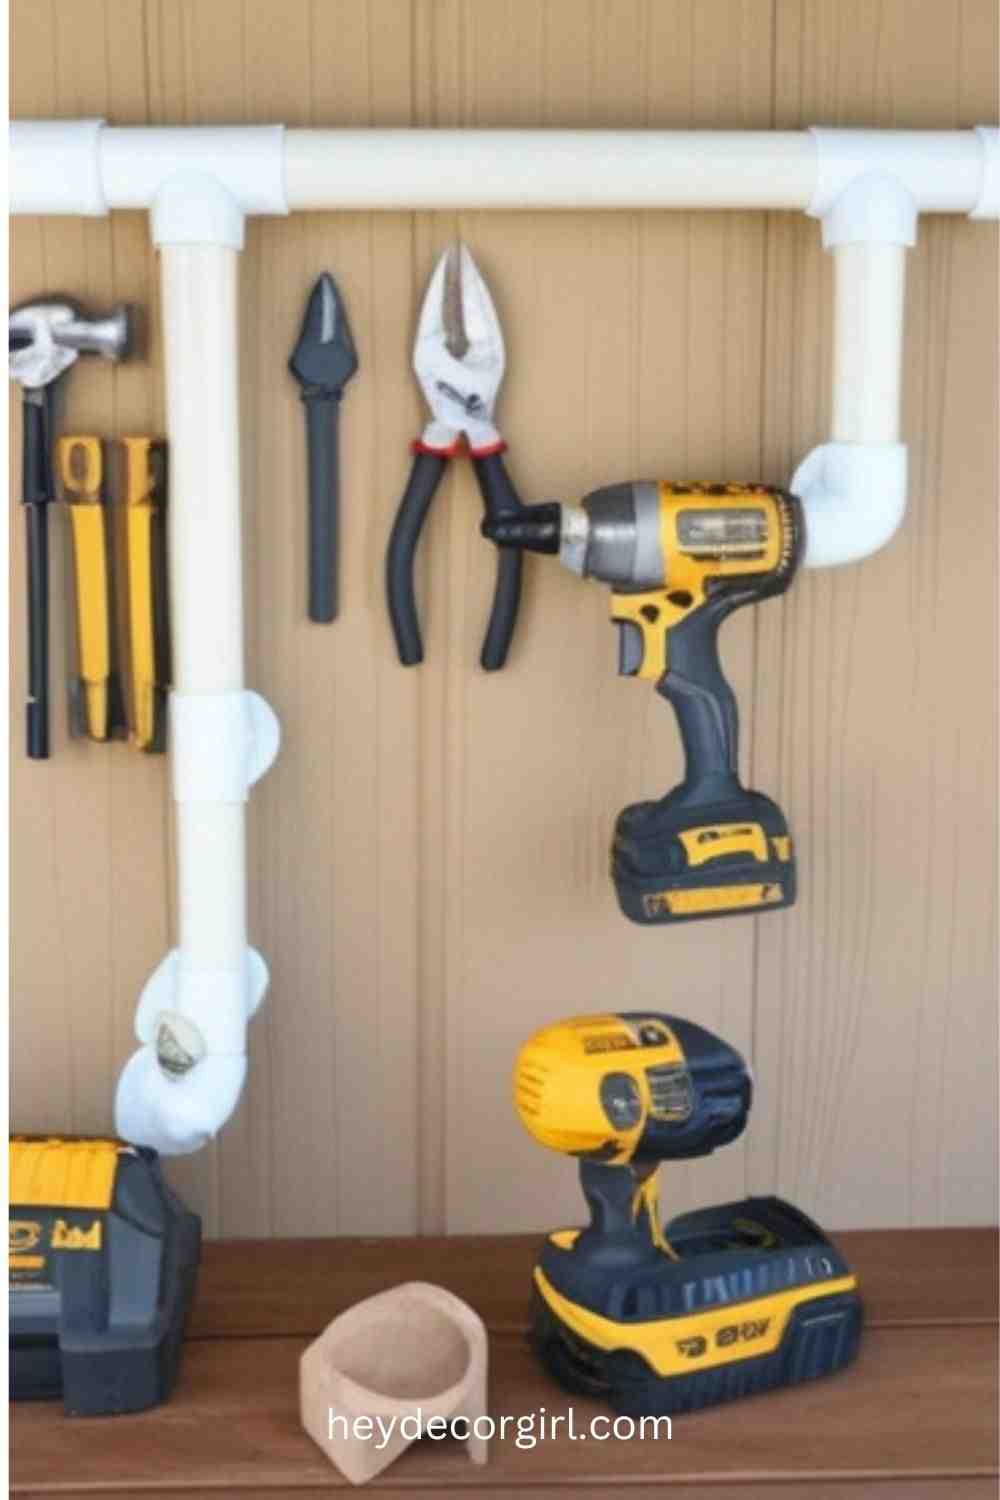
PVC pipes are a creative and budget-friendly solution for organizing tools in your garage. With their durability, ease of use, and low cost, PVC pipes can be transformed into a versatile storage system for holding everything from screwdrivers and hammers to small hand tools and garden equipment. The best part is that PVC pipes can be easily customized to fit your garage’s layout and your specific storage needs. Whether you’re looking to store long-handled tools, wrenches, or small accessories, PVC pipe holders offer a simple, affordable way to keep your garage organized.
The benefit of using PVC pipes is that they are lightweight, easy to cut, and can be mounted on walls to save floor space. You can create a tailored system that keeps tools easily accessible and visible, preventing clutter from piling up. Additionally, PVC pipes are resistant to moisture, which is ideal for the often-damp conditions of a garage.
Guide to Cutting and Assembling PVC Pipes for Tool Storage on Walls:
Materials Needed:
- PVC pipes (1 to 3-inch diameter, depending on tool size)
- PVC pipe cutter or saw
- PVC pipe connectors (elbows, tees, etc.)
- Drill and screws (for mounting on wall)
- Wall anchors (if needed)
- Measuring tape
- Marker or pencil
- Sandpaper (optional, for smoothing cut edges)
Instructions:
- Plan the Storage System
Start by determining what tools you want to store and the number of pipes you need for each type of tool. For example, smaller tools like screwdrivers may require smaller diameter pipes, while larger items like hammers or garden tools will need bigger pipes. Measure the space on your wall to figure out how much room you have for your PVC pipe storage system. - Cut the PVC Pipes
Using a PVC pipe cutter or a saw, cut the pipes to the desired lengths. The length of each section should correspond to the size of the tool you want to store. For example, cut longer sections for tools with handles, such as screwdrivers or pliers, and shorter pieces for smaller items. Be sure to cut the pipes evenly and smooth the edges with sandpaper if needed to prevent sharp edges. - Arrange the PVC Pipes
Lay out the cut PVC pipes on the floor to visualize how you want the storage system to look on your wall. Consider how you’ll position each pipe to ensure it holds the tools securely and makes them easily accessible. You can create individual holders for each tool or group tools together by type. - Attach Connectors (if needed)
If you want to build a more intricate system with multiple levels or rows of PVC pipes, you can use PVC connectors such as elbows or tees to connect different pieces. For example, you could create a grid pattern or staggered rows of pipes to store different types of tools. Simply slide the pipes into the connectors and secure them with PVC cement if necessary (following the manufacturer’s instructions). - Mark and Drill Holes for Mounting
Once your PVC pipe system is arranged, hold the pipes against the wall and use a measuring tape to mark the placement. Make sure everything is level and evenly spaced. Mark the spots where you’ll drill holes to secure the PVC pipe holder to the wall. - Mount the PVC Pipes
Drill holes into the wall at the marked spots. If you’re drilling into drywall, use wall anchors for extra support. Then, use screws to attach the PVC pipe holders to the wall. Depending on your design, you may want to drill through the PVC pipes directly into the wall, or you can attach a backing board to mount the pipes. - Organize Your Tools
After securing the PVC pipes on the wall, it’s time to organize your tools. Place each tool into its designated pipe, arranging them according to size or function. The open ends of the pipes should be facing outward for easy access, and tools can be slid in and out of the pipes as needed. - Adjust as Necessary
If needed, adjust the placement of the pipes or add more sections to your system over time as your tool collection grows or changes.
With PVC pipe tool holders, you can create a simple, functional, and cost-effective tool storage system that helps keep your garage organized and your tools easily accessible. The versatility of PVC allows for endless customization, and the ease of installation means you can get your system set up quickly and efficiently.

Hi, I’m Richa, the creative mind and passionate soul behind Hey Decor Girl. With a bachelor’s degree in Inter-space Design and a deep love for transforming spaces, I’ve dedicated my career to bringing style, comfort, and personality into homes. As an interior designer and architect, I’ve had the pleasure of crafting unique living environments that reflect the individuality of those who live in them.
At Hey Decor Girl, I share my expertise in all things home decor—from cozy living room makeovers to rustic farmhouse designs and everything in between. My mission is to inspire you to create spaces that not only look stunning but also feel like home. Whether you’re looking for the latest trends or timeless classics, I’m here to guide you every step of the way. Let’s make your dream home a reality, one stylish detail at a time.
DIY Garage DIY Garage Storage Ideas Garage Storage Ideas
Last modified: November 26, 2024
![Hey Decor Girl [Latest Trending Decor Design Ideas]](https://heydecorgirl.com/wordpress/wp-content/uploads/2024/08/Heygirldecor-Logo.png)


