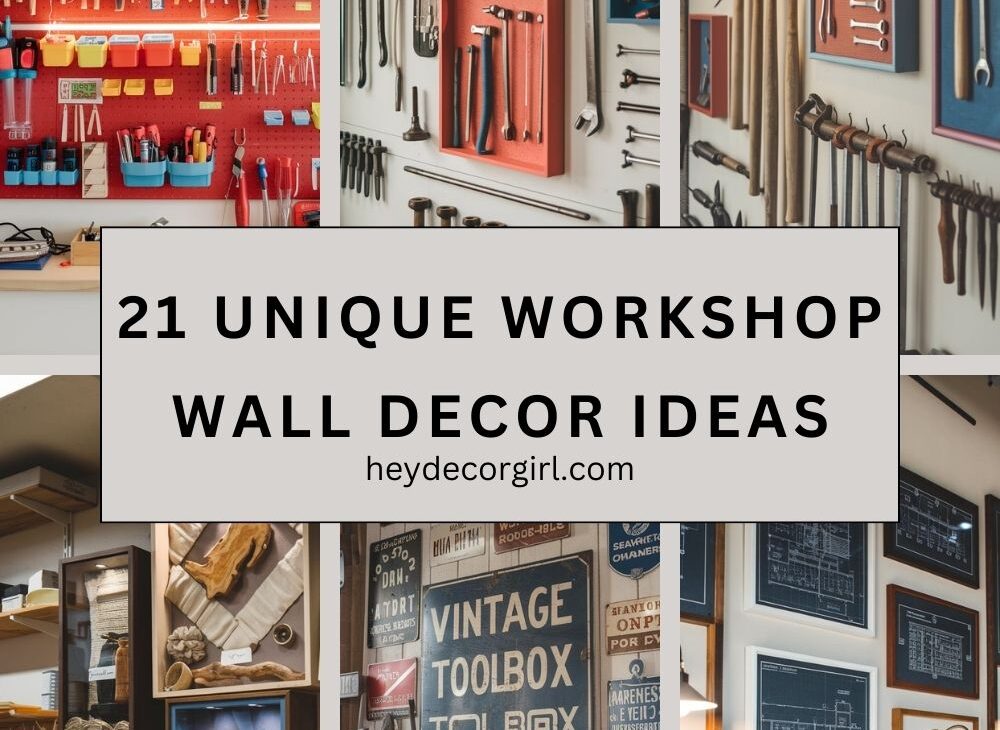
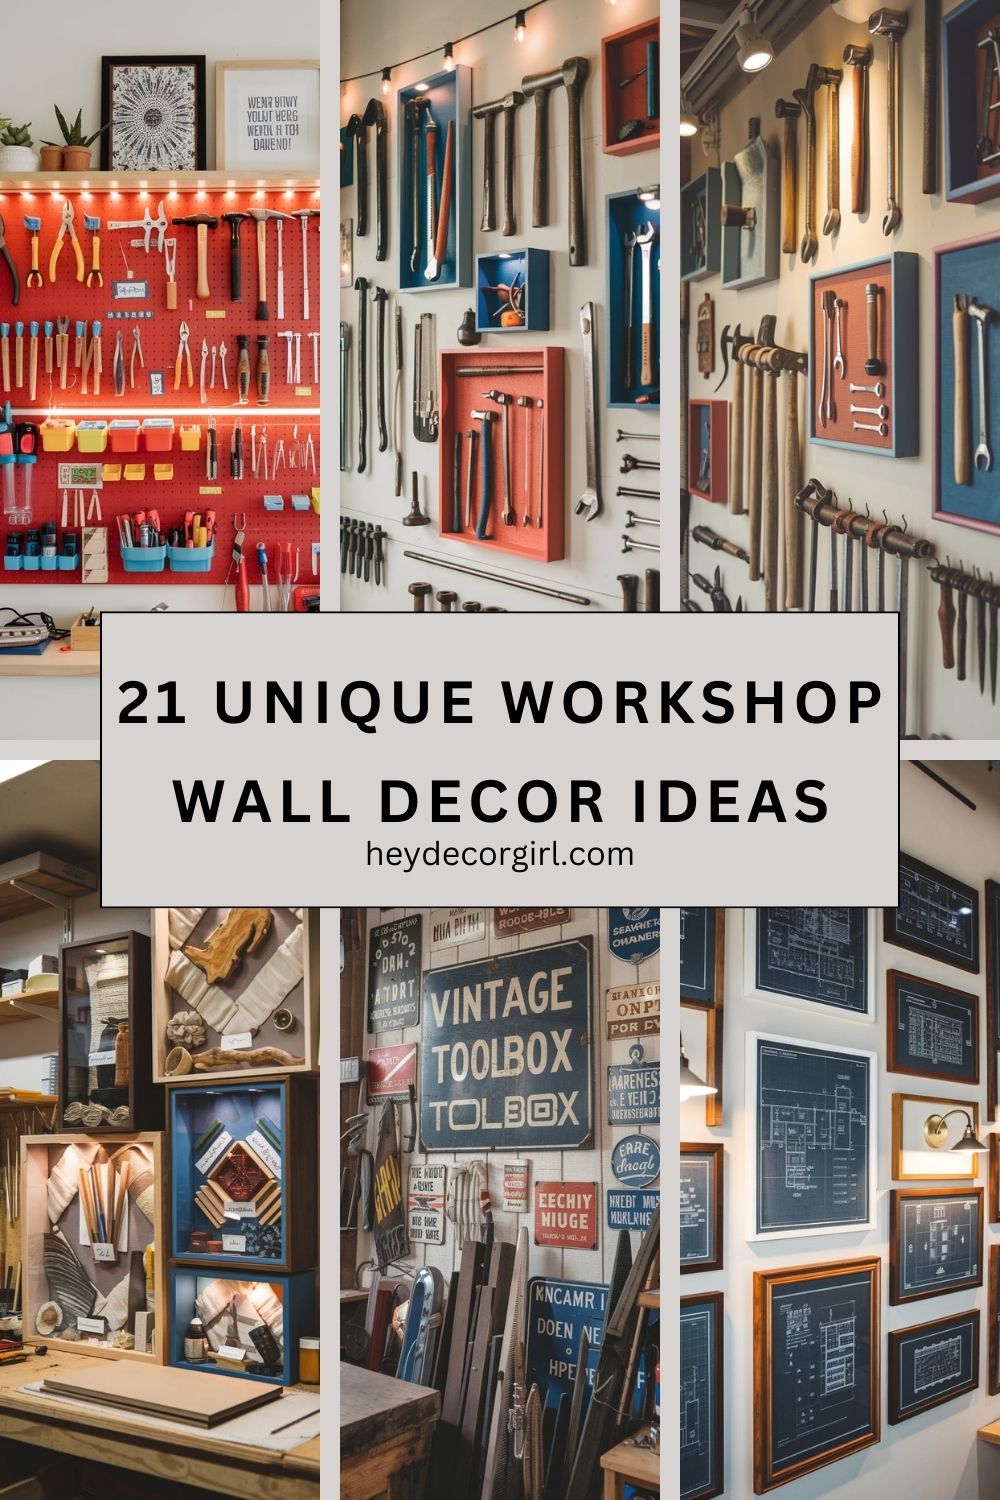
Workshop Wall Decor Ideas is essential for both functionality and inspiration. Workshop wall decor plays a crucial role in transforming a simple workspace into a haven for creativity and productivity. By thoughtfully curating your wall space, you not only optimize organization but also set the mood for your projects.
Personalized decor reflects your unique style and interests, making your workshop a place where you feel motivated and engaged. Whether it’s displaying tools as art, incorporating inspirational quotes, or showcasing completed projects, the right decor can spark creativity and drive innovation. Investing time in your workshop wall decor can lead to a more enjoyable and efficient working environment, ultimately enhancing your overall productivity.
Unique Workshop Wall Decor Ideas
1. Gallery Wall of Tools
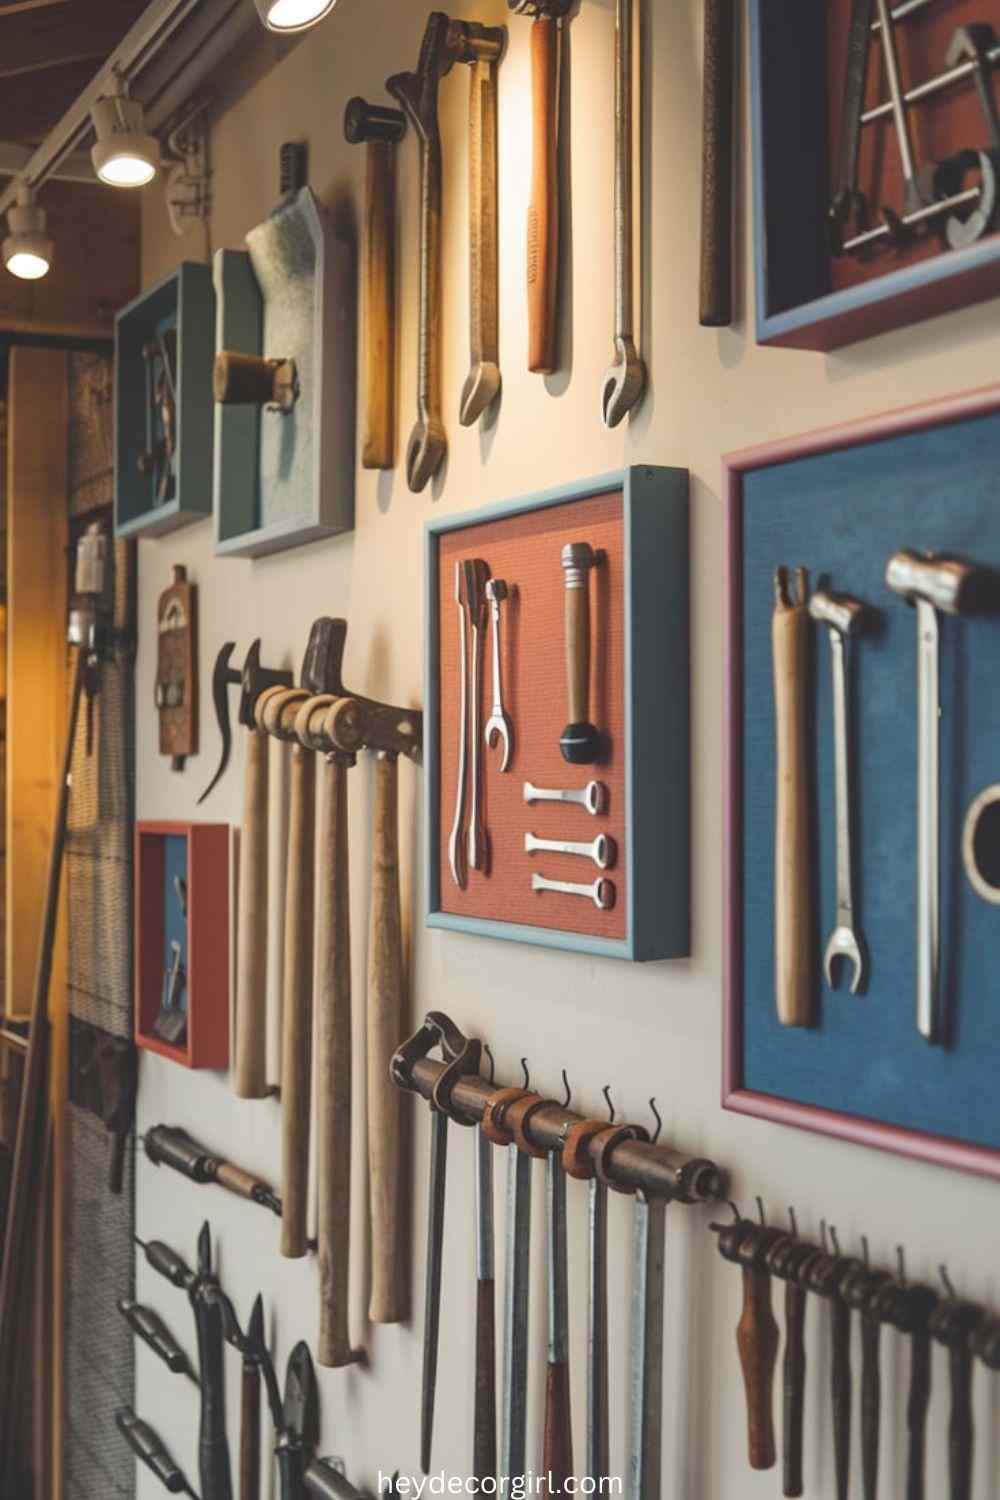
A gallery wall of tools is a creative and functional way to showcase your collection while adding character to your workshop. This display transforms ordinary tools into striking visual elements, making them both accessible and aesthetically pleasing.
Selecting Tools: Start by gathering a variety of vintage or interesting tools, such as wrenches, hammers, screwdrivers, or pliers. Look for pieces with unique designs, colors, or finishes that will stand out as decor. You might also consider tools that have personal significance or a history, adding a storytelling element to your display.
Arrangement Ideas: When arranging your tools, consider creating a symmetrical or asymmetrical layout on the wall. You can use shadow boxes or floating shelves to create depth, allowing you to layer tools in front of one another for a dynamic effect. Alternatively, hang them directly on the wall using hooks or brackets, which will keep them organized and easily accessible.
2. Colorful Pegboard Displays
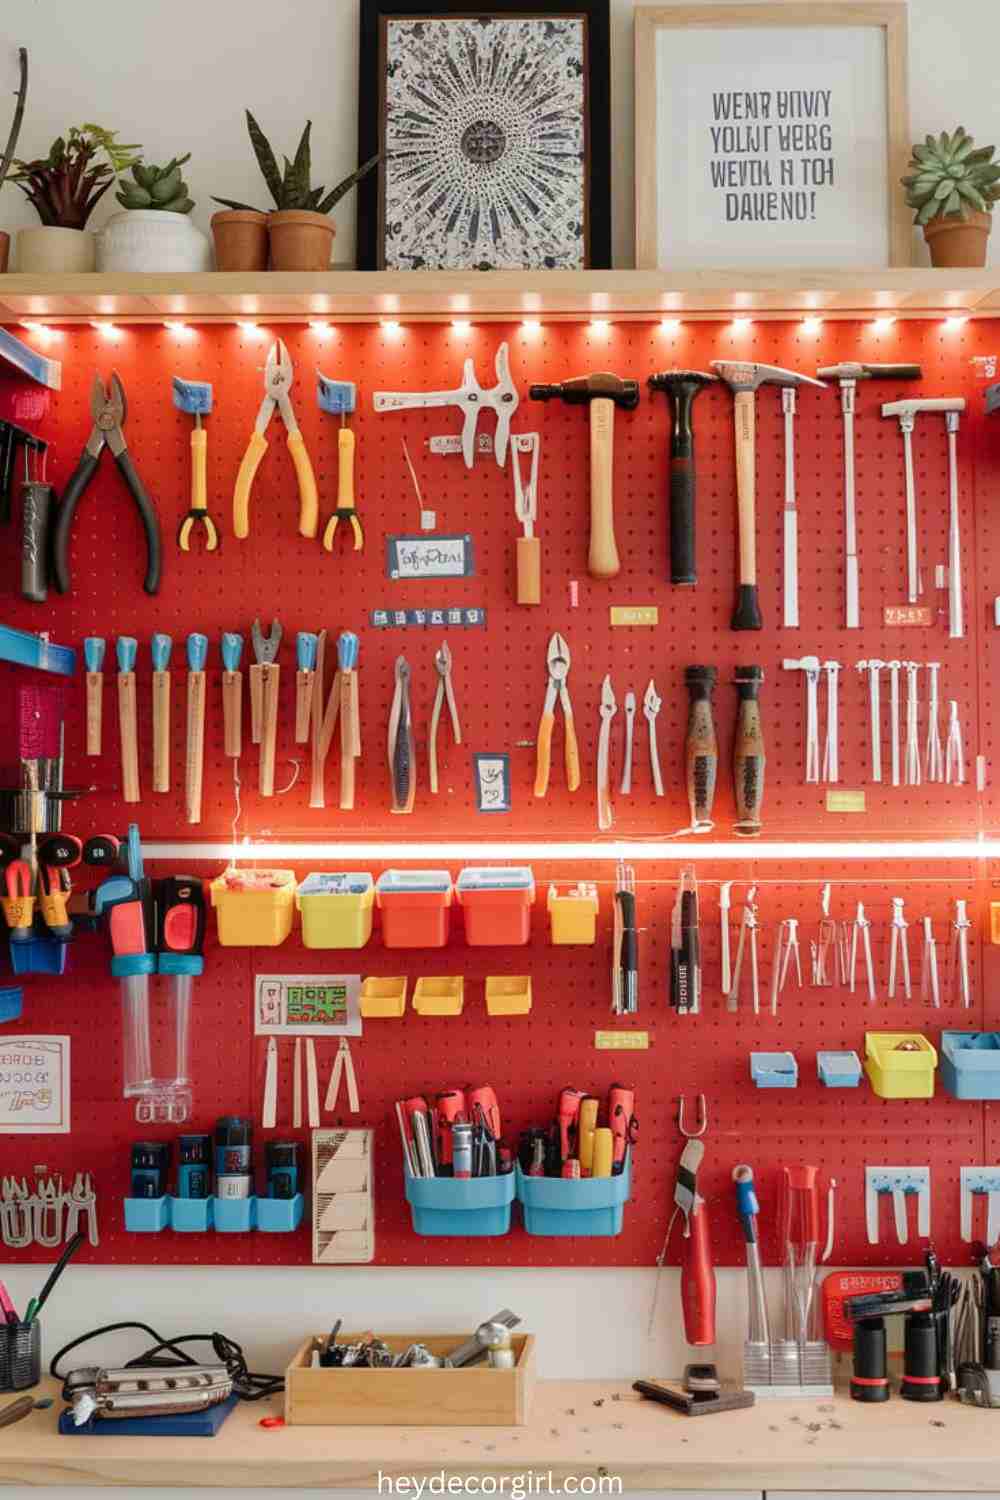
Colorful pegboard displays are an excellent way to combine organization and vibrant aesthetics in your workshop. These versatile boards not only keep tools and supplies within reach but also allow you to infuse your space with personality and creativity.
Choosing the Right Colors: Start by selecting pegboards in colors that resonate with your style or complement the overall theme of your workshop. Bright, bold colors like red, blue, or yellow can energize the space, while softer hues like pastels can create a calming environment. You can also opt for a neutral pegboard and paint it in a color that matches your workshop decor.
Organizing Tools: Once you have your pegboard ready, begin arranging your tools in a way that maximizes accessibility and functionality. Use a variety of hooks, shelves, and containers designed for pegboards to customize your layout. Group similar tools together—such as pliers, hammers, and screwdrivers—to create an efficient workflow.
Adding Decorative Elements: Beyond just functional tools, consider incorporating decorative elements on your pegboard. Hang framed art or inspirational quotes alongside your tools to create a gallery-like feel. You can also add small potted plants or decorative containers to bring a touch of nature and color to the display.
Incorporating Labels: To enhance organization and add to the visual appeal, consider labeling the various tools and containers on the pegboard. Use colorful label makers or handwritten tags to create a cohesive look. This not only makes it easier to find what you need but also adds an extra layer of personalization to your display.
3. Inspirational Quotes
Incorporating inspirational quotes into your workshop decor is a fantastic way to foster motivation and creativity. These quotes can serve as daily reminders to stay focused and inspired, helping to create an uplifting environment for your projects.
Choosing the Right Quotes: Start by selecting quotes that resonate with you personally or align with your creative process. Look for quotes from famous artists, inventors, or even your own thoughts that inspire you to pursue your craft. The key is to choose phrases that encourage you and reflect your passion for your work.
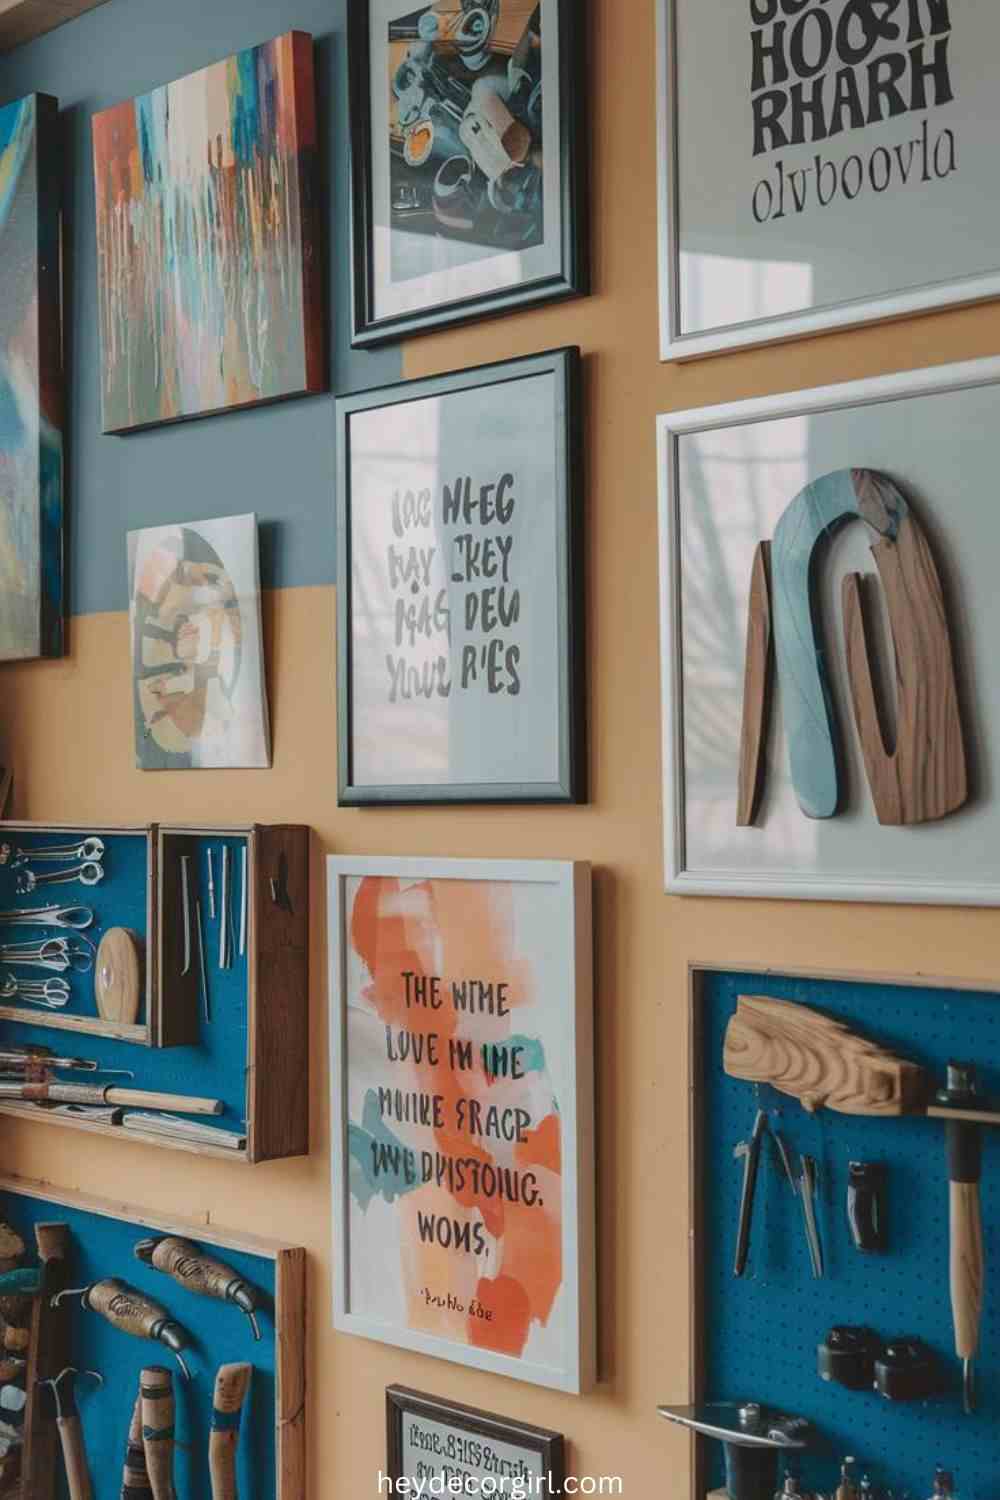
Framing Options: Once you’ve chosen your quotes, consider how to display them. Framing your quotes adds a polished touch and makes them more visually appealing. Use frames that match the style of your workshop—whether it’s rustic wood, modern metal, or colorful designs. You can also create a cohesive look by using frames of the same color or style.
Decals and Wall Art: If you prefer a more casual approach, consider using wall decals or stickers featuring your chosen quotes. These can be easily applied and removed, allowing you to update your decor as your inspiration evolves. Look for decals in various fonts and colors that complement the overall aesthetic of your workshop.
4. Rustic Wood Accents
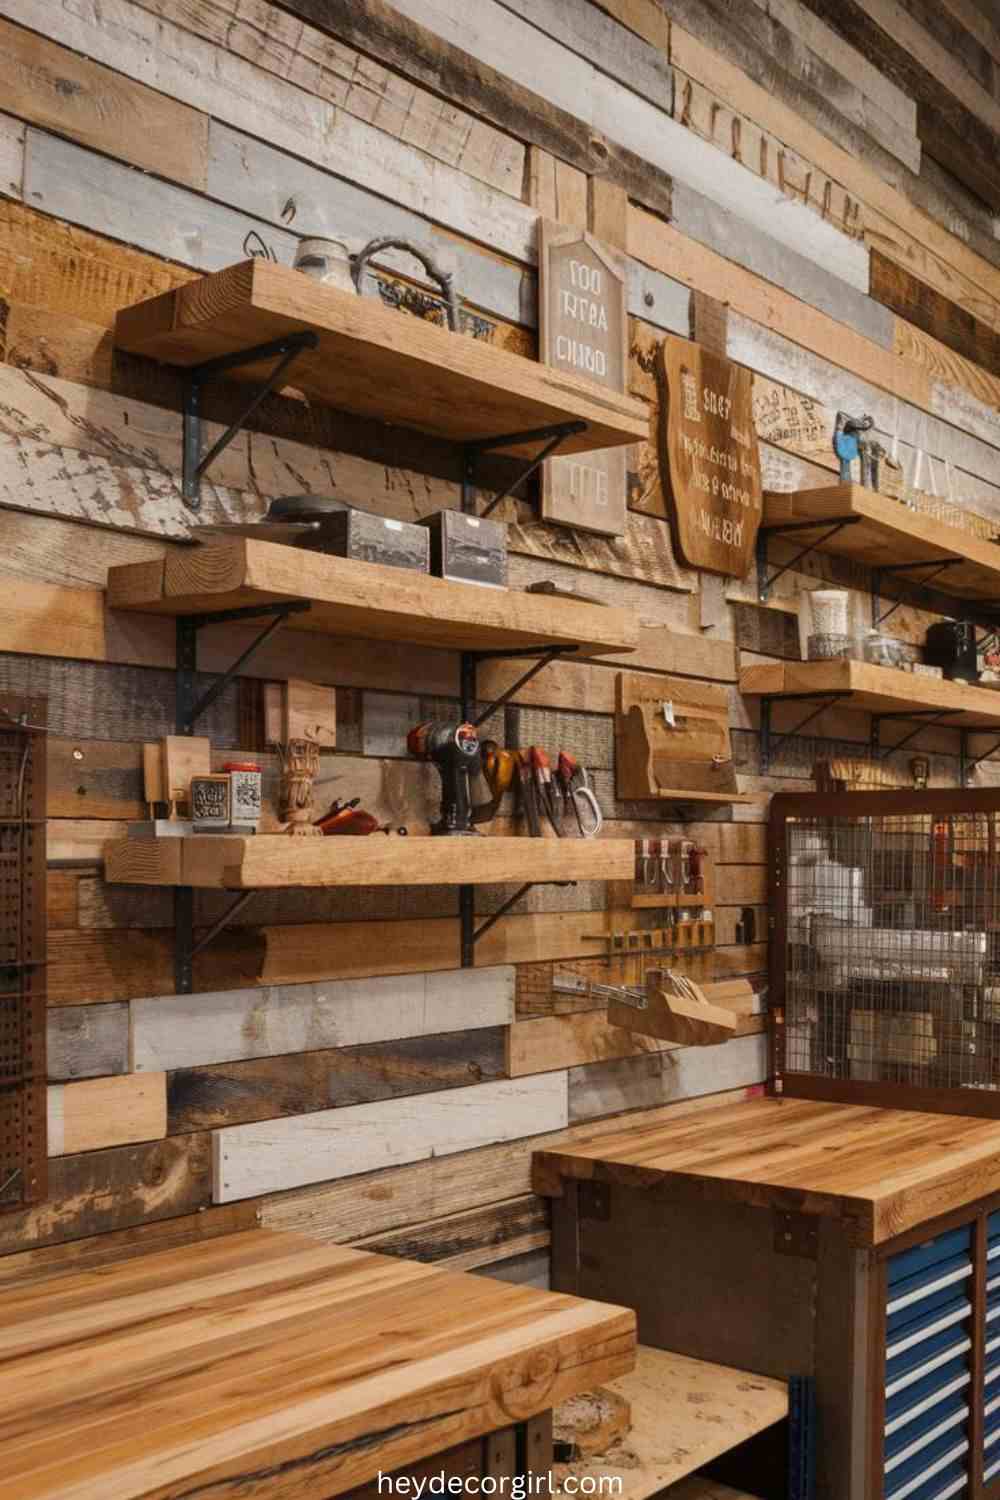
Using reclaimed wood accents in your workshop is a great way to infuse warmth and character while promoting a rustic aesthetic. This sustainable approach not only adds visual appeal but also contributes to an eco-friendly workspace.
Selecting Reclaimed Wood: Start by sourcing reclaimed wood from local salvage yards, old barns, or even repurposed furniture. Look for pieces with interesting textures, colors, and grain patterns. Weathered wood with visible knots, scratches, and a natural patina can bring a unique charm to your decor.
Creating Shelving and Storage: One of the most effective ways to incorporate reclaimed wood is through shelving and storage solutions. Use sturdy planks to build shelves that can display tools, projects, or decorative items. Floating shelves made from reclaimed wood can create an airy feel while providing essential storage space without overwhelming the workshop.
Feature Walls: Consider creating a feature wall with reclaimed wood. Arranging the wood planks horizontally or vertically adds visual interest and texture. This accent wall can serve as a stunning backdrop for your workbench or tool area, enhancing the rustic vibe of the entire space.
5. Hobby-Themed Art
Creating hobby-themed wall art is an inspiring way to personalize your workshop and celebrate your passions. This type of decor not only enhances the aesthetic appeal of your workspace but also serves as a constant reminder of what you love to do.
Showcasing Your Craft: Start by selecting art pieces that directly reflect your hobbies. For example, if you’re into painting, consider displaying your own artwork or prints of pieces that inspire you. If woodworking is your passion, showcase handcrafted wood art or sculptures that highlight your skills and creativity.
Creating Custom Art: Don’t hesitate to create your own custom art pieces. Use leftover materials from your projects to craft unique wall hangings, such as wooden frames, painted canvases, or even mixed media displays. This not only gives your workshop a personal touch but also showcases your talents and interests.
Incorporating Tools as Art: Another creative approach is to transform tools into art. Arrange your favorite tools in an artistic layout on the wall, perhaps framing them or hanging them in shadow boxes. This not only highlights your equipment but also emphasizes the beauty of the tools themselves.
Framed Inspirational Prints: Consider framing prints or quotes that resonate with your hobbies. These could be motivational phrases related to your craft or artistic images that inspire you. Hang these framed pieces in a cohesive gallery wall format, mixing various sizes and styles for visual interest.
Thematic Color Schemes: To create a unified look, choose color schemes that align with your hobbies. For instance, if you enjoy floral painting, incorporate botanical colors into your wall art. If you’re into metalworking, consider using metallic accents in your artwork. This thematic approach ties the decor together and enhances the overall ambiance.
6. Mood Boards
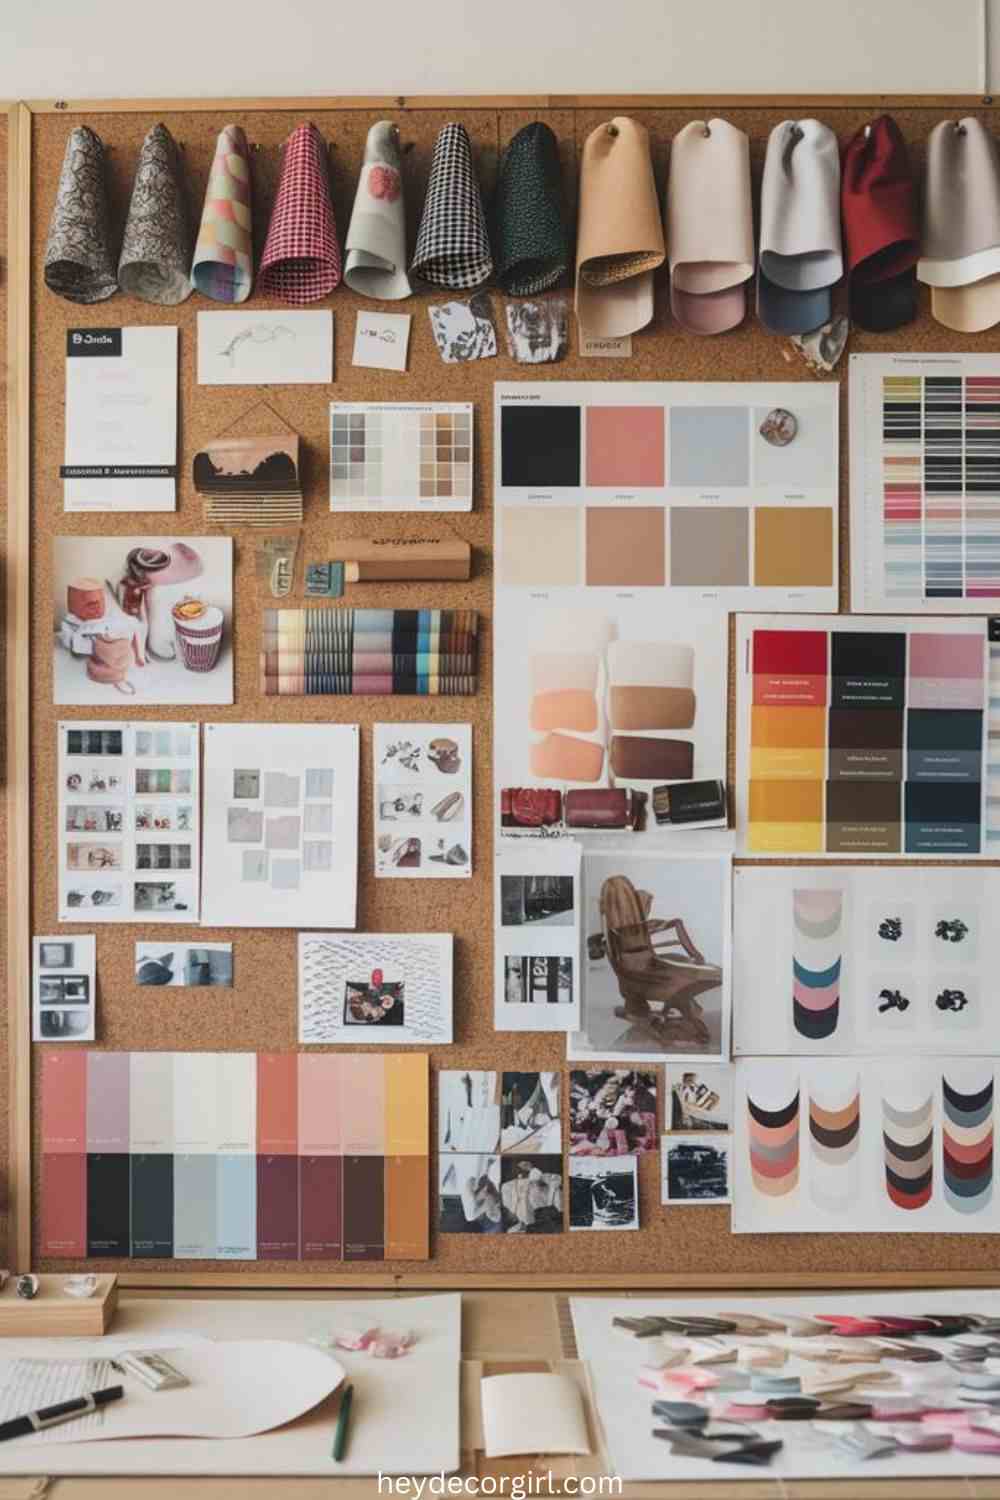
Utilizing a section of the wall for a mood board is an excellent way to cultivate inspiration and focus for your ongoing projects. Mood boards serve as a visual collection of ideas, colors, textures, and designs that can motivate you and guide your creative process.
Choosing the Right Location: Start by selecting a prominent area in your workshop where your mood board can be easily accessed and viewed. This could be above your workbench or near your tool area. Make sure it’s a spot where you spend a lot of time, as this will help keep your inspirations top of mind.
Creating the Base: Use corkboard, a large canvas, or even a section of painted wall as the base for your mood board. Corkboards allow for easy pinning and swapping of materials, while a canvas can give a more polished look. If using a wall section, consider framing the area to define it as your mood board space.
Gathering Inspiration: Fill your mood board with a variety of inspirational materials. This can include fabric swatches, color palettes, magazine clippings, sketches, photos of completed projects, or even quotes that resonate with you. Don’t hesitate to mix different mediums to create a dynamic visual effect.
7. Upcycled Frames for Tool Organization
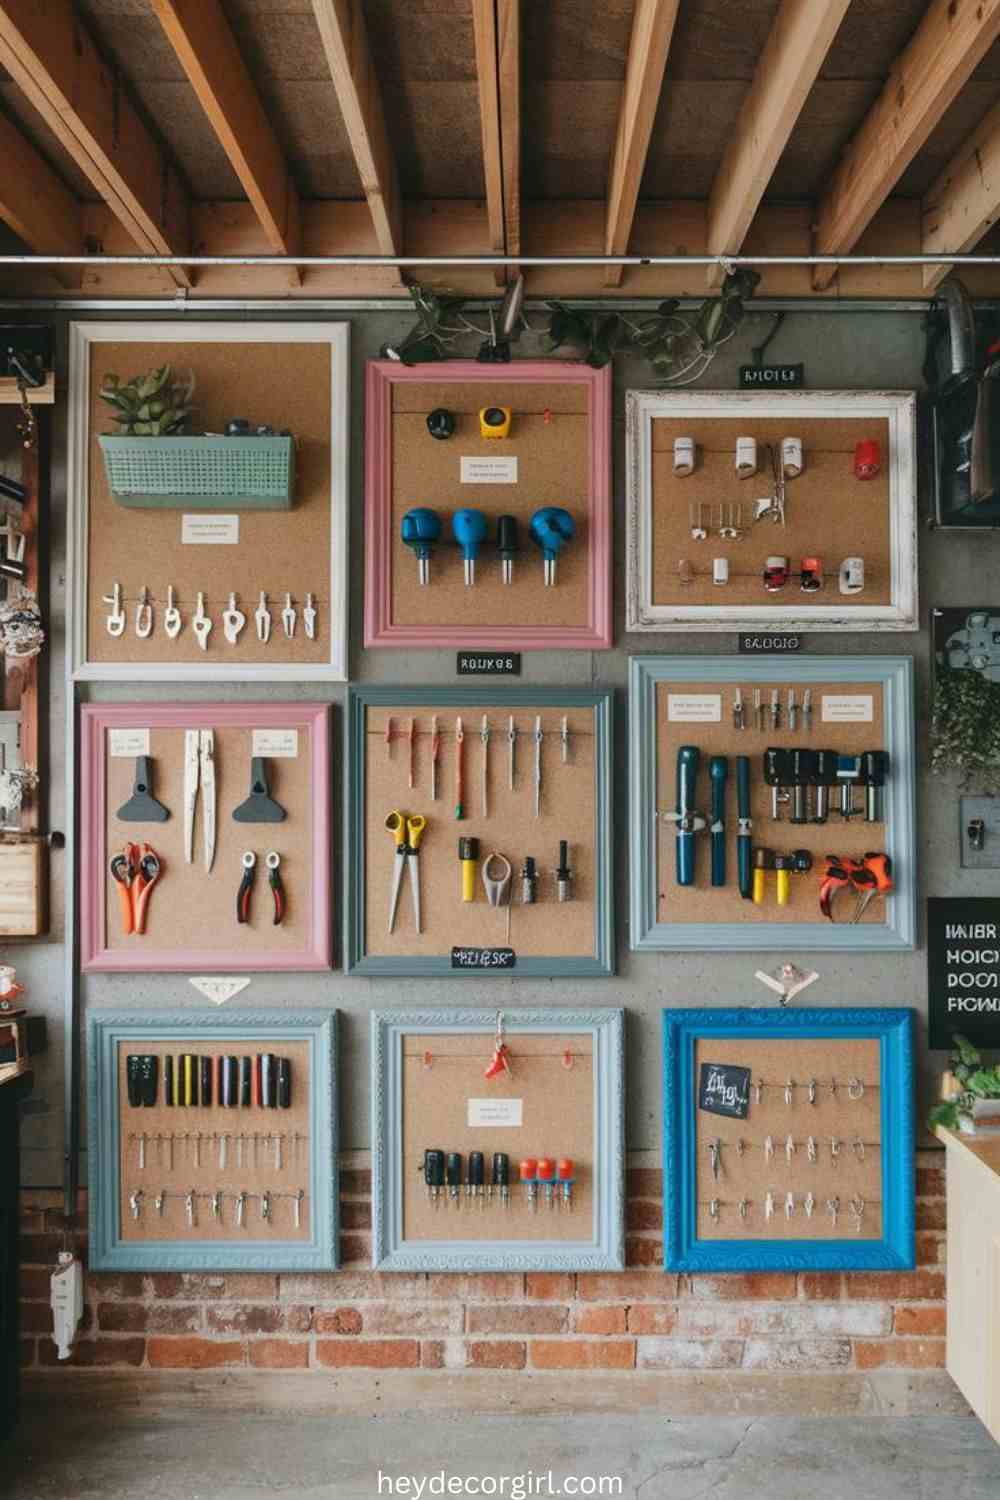
Transforming old frames into organizational displays for smaller tools is a clever and creative way to enhance both the functionality and aesthetic of your workshop. This DIY project not only promotes sustainability by upcycling materials but also adds a personalized touch to your workspace.
Choosing the Right Frames: Start by sourcing old frames from thrift stores, garage sales, or your own collection. Look for frames in various sizes and styles to create an interesting visual display. Frames with intricate designs can add character, while simple ones can offer a more modern look.
Preparing the Frames: Clean the frames and, if desired, repaint or refinish them to match your workshop’s color scheme. You can use chalk paint for a rustic feel or spray paint for a sleek finish. Ensure the frames are sturdy enough to hold the tools you plan to display.
Adding Backing and Hooks: To transform the frames into functional displays, you’ll need to add a backing that can support your tools. This can be a piece of plywood or a corkboard cut to fit the frame. Once the backing is secured, attach small hooks, clips, or pegboard hooks to hold your tools in place. These can be used for scissors, pliers, screwdrivers, or any small hand tools you frequently use.
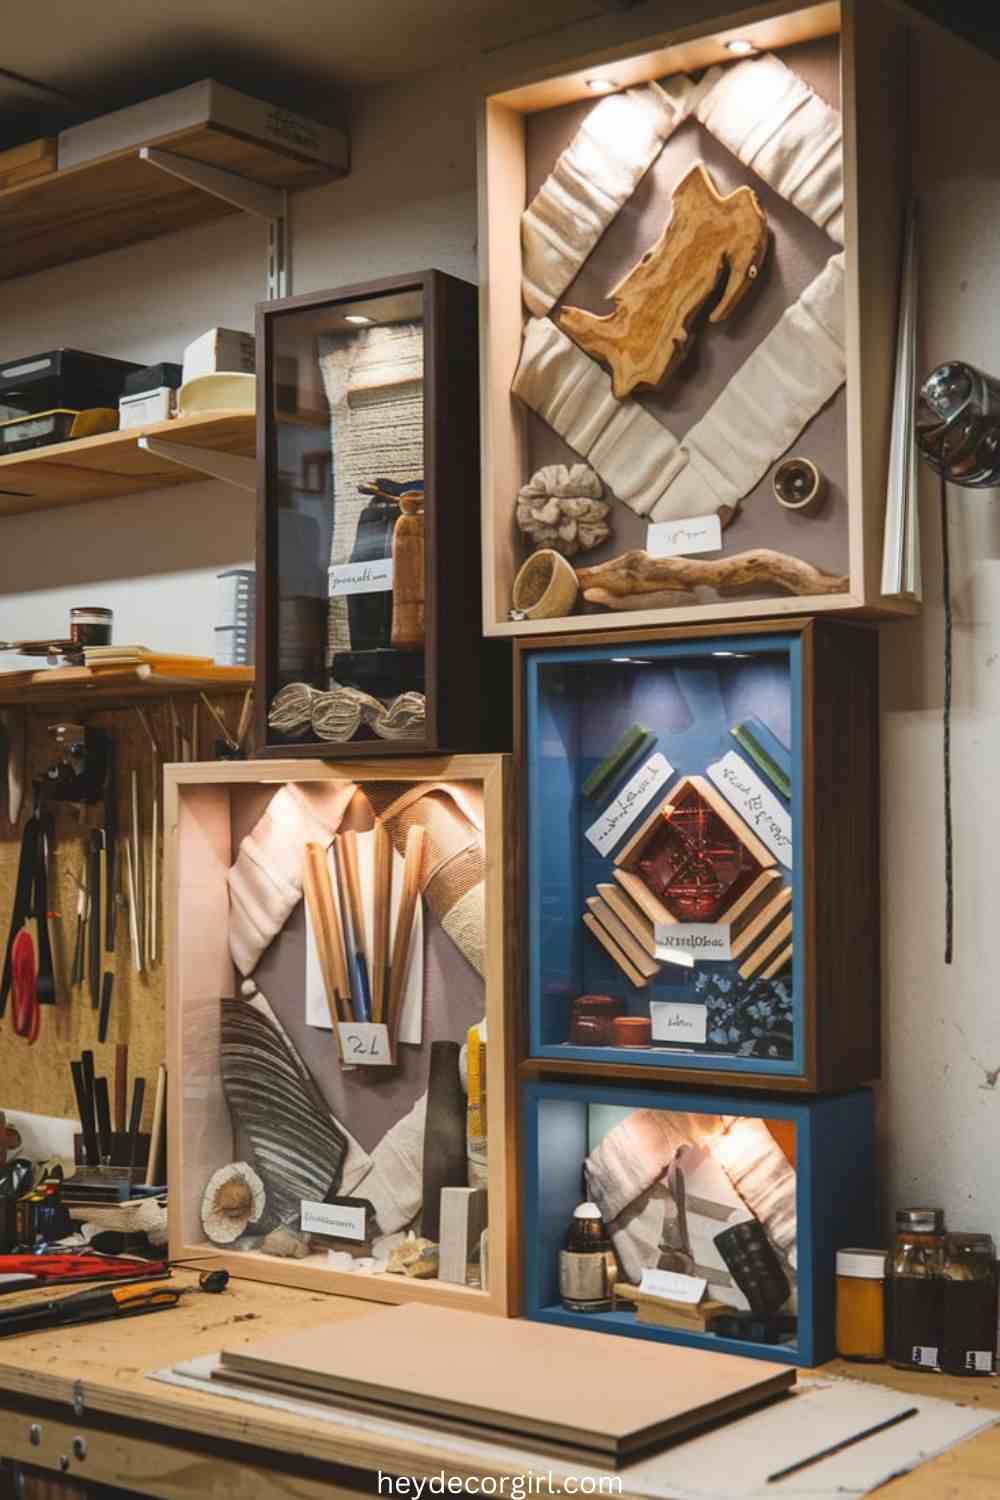
8. Shadow Boxes
Creating shadow boxes is a fantastic way to showcase completed projects or cherished tools in your workshop, adding depth and personalization to your space. These three-dimensional displays not only serve as decorative elements but also provide a unique way to highlight your achievements and inspire your creativity.
Selecting the Right Boxes: Begin by choosing shadow boxes that fit your aesthetic and size requirements. You can find a variety of styles at craft stores or repurpose old wooden boxes. Consider the depth of the box, as this will determine what items can be displayed inside.
Curating Your Display: Decide on the items you want to showcase in your shadow boxes. This could include completed projects, favorite tools, or materials that inspire you. For instance, if you’re a woodworker, consider displaying a beautifully crafted item alongside the tools used to create it. If you’re a painter, showcase a completed canvas or your favorite brushes.
Arranging the Items: Arrange the items in a visually pleasing way inside the shadow box. Use layers to create depth, positioning larger items at the back and smaller items in the front. Consider incorporating decorative elements like fabric, paper, or natural materials to enhance the presentation and provide a backdrop for your pieces.
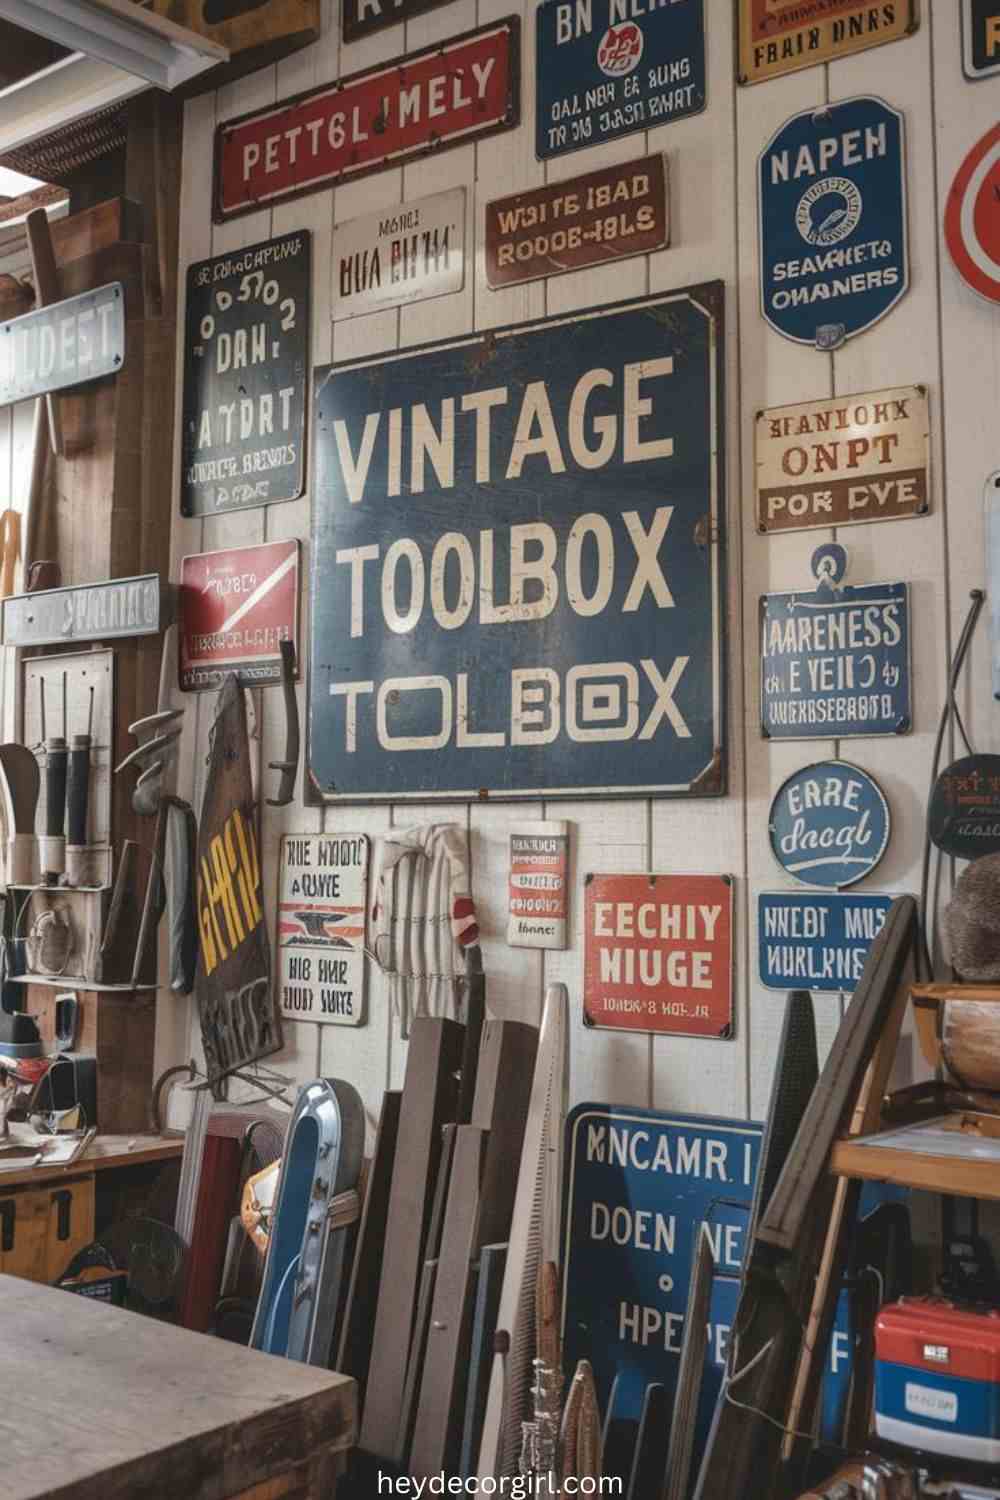
9. Vintage Signage
Using vintage signage is a charming way to add character and personality to your workshop, infusing it with a sense of nostalgia and history. These unique pieces can serve as focal points or subtle accents, contributing to the overall ambiance of your creative space.
Finding Vintage Signs: Start by exploring local antique shops, flea markets, or online marketplaces for vintage signs that resonate with your style and interests. Look for signs that reflect your hobbies, favorite brands, or inspirational messages. The age and patina of these signs can enhance the authenticity and charm of your workshop.
Incorporating a Theme: Consider incorporating a specific theme with your vintage signage. This could be a rustic, industrial look with metal signs, or a retro vibe with colorful enamel or wooden signs. A cohesive theme not only enhances the visual appeal but also creates a harmonious atmosphere in your workshop.
Displaying the Signs: Determine where and how to display your vintage signs for maximum impact. You can hang them on walls, lean them against shelves, or incorporate them into a gallery wall alongside other decor elements. Ensure they are securely fastened, especially if they are larger or heavier.
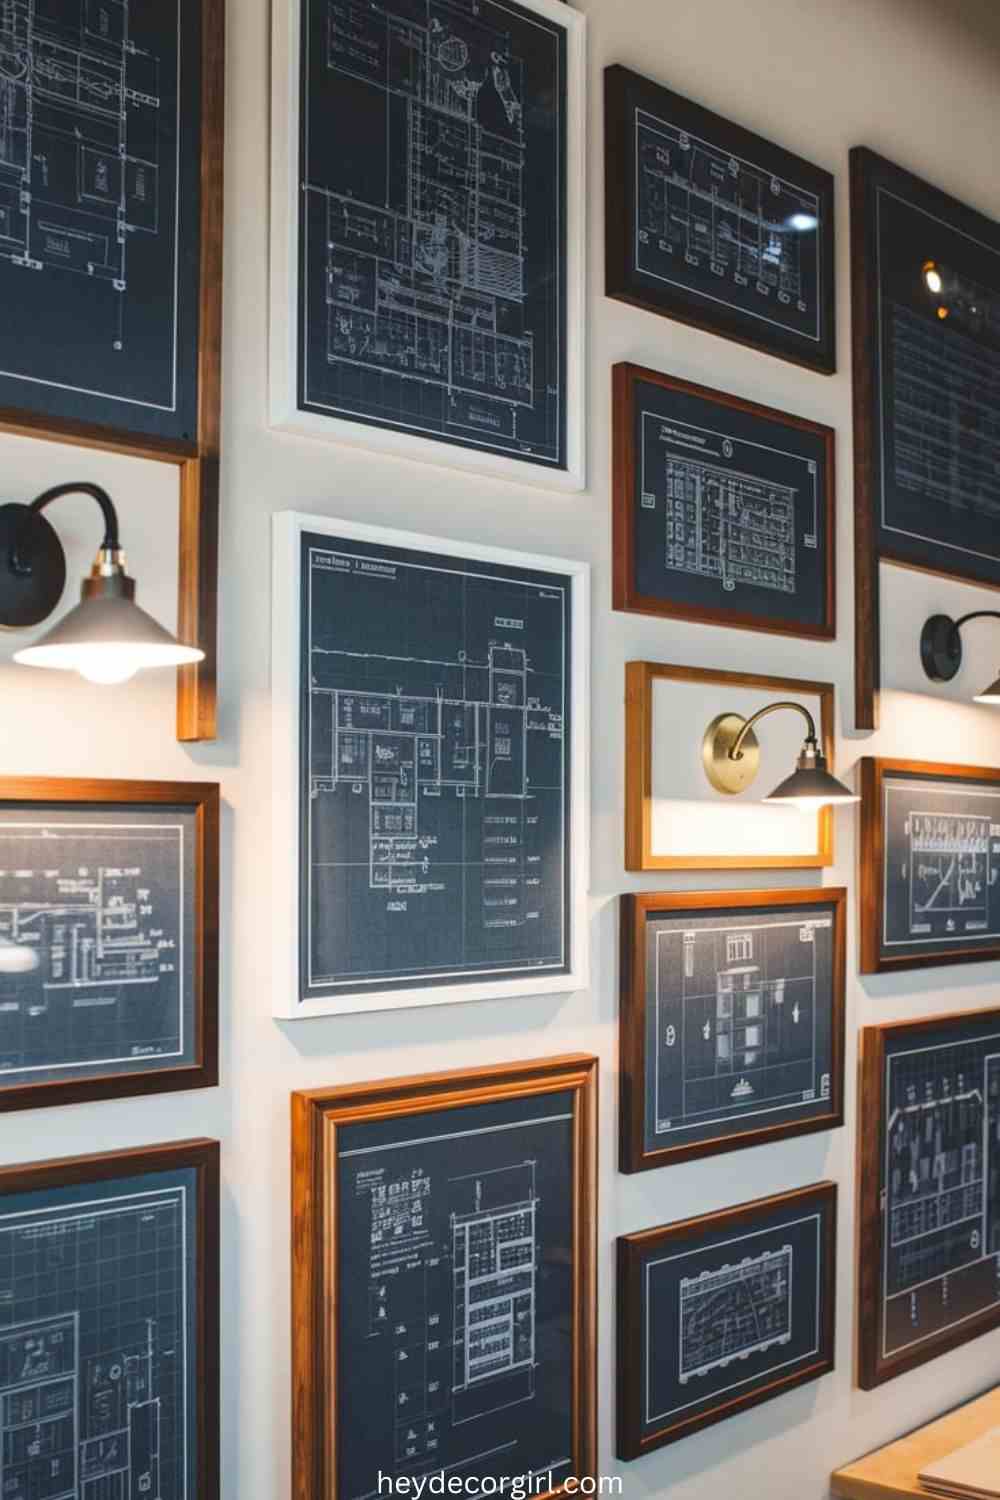
10. Framed Blueprints or Plans
Displaying framed blueprints or plans is an excellent way to blend functionality and art in your workshop, showcasing your creative process and adding a sophisticated touch to your decor. These architectural elements not only serve as inspiring visuals but also celebrate the craftsmanship and thought that goes into each project.
Selecting the Right Blueprints: Begin by choosing blueprints or plans that resonate with your work. This could include sketches of past projects, architectural designs, or even technical drawings of tools and equipment. You can use your own designs or source interesting blueprints from online archives or local libraries.
Choosing Frames: Opt for frames that complement the style of your workshop. Wooden frames can add warmth and a rustic touch, while sleek metal frames might suit a more modern aesthetic. Consider the size and color of the frames to ensure they enhance the visual appeal of the blueprints without overwhelming them.
Arranging the Display: Decide how to arrange the framed blueprints in your workshop. A gallery wall can create an artistic focal point, while a single large frame can draw attention to a specific project. Ensure that the arrangement is balanced, mixing different sizes and orientations for added interest.
Incorporating Personal Touches: Add personal elements to the display by including notes, sketches, or annotations alongside the blueprints. This could involve framing the original sketches that led to the blueprints or adding captions that describe the project’s significance or challenges faced during the process.
FAQ
1. Why is wall decor important in a workshop?
Wall decor enhances the aesthetic of a workshop, making it a more inviting and inspiring space. Personalized decor can motivate creativity, improve focus, and reflect the owner’s personality and interests.
2. What types of materials can I use for workshop wall decor?
You can use a variety of materials, including reclaimed wood, metal signs, fabric, canvas, pegboards, and glass for framing blueprints or artwork. The choice of materials can reflect the style and purpose of your workshop.
3. How can I personalize my workshop wall decor?
Personalization can be achieved by incorporating items that reflect your hobbies, interests, or achievements, such as framed blueprints, shadow boxes of completed projects, or vintage signage that resonates with you.
4. Are there budget-friendly options for workshop wall decor?
Absolutely! You can create DIY decor using materials you already have, such as upcycled frames or handmade art. Thrift stores and flea markets can also provide affordable vintage items and materials for your decor.
5. How do I arrange my wall decor for maximum impact?
Consider creating a gallery wall or a cohesive display that balances different sizes and styles. Use a mix of vertical and horizontal arrangements, and leave some space between items to avoid a cluttered look.
6. Can wall decor help improve organization in a workshop?
Yes! Incorporating pegboards, framed organizational displays, or shadow boxes can enhance functionality by providing designated spaces for tools and supplies, making it easier to find and access what you need.
7. What are some trending styles for workshop wall decor?
Current trends include rustic and industrial themes featuring reclaimed wood and metal elements, as well as modern minimalism with clean lines and monochromatic color schemes. Vintage and retro styles are also popular for adding character.
8. How often should I update my workshop wall decor?
Consider updating your decor periodically to reflect new projects or changes in your interests. Rotating items, adding new pieces, or refreshing existing displays can keep your workshop feeling dynamic and inspiring.
9. How can I incorporate inspirational quotes into my workshop decor?
You can use framed prints, wall decals, or chalkboard displays to incorporate quotes. Choose quotes that resonate with your creative process or motivate you during challenging projects.
10. Where can I find ideas for unique workshop wall decor?
Explore online platforms like Pinterest, Instagram, and home decor blogs for inspiration. Local craft fairs, antique shops, and home improvement stores can also provide ideas and materials for your decor projects.

Hi, I’m Richa, the creative mind and passionate soul behind Hey Decor Girl. With a bachelor’s degree in Inter-space Design and a deep love for transforming spaces, I’ve dedicated my career to bringing style, comfort, and personality into homes. As an interior designer and architect, I’ve had the pleasure of crafting unique living environments that reflect the individuality of those who live in them.
At Hey Decor Girl, I share my expertise in all things home decor—from cozy living room makeovers to rustic farmhouse designs and everything in between. My mission is to inspire you to create spaces that not only look stunning but also feel like home. Whether you’re looking for the latest trends or timeless classics, I’m here to guide you every step of the way. Let’s make your dream home a reality, one stylish detail at a time.
Unique Workshop Wall Decor Ideas Workshop Wall Decor Ideas
Last modified: October 28, 2024
![Hey Decor Girl [Latest Trending Decor Design Ideas]](https://heydecorgirl.com/wordpress/wp-content/uploads/2024/08/Heygirldecor-Logo.png)
