Kitchen Ceiling Lights Ideas – Your kitchen is not just the place where you cook, but it is the heart of your home, where you can have family get-togethers, celebrations, and even moments with your family. With time, even the most beautiful cabinets may begin to be old, battered, or bland, and the whole space may become less welcoming. Painting your cabinets is one of the most economical and revolutionary methods of rejuvenating your kitchen.
Painting cabinets gives you a chance to redesign entirely the appearance and feel of your kitchen in a cost-efficient manner, as opposed to a complete overhaul. From crisp whites and gentle pastels to vivid and dramatic, the correct color will provide a modern, warm, and/or classy feel to your style. In addition to aesthetics, the freshly painted surface may also save your cabinets, which are simpler to clean and take care of.
You can be a DIYer or a beginner, but with a well-thought-out plan of action, you can paint your cabinets like a professional. In this guide, we will discuss choosing the best paint and equipment, preparation, painting, and finishing your cabinets as well. These steps will help you transform your old kitchen into a beautiful yet practical area in a way that represents your personality and style.
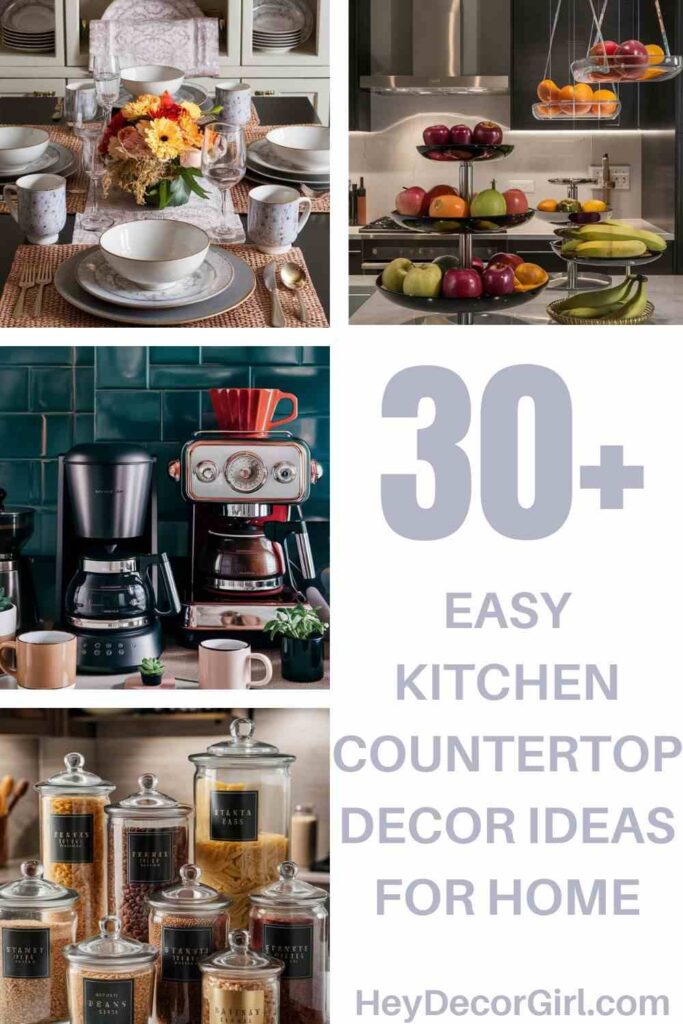
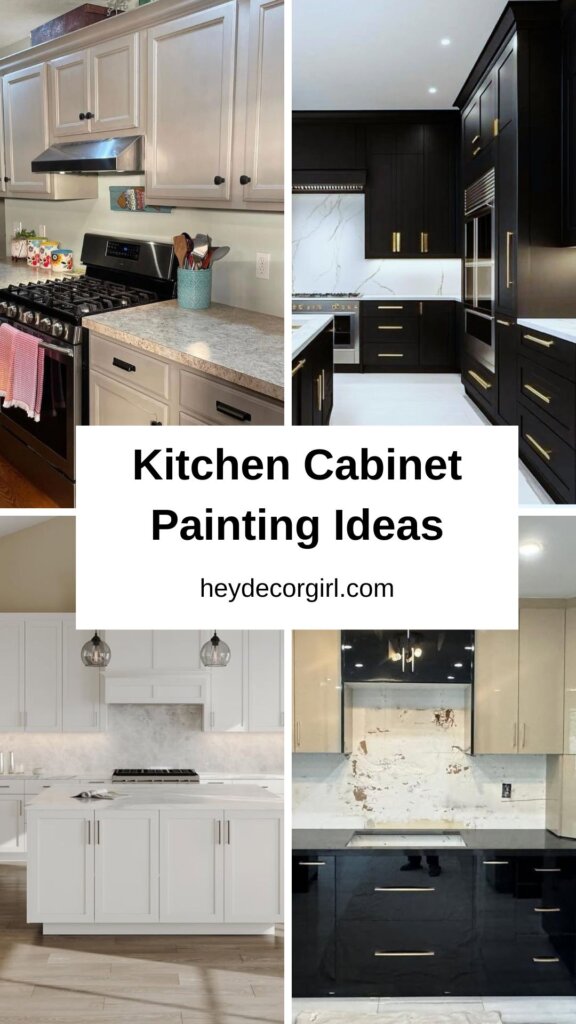
Top 10 Creative Kitchen Cabinet Painting Ideas
Here are 10 creative ideas to inspire you kitchen cabinet:
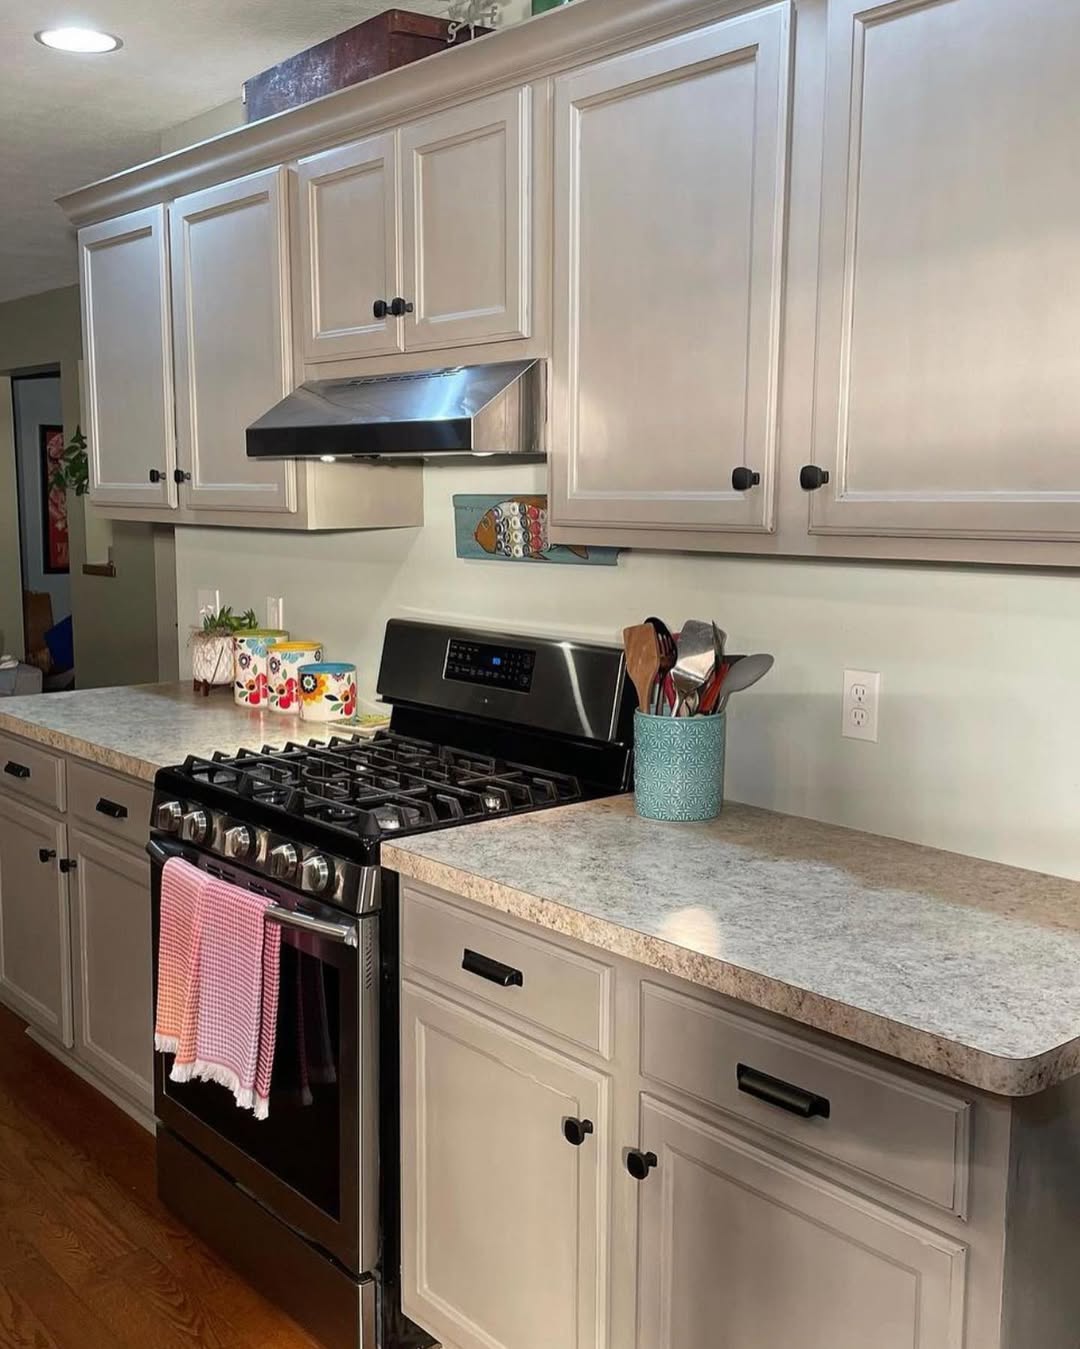
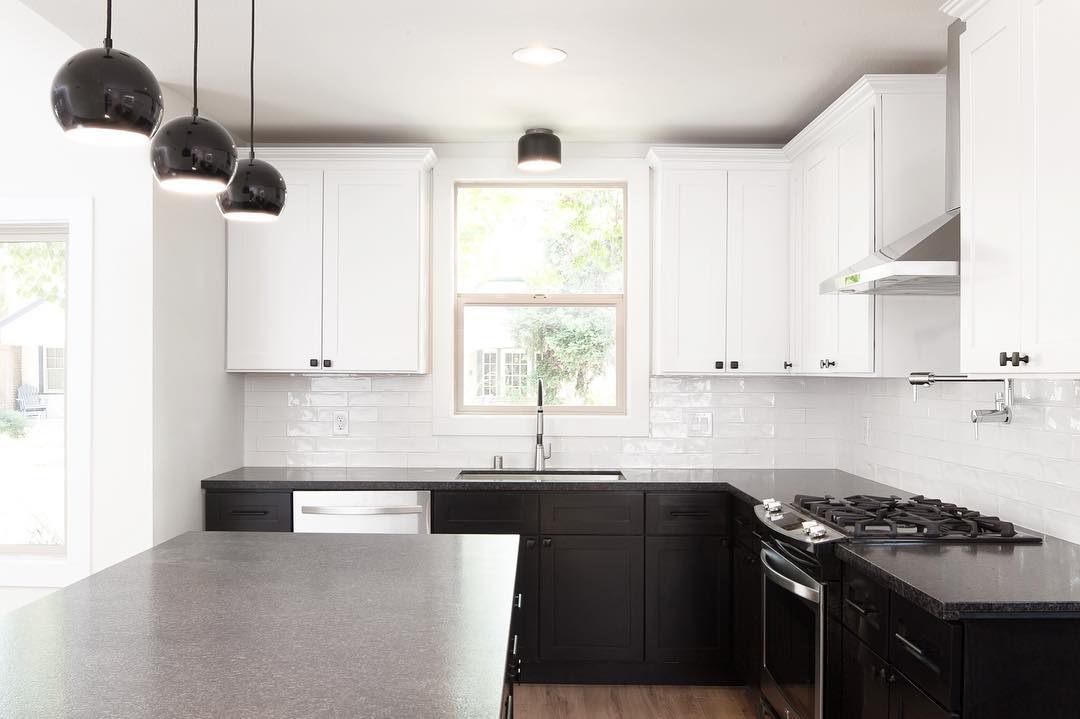
Classic White Cabinets

Credit@artistic_kitchen
The white cabinets will never become outdated. They give the kitchen a clean, bright, and classic look, which makes even tiny kitchens look large. Combine them with contrasting countertops and hardware to make them glam. Light is also reflected by white paint, giving your kitchen a light and fresh atmosphere. It fits contemporary, farmhouse, or minimalist kitchens. It is important to prepare surfaces thoroughly and use semi-gloss or satin finish so that they can be cleaned easily. White cabinets can also be used to provide a blank canvas against which you can play around with bright backsplashes, the flooring, or the utility in the kitchen without a sense of overloading the space.
Bold Navy Blue Cabinets
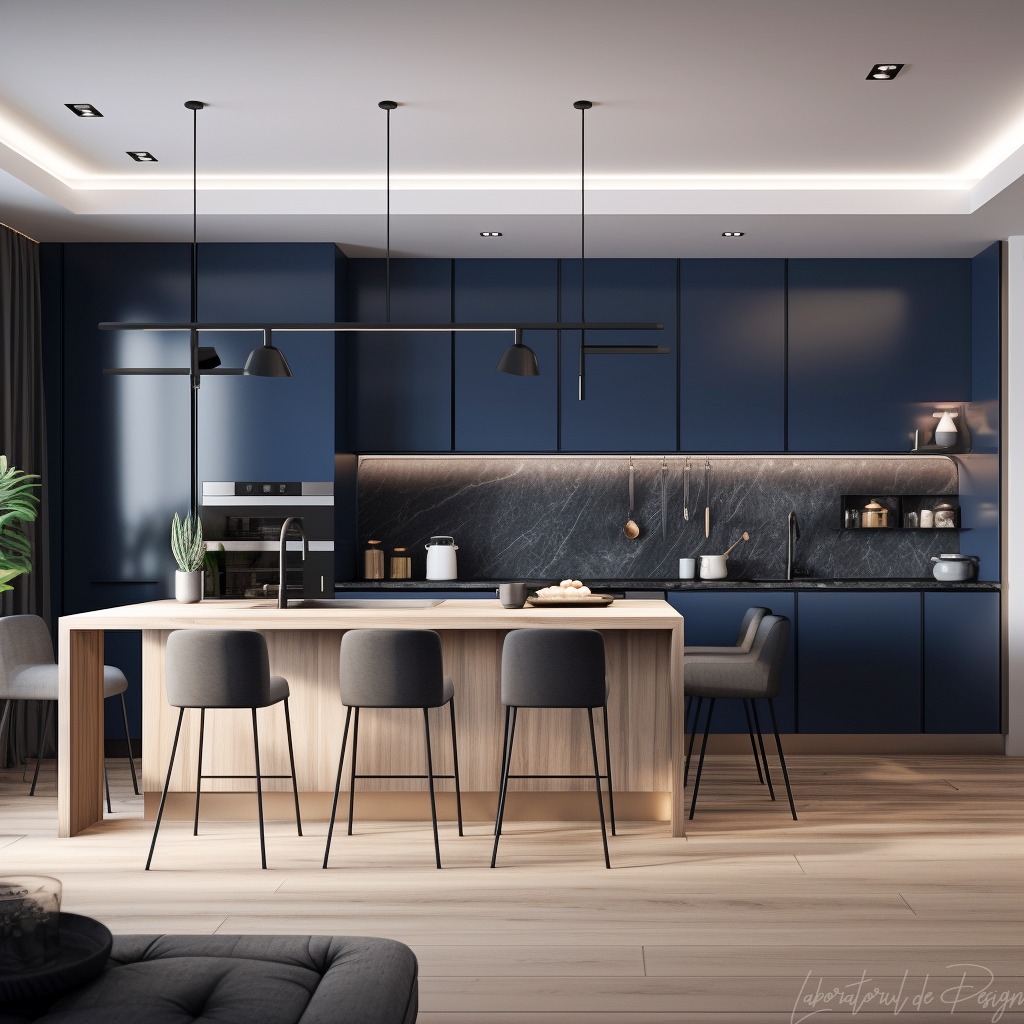
Credit@laboratorul_de_design
Two-Tone Cabinets
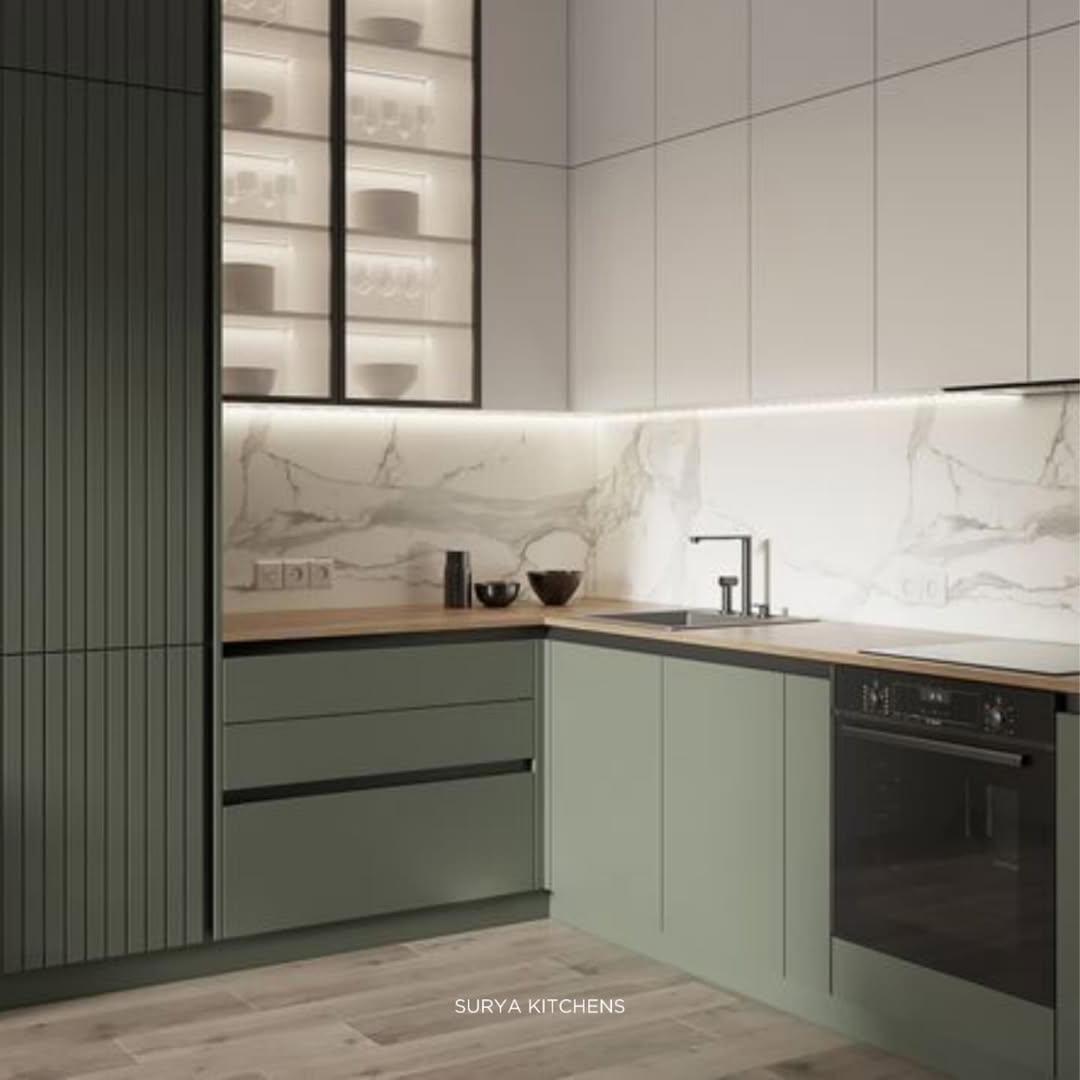
Credit@suryakitchens
Two-tone cabinets have an interesting and contemporary appearance. One of the combinations that is popular is the darker lower cabinets and the lighter upper cabinets, and this provides depth and balance. As an example, the bottom part could be navy or charcoal, and the top with white or cream is elegant. This fashion assists in the establishment of the kitchen area and attracts the eyes upwards. It also gives greater freedom in the furnishing of countertops, backsplash, and decor. Open kitchens are the best place to use two-tone painting that helps them look bigger and dynamic. It is a simple method of combining colors without cluttering the room.
Soft Pastel Cabinets

Credit@inside_9_interiors
Light tones such as mint green, baby blue, or blush pink give a very fresh and cheerful impression. Light colours are further used in the kitchen to give it a personal touch without making it heavy. They are suitable in old-fashioned, shabby-chic, or modern farmhouse style. Pastels go well with white countertops and natural wood decorations. The warm and friendly colors used in the kitchen make it an appropriate area of the house to be with the family. Pastel cabinet finish also goes well with a low-profile metallic hardware, such as brushed gold or silver. Suited in small kitchens, pastel cabinets can light up the areas and create the impression of a bigger and open space.
Matte Black Cabinets
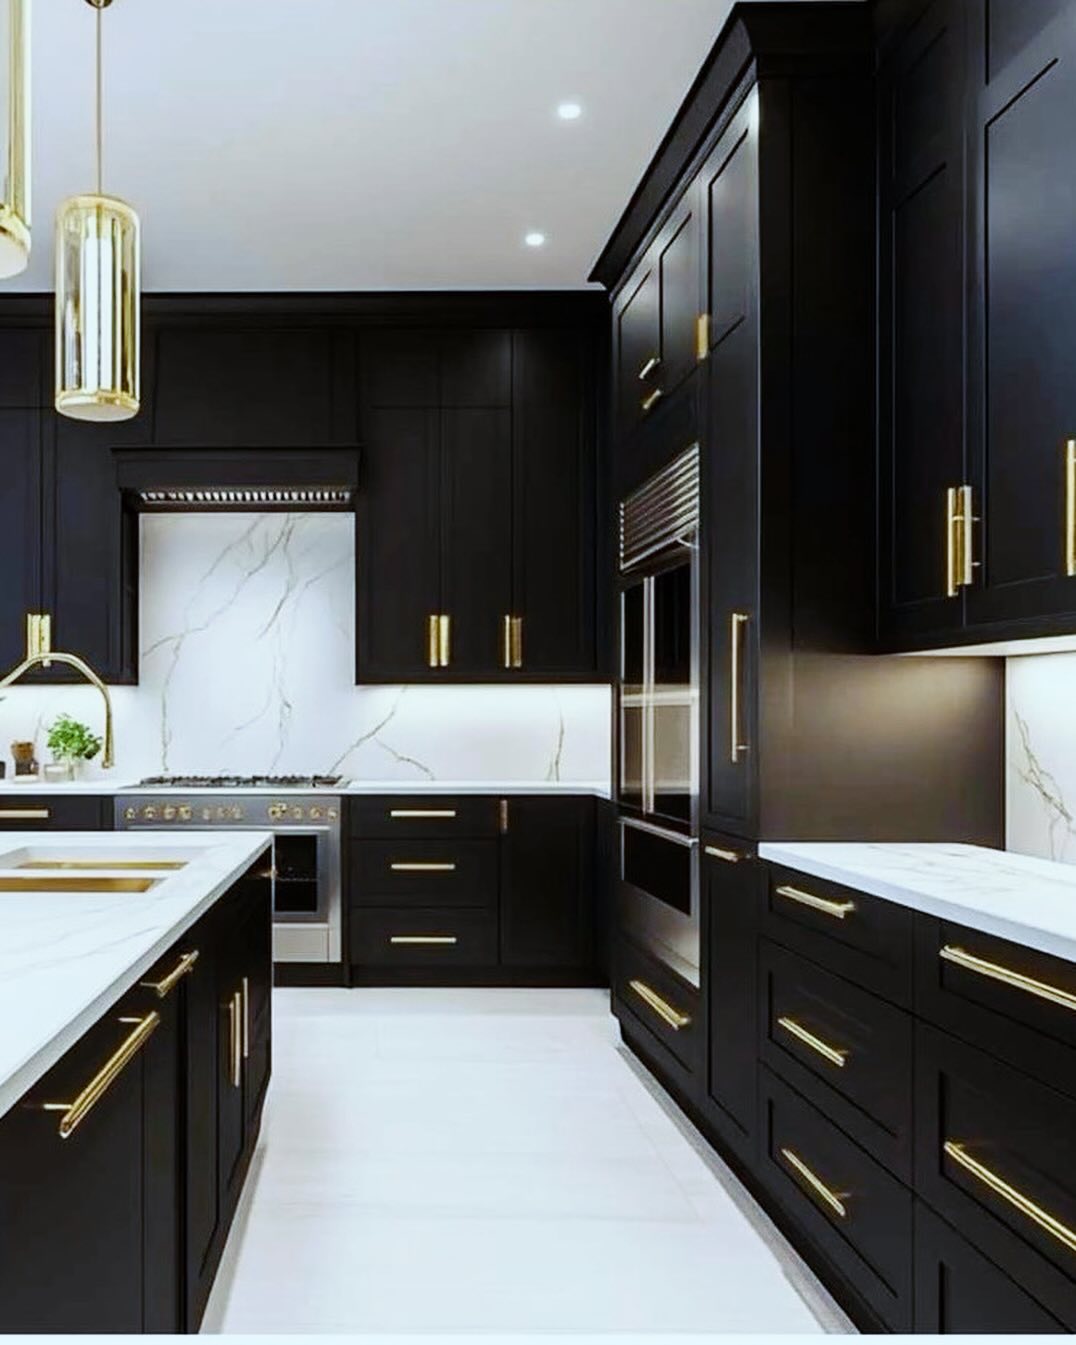
Credit@ash_cabinets_
Black cabinets are of the style of classic and contemporary. style Such a daring decision is a good match with contrasting countertops and backsplash tiles in white, marble, or light colors. The matte black minimizes glare and gives a sleek and sophisticated look. It is ideal for modern kitchens that want to achieve a high-end/professional appearance. In order to avoid excessive darkness of the space, balance black cabinets with sufficient lighting, reflective surfaces, and open shelves. Matte black is being able to be combined with gold, copper, or chrome hardware to create luxurious accents. With this color choice, there is a bold impression, and your kitchen looks dramatic and stylish.
Gray Cabinets
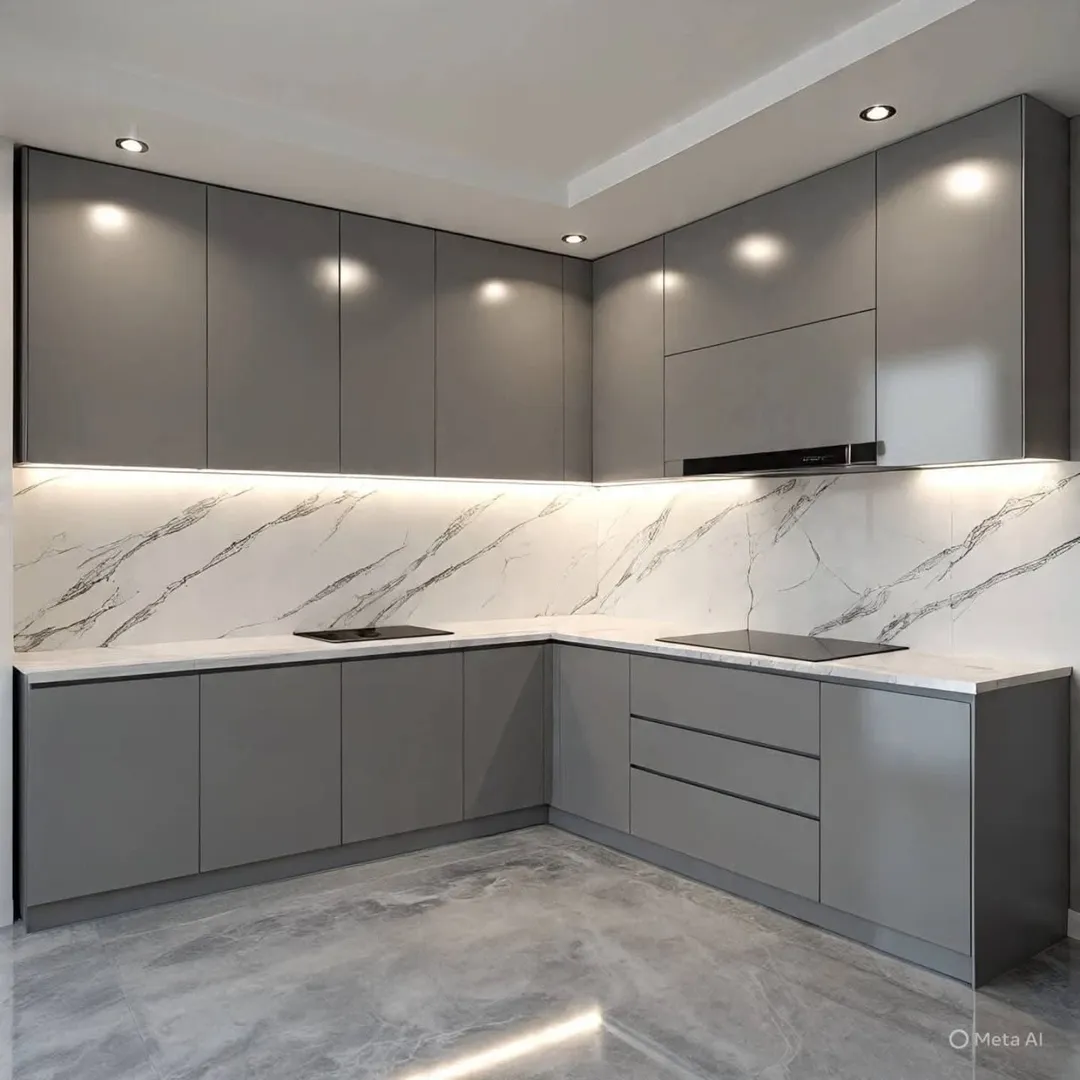
Credit@homedesignsdworld
Gray cabinets are also all-purpose and classic. They also provide a blank canvas which can be combined with any color scheme, modern or rustic kitchens. The kitchen is brightened with light gray, and a dark shade produces a gloomy, sophisticated image. Gray cabinets are matched well with stainless steel appliances, marble countertops, and wood accents. They fit perfectly well in individuals who wish to give the kitchen a light yet elegant makeover. Gray paint is forgiving and conceals smudges and stains, as well as complements virtually any backsplash texture or shade on the wall. It is a secure option for people who want to have a modern, stylish, and flexible appearance.
Wood-Look Painted Cabinets
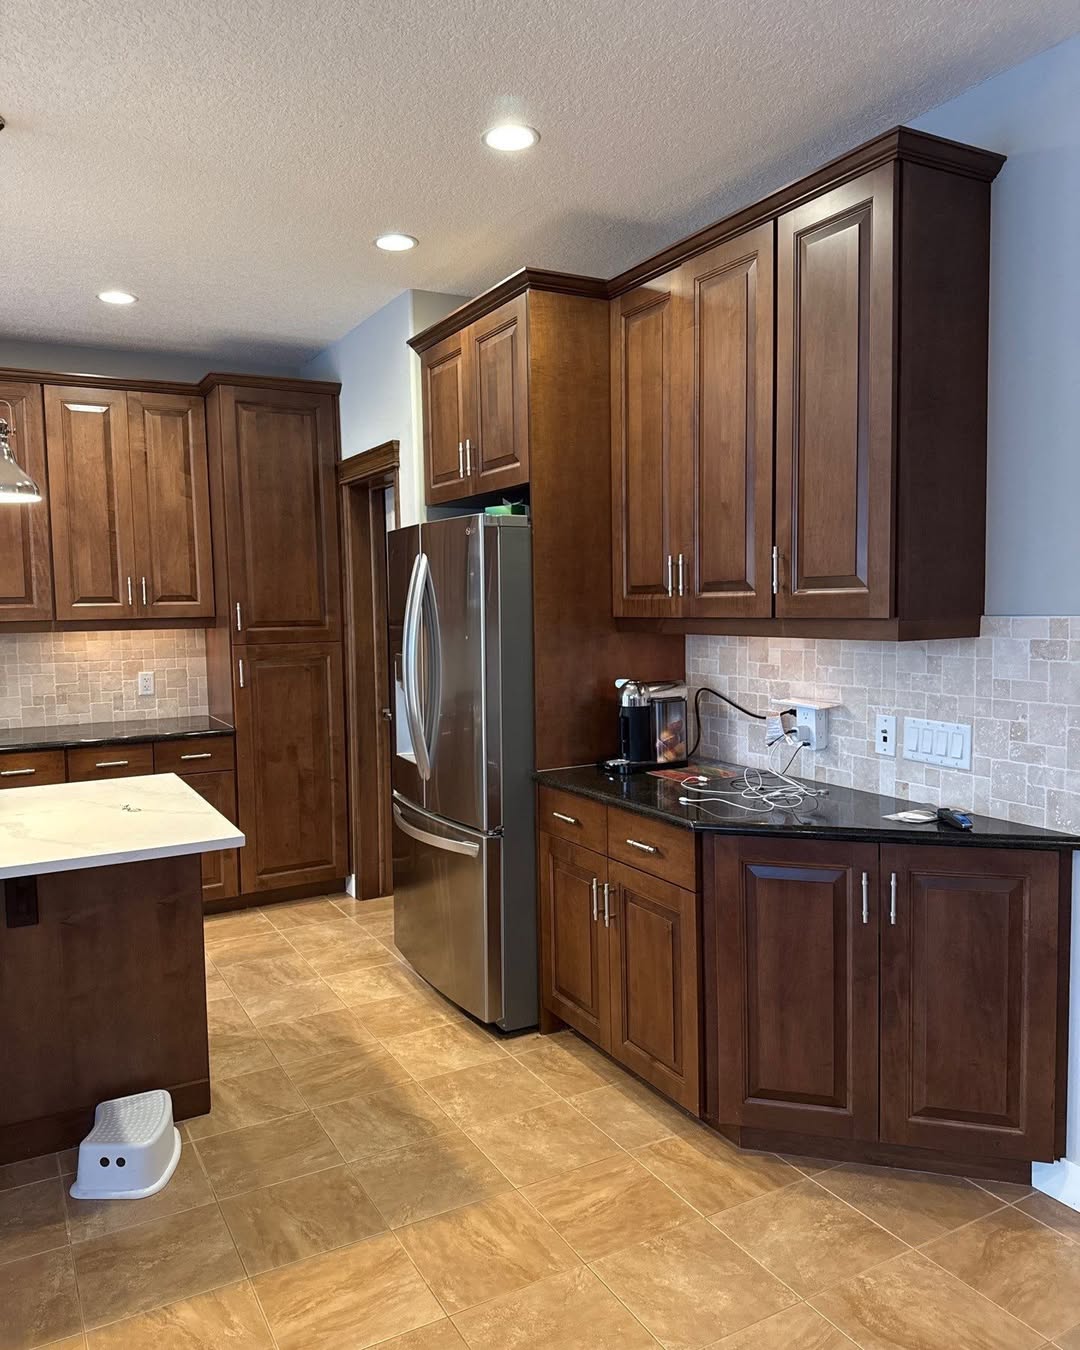
Credit@distinctivelypaint
Specialty painting methods such as glazing, staining, or faux wood finishes can be used to replicate the beauty of wood. This offers a natural, rustic appearance without substituting the available cabinets. The wood-like painted cabinet will add warmth and texture to the kitchen, making it feel rather homey and inviting. It is ideal in a farmhouse, traditional, or vintage kitchen. Combine with plain countertops, cozy lighting, and traditional hardware. The method will be durable and elegant, giving the look of wood at a small part of the price. It is customizable as well, where you can come up with varying wood grains and tones according to your style.
Chalk Paint Finish
Credit@thepurplepaintedlady
Chalk paint has a mat, vintage appearance, which is ideal for shabby-chic or French country kitchens. It is simple to apply and does not need a lot of sanding or priming. Chalk paint has a velvety texture, which is very endearing and gives a handmade look. You can distress it to a rustic and worn look to add some character to your kitchen. It is also an adjustable paint, which fits light or intense colors, and enables customization of the cabinets. Balance out with antique-style hardware and a wooden countertop to produce a vintage feel. Chalk paint is user-friendly, and this makes it the choice of a DIYer who wants to be creative.
High-Gloss Cabinets

Credit@eaglekitchencabinetry
Cabinets are painted with high gloss that produces a smooth, reflective, and modern surface. It has a great finish that is perfect in modern kitchens, giving it a shiny appearance and a glamorous look. Glossy surfaces are simple to wash up,a nd hence they are convenient for hectic kitchens. Combine them with minimalistic handles and contrasting countertops to add to the modern look. Glossy paint also reflects light and hence can help to make small kitchen areas look bigger and open. Although high-gloss finishes are hard to prepare without streaking, they come out with a beautiful showroom-like appearance that adds to the general feel of your kitchen.
Two-Tone with Accent Colors
Credit@icconstruction4911
The other imaginative thought is to apply a vivid accent colour to some of the cabinets or islands. As an illustration, a bright teal island and neutral cabinets at once become the center of attention. Colors of accents are designed to provide a personal touch and not overpower the kitchen. They can be used in open-concept areas where you can tie in furniture or decor. It is the ideal solution for homeowners who desire a splash of color without making the primary cabinetry too colorful. This is also a flexible and fun choice of a modern, stylish kitchen, and the accent colors could be seasonal or changed over time with paint.
Tips for a Perfect Finish on Kitchen Cabinets
Select the Appropriate Paint and Finish.
- Apply good-quality paint that is made to be used on cabinets or furniture.
- Semi-gloss/satin is the best finish to use because it is durable and easily cleanable.
- Flat paints should be avoided because they are difficult to clean, and they are not resistant to moisture.
Prep Surfaces Thoroughly
- Use da egreaser or light soap to clean cabins to eliminate grease, dirt, and grime.
- Disassemble all the equipment, doors, and drawers to get easier access and even painting.
- Wipe off the surfaces to provide a texture that enhances the adhesion of the paint.
Use a Primer
- A primer should be applied at all times to keep the stains intact and enhance the adhesion of the paint.
- In oil-based paints, apply a compatible primer to prevent peeling.
Priming gives a long-lasting and smooth finish.
- Apply Thin, Even Coats
- Drips and uneven surfaces can be avoided by wearing not too thick.
- Several slim coats make it look more professional and smooth.
- Sand lightly, then apply one coat after another, and then leave the coating to dry.
Sand Between Coats
- Sandpaper after every coat to remove brush strokes, bubbles, or any other imperfections.
- A smooth surface and no damage to paint is made possible by fine-grit sandpaper (220-320 grit).
- Clean up surfaces so as to leave behind no dust to see through using a tack cloth, then apply the next coat.
Apply Quality Brushes and Rollers.
- Extraordinary synthetic brushes and foam rollers minimize streaks and sticking bristles.
- Apply corner and detailed angled brushes.
- Rollers are not appropriate on humpy surfaces.
Job in a DaDust-Free Workplace.
- Limit air circulation or fans, in order to avoid dust on damp paint.
- Wipe off the surfaces of the cover and countertops to prevent splatters.
- An environment that is clean will guarantee a smooth and perfect finish.
Door Care Handle Cabinet Doors.
- Install painted doors on the added area to prevent scratches.
- Allow paint to dry, then replace doors and hardware.
- Use care, do not make a dent or mark in the new paint.
Add a Protective Topcoat
- It may be used with an additional layer of clear polyurethane or polycrylic topcoat.
- Topcoats are used to cover scratches, stains, as well as moisture.
- Select one of the finishes (matte, satin, or gloss) to suit your needs.
Patience is Key
- Spraying may cause drips, irregularity of texture, or peeling.
- Give intervals to each coating to dry and cure.
- A paintwork that is done well will not be finished in days and will last for years, provided it is well taken care of.
FAQs
Q: What is the duration of painting kitchen cabinets?
A: The time spent is all dependent on the number of cabinets, the type of paint, and the preparation. It normally occupies 3-5 days, which involves cleaning, sanding, priming, painting, and drying. The coats are to be allowed to dry completely (usually 4-6 hours with latex paint) between applications. Patience produces a smooth, long-lasting finish.
Q: Should I take off the doors of the cabinets before painting?
A: Yes, it is very much advisable to remove doors, drawers, and hardware. It can be easily accessed, will not drip on the surrounding surfaces, and will have a consistent finish. Doors painted individually also produce a professional result, particularly on edges and panels.
Q: What kind of paint should be used on the cabinets in the kitchen?
A: Latex or oil-based paints that are semi-gloss or satin are the best. Latex is simple to clean, and it dries fast, whereas oil-based paint gives a more solid and harder surface. A matte vintage finish may be done with chalk paint, though it needs an opaque topcoat.
Q: What can I do to prevent brush strokes or streaks?
A: Apply the best quality of brushes and foam rollers. To apply thin even layers, apply sand lightly in between layers using fine-grit sandpaper. Paint in a dust-free setting and remove any dust before painting. Several thin layers are superior to a single thick layer.
Q: Is it possible to apply new paint to the cabinet finishes?
A: Yes, but it is very important to be prepared. Wipe off with clean, watered down and dry surfaces to cleanse off shine or stains. Use an appropriate primer to aid the administration of paint. Painting may crack or flake off with time without preparation.